
Quick Answer
Ombre nails blend two or more shades into a smooth gradient that fades from one color to the next across the nail. The classic version moves from a pale base at the cuticle to a deeper tip, though the direction and shade count are flexible. You get the look with a makeup sponge, dip powder, gel, or press-ons depending on how clean you want the blend. The tutorial below covers exactly how to build a smooth fade and fix it when it goes muddy.
Ombre stays the most searched nail style year after year because the fade works across every color, season, and mood. A smooth gradient adds dimension that a single flat shade never gives you. This guide covers the technique first, then 20 ombre looks by color and finish.
This post contains affiliate links. If you buy through these links, I may earn a small commission at no extra cost to you. Images in this post are AI-generated for illustration purposes.
How to Blend a Smooth Ombre Fade
What You Need
- Two nail polishes from the same color family, for the smoothest possible gradient
- A damp makeup sponge or dedicated ombre nail sponge, for dabbing the blend onto the nail
- A thin gel brush, as an alternative applicator for gel ombre
- A glossy or matte top coat, to seal the fade and lock in the finish
- Nail polish remover and a small cleanup brush, for cleaning up the skin around the fade
- Cuticle oil, to keep the nail flexible so the gradient does not lift at the edges
Step by Step
1. Choose two shades from the same color family. Two pinks, two blues, or a caramel and chocolate blend cleanly, while opposite colors on the wheel tend to turn muddy in the middle.
2. Paint stripes onto the sponge. Apply both polishes in overlapping stripes directly onto a damp makeup sponge rather than the nail itself.
3. Dab in thin layers. Press the sponge onto the nail and lift straight up, repeating in thin layers rather than one heavy pass, since thin layers build the fade without flooding the color.
4. Build the fade gradually. Continue dabbing until the transition looks smooth, typically two to three light passes rather than one thick one.
5. Clean the edges. Use a small brush dipped in remover to clean any polish that landed on the skin around the nail.
6. Seal with top coat. Apply a glossy or matte top coat to lock in the fade and smooth the surface, allowing it to cure fully before touching anything.
7. Cure or dry fully before handling. Gel versions need a lamp cure of 30 to 60 seconds per coat, while regular polish needs several minutes of open air before the nail is touch-safe.
Mistakes That Ruin It
Blending opposite colors or over-dabbing. A muddy middle almost always comes from blending colors that sit far apart on the color wheel, or from too many overlapping dabs in the same spot. Stick to one color family and dab in a consistent, light pattern.
Placing colors too far apart on the sponge. A harsh visible line usually means the two polishes were painted too far apart on the sponge before dabbing. Place the colors closer together with more overlap so they blend rather than meet at a hard edge.
Using a dry sponge or thick polish. A streaky fade comes from a sponge that has dried out between dabs, or from polish applied too thickly. Add fresh polish to the sponge for each dab and keep every layer thin.
Applying glitter evenly instead of clustering it. Glitter that is meant to fade toward the tip needs to be clustered there and worked upward, not applied in an even layer across the whole nail, which reads as messy rather than intentional.
20 Ombre Nail Designs by Color and Finish
1. French Ombre Nails
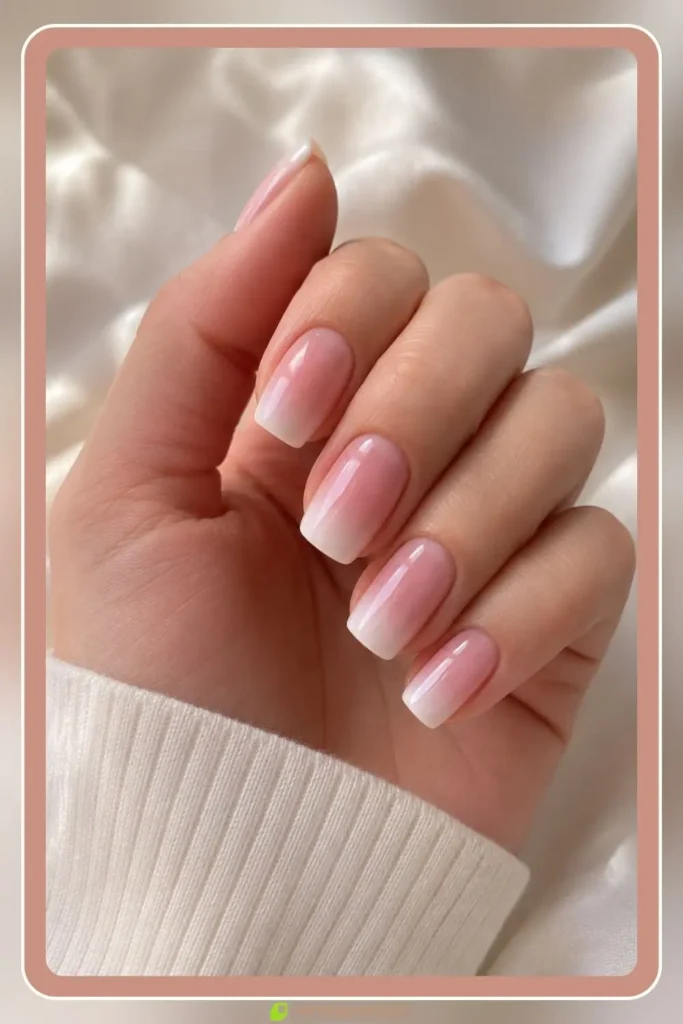
French ombre nails fade a sheer pink base into a soft white tip, the gradient version of the classic French. The blend sits where a hard French line would normally fall, so the whole look reads softer and grows out without an obvious regrowth line. For the crisp version of this same tip, our french tip nail designs guide covers the classic hard-line look.
DIY note: the sheer pink and white sit close enough on the color wheel that even light blending keeps the transition clean.
Create the Design
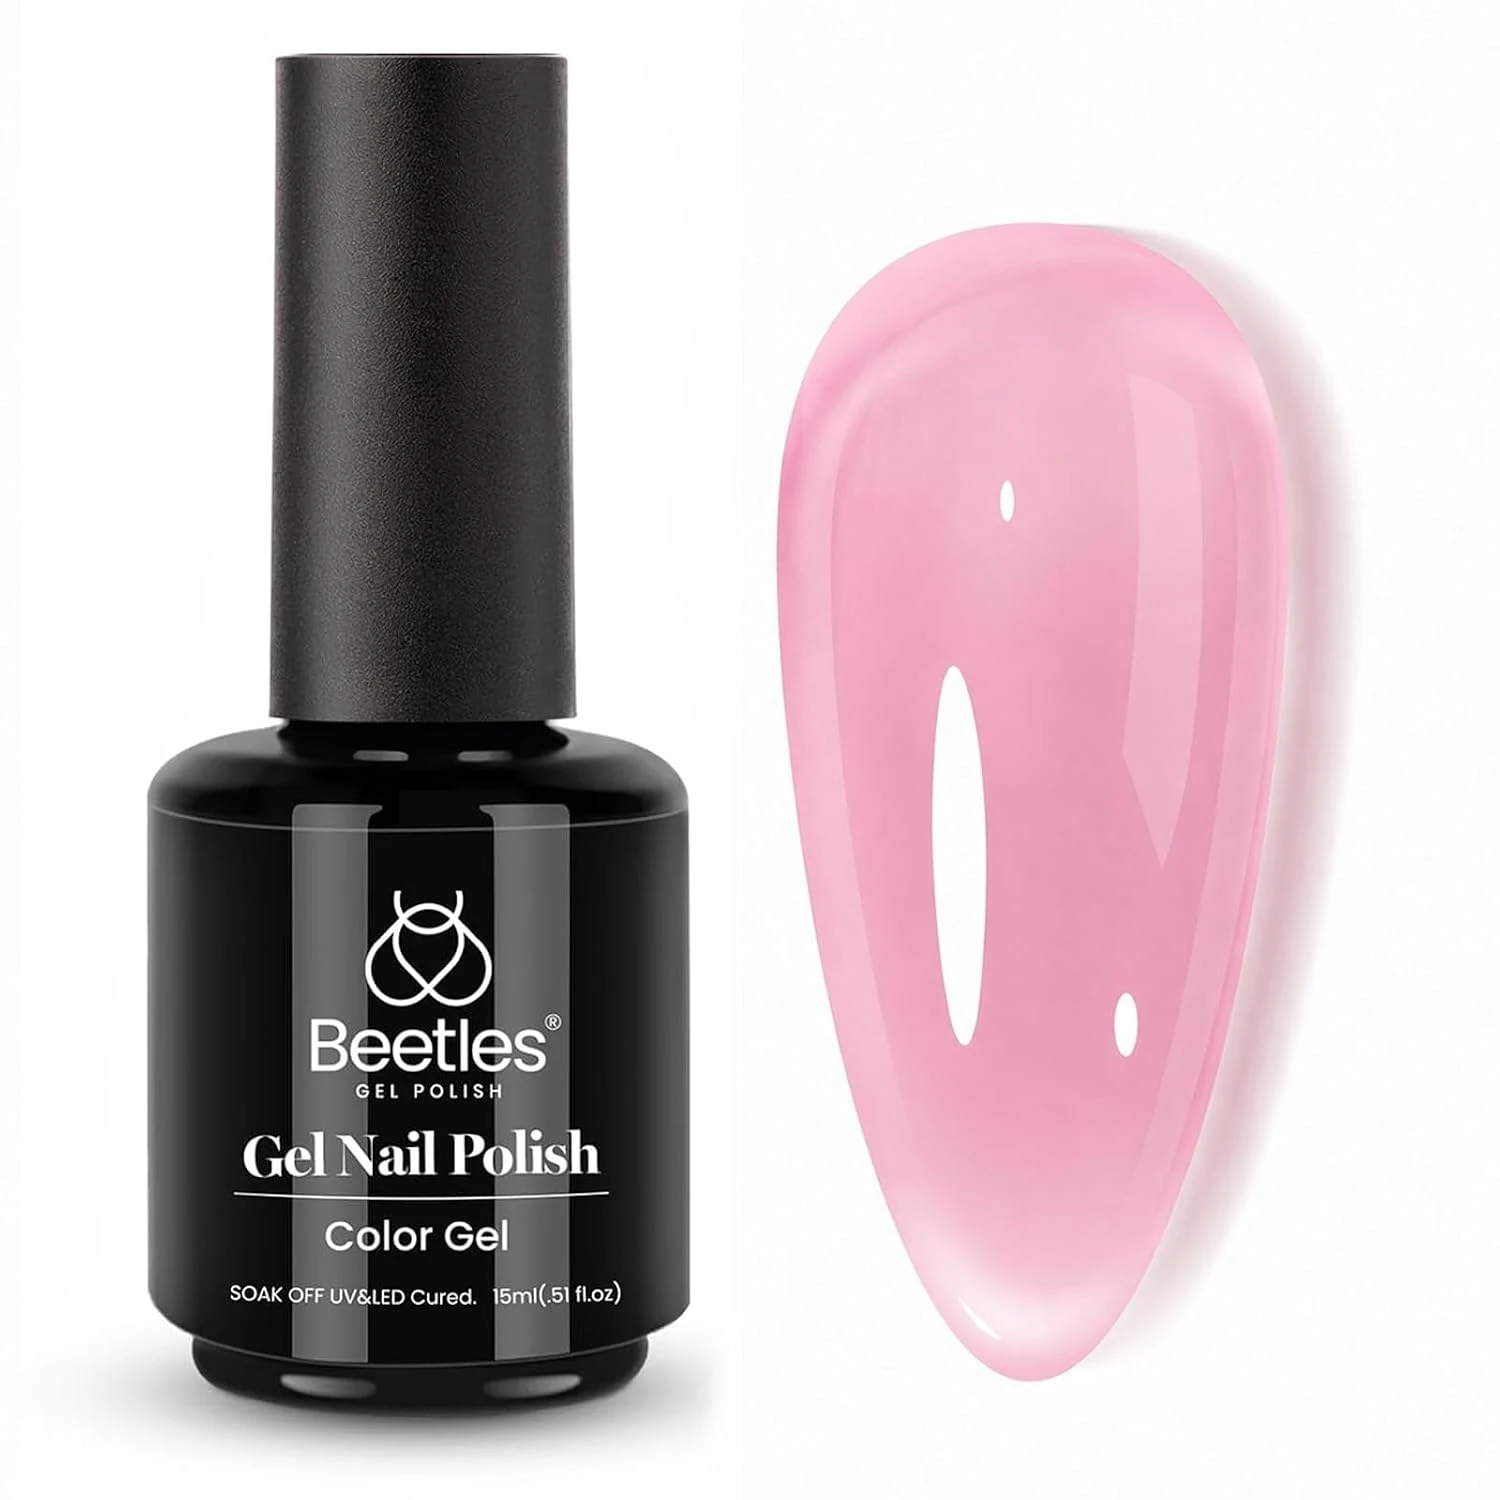
Sheer Pink Ombre Polish
Glossy Top Coat
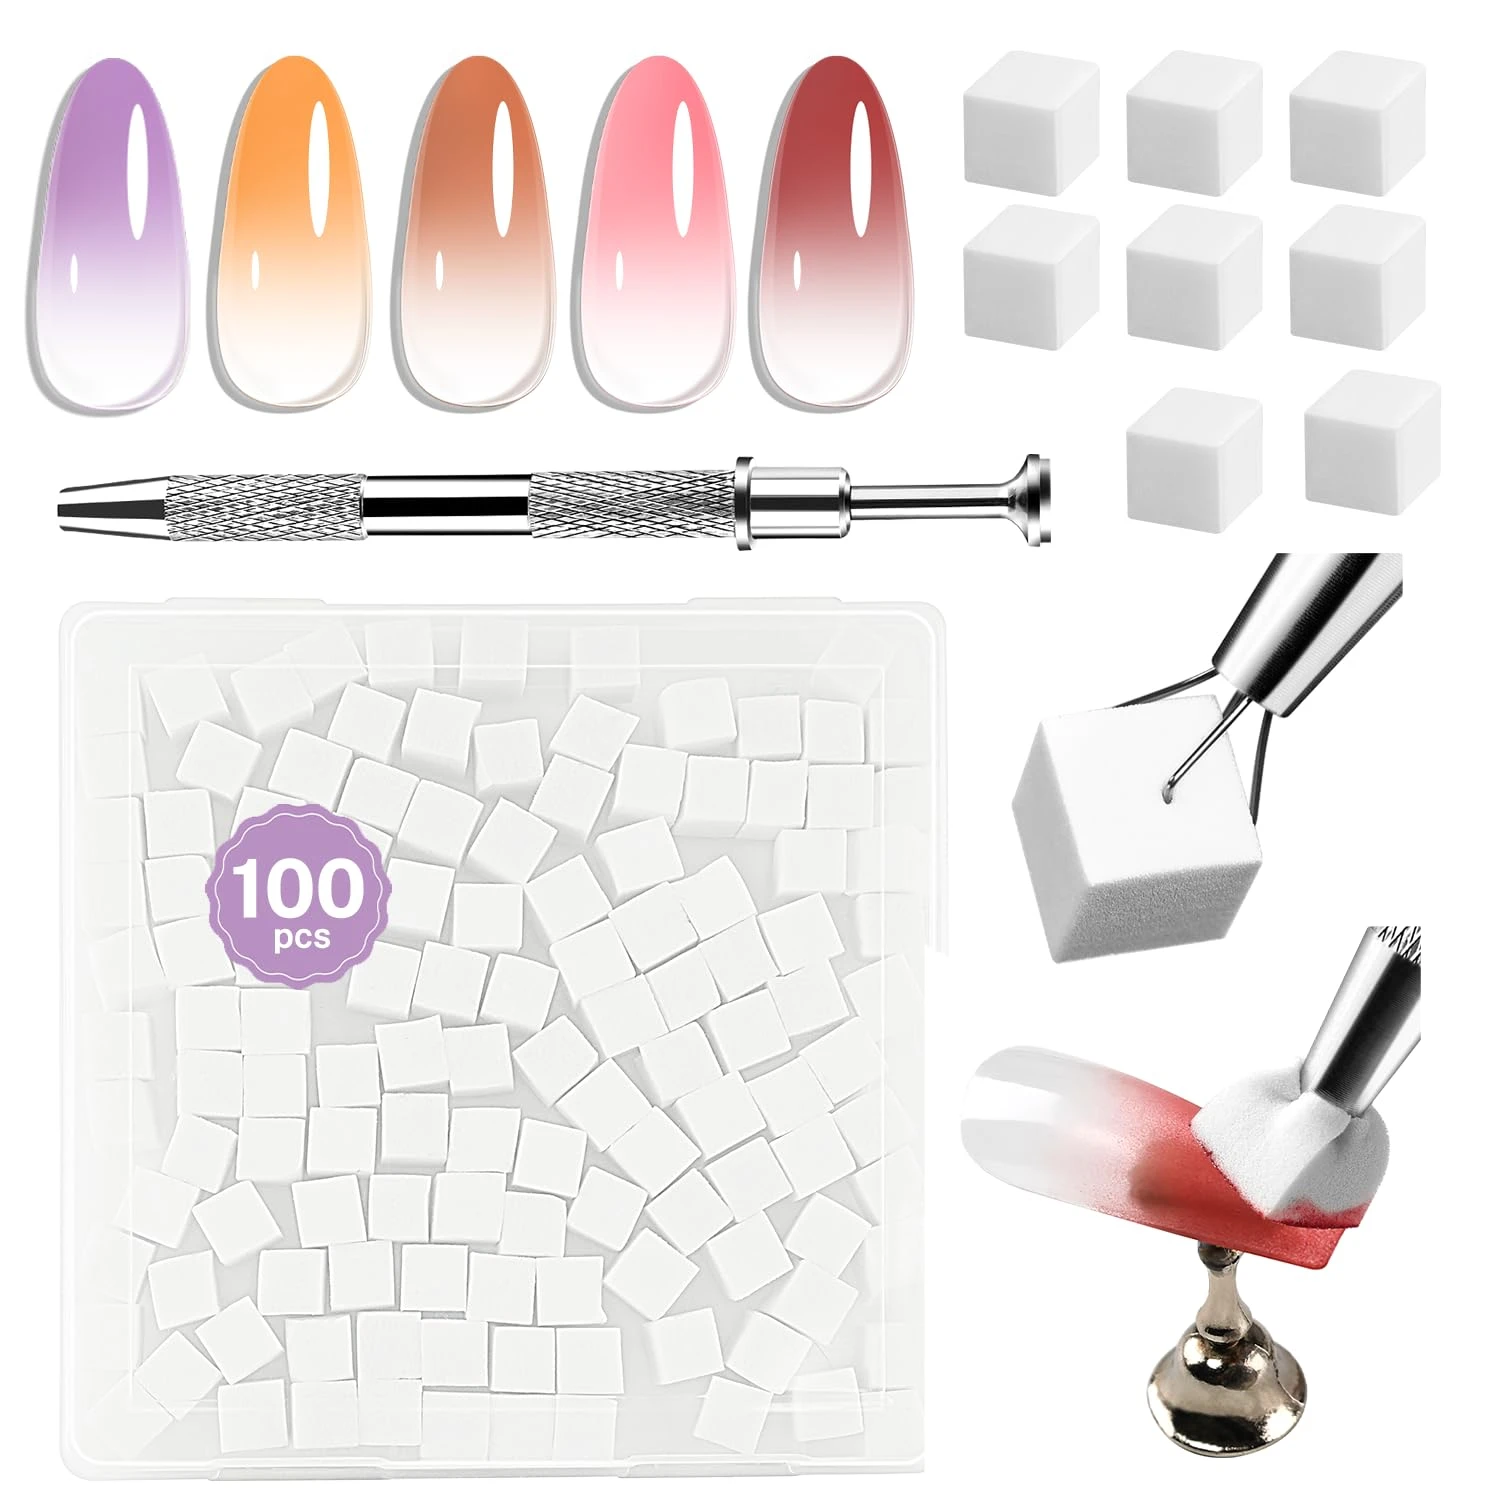
Ombre Nail Sponge
Can’t pick just one? Browse the full collection on my Amazon Storefront.
2. Pink Ombre Nails
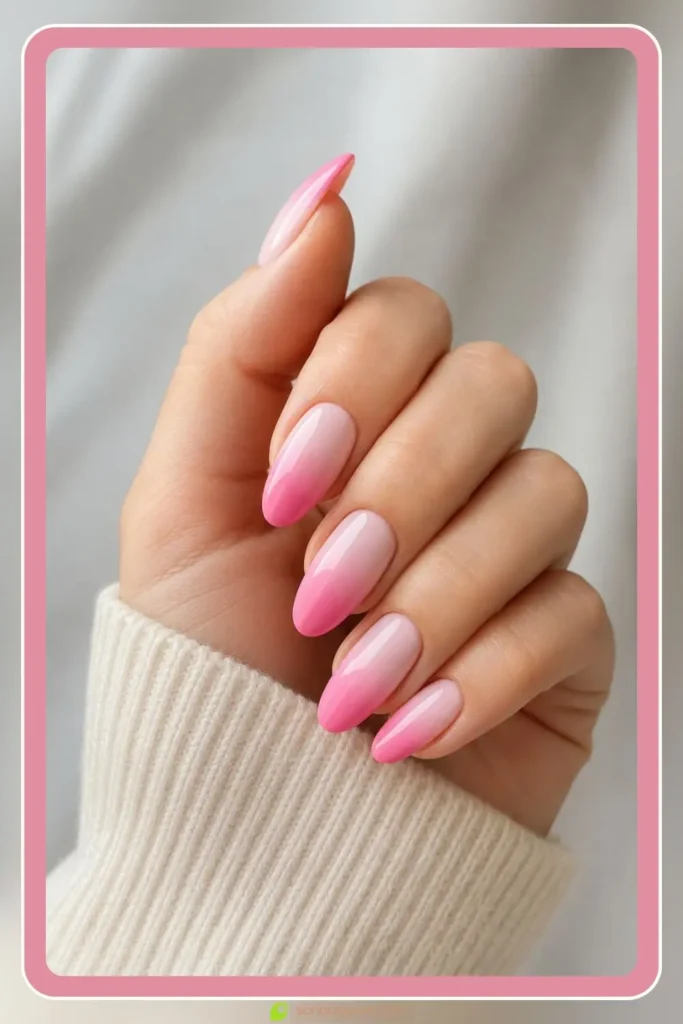
Pink ombre nails blend a pale pink at the cuticle into a deeper pink at the tip for a warm, dimensional finish. Two tones from the same family blend cleanly, which is what keeps the gradient smooth instead of muddy.
DIY note: stay within the pink family for both shades, crossing into a different hue family is the fastest way this fade turns patchy.
Create the Design
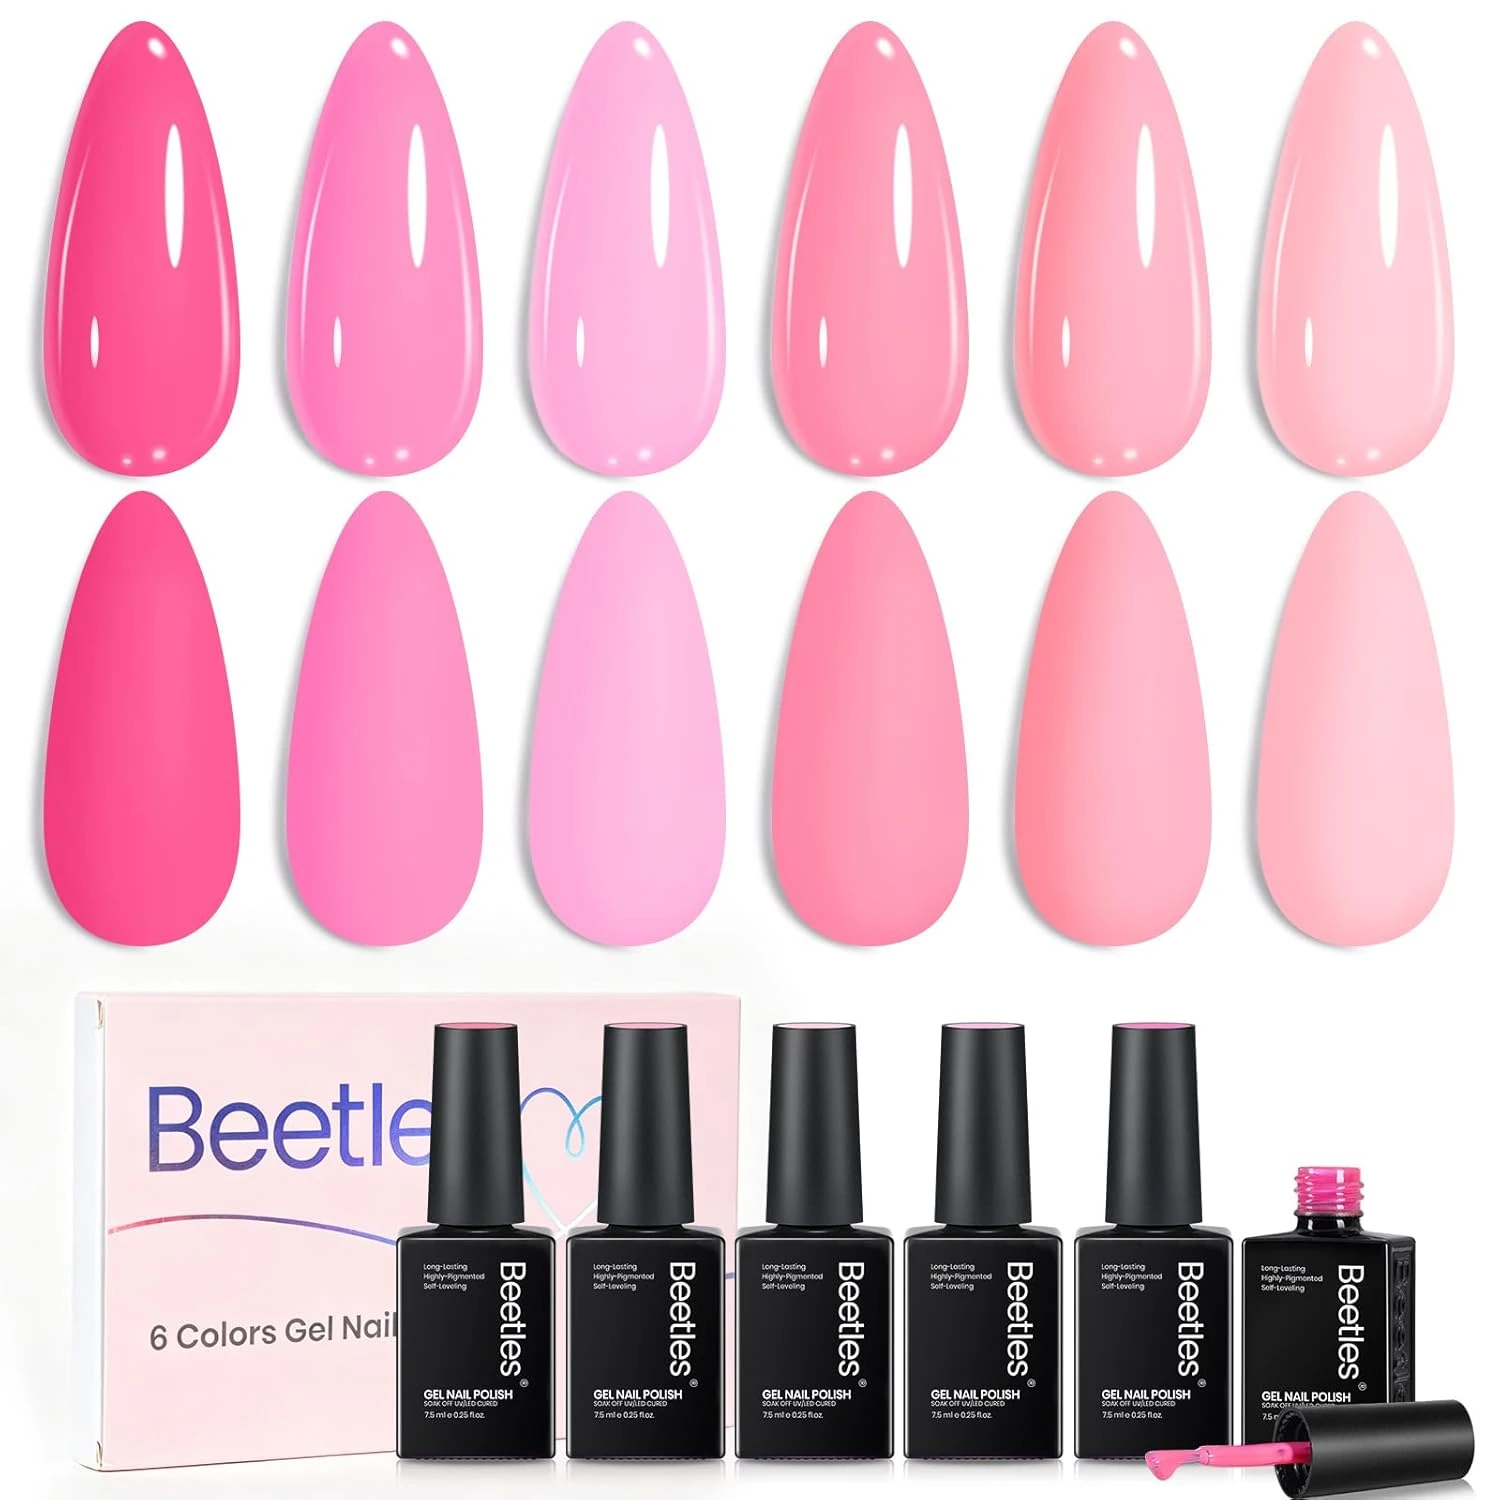
Two Tone Pink Polish Set
Quick Dry Top Coat
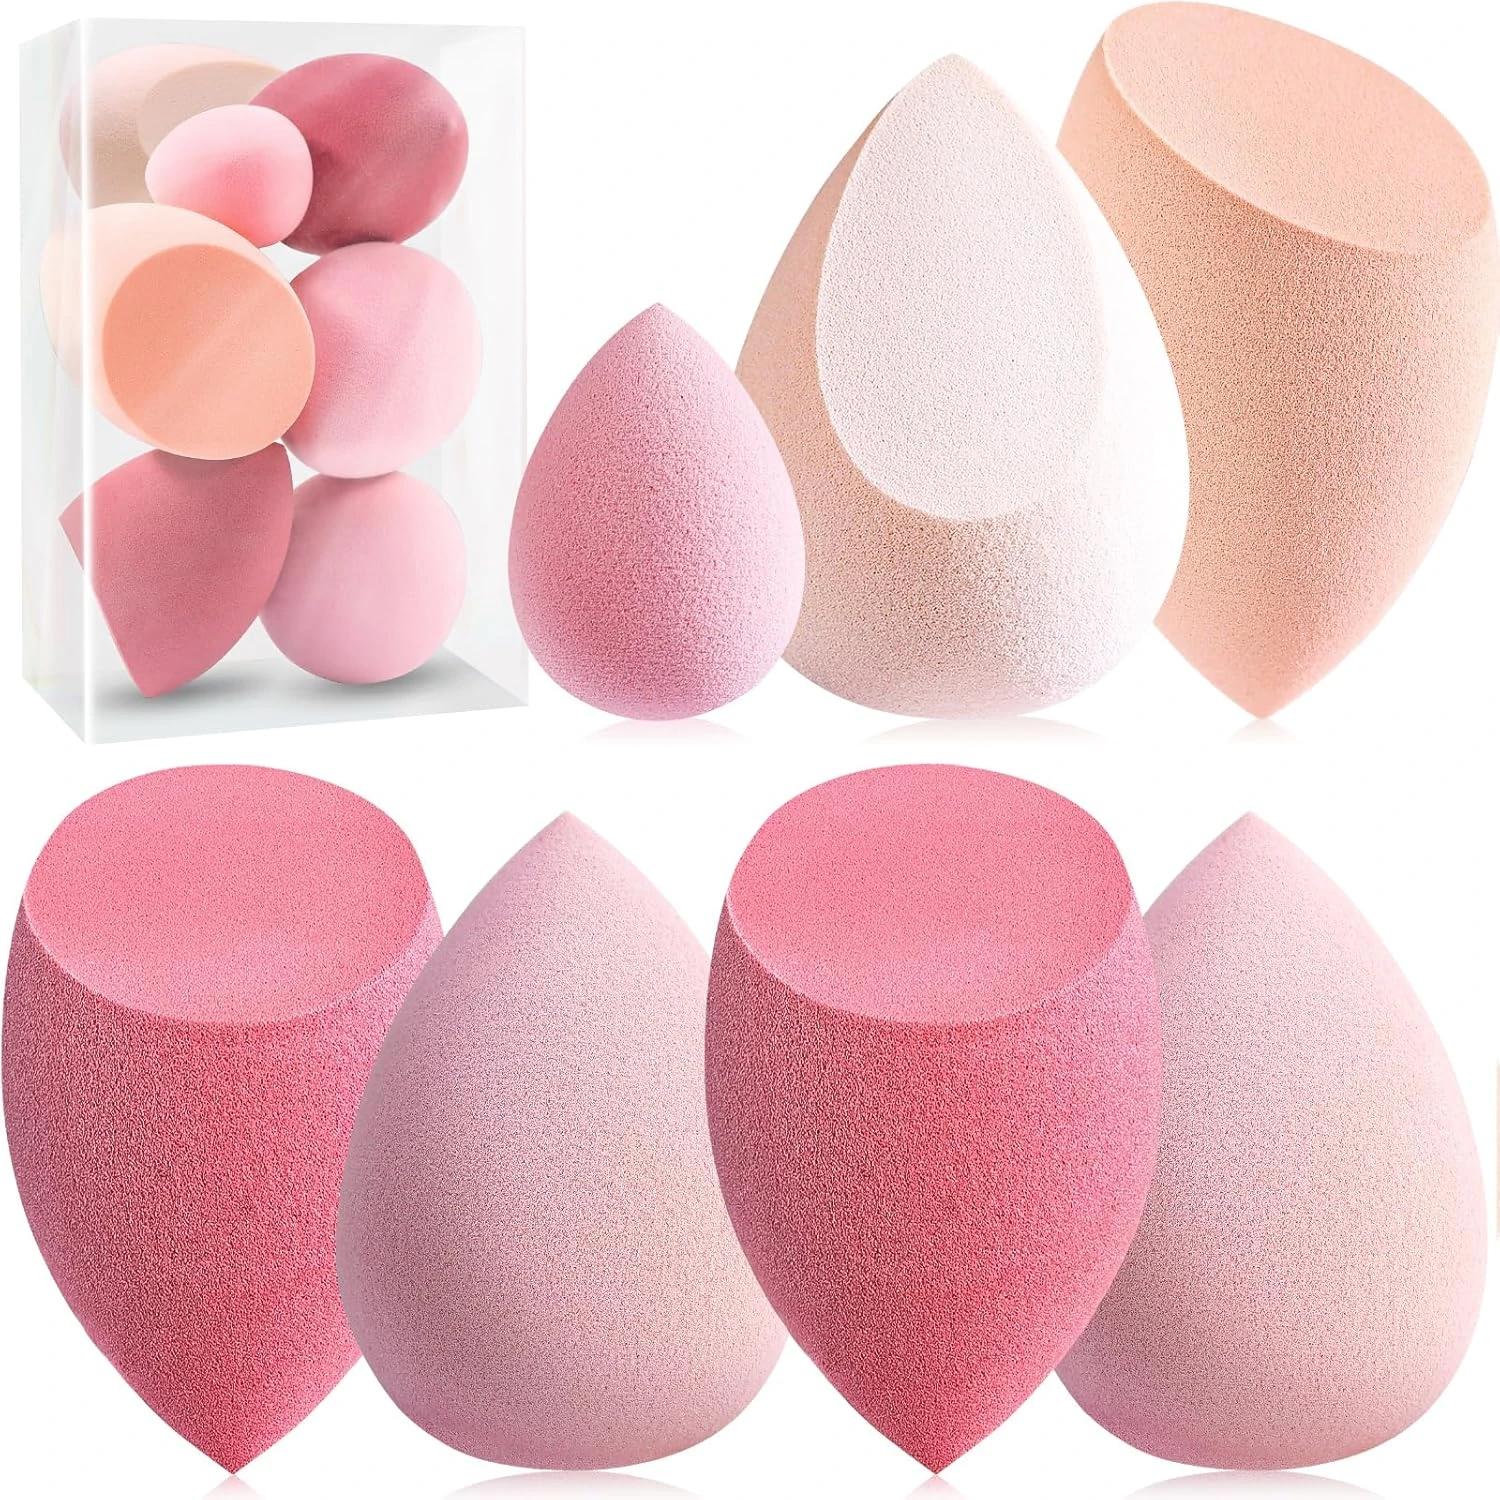
Gradient Makeup Sponge
3. Pink and White Ombre Nails
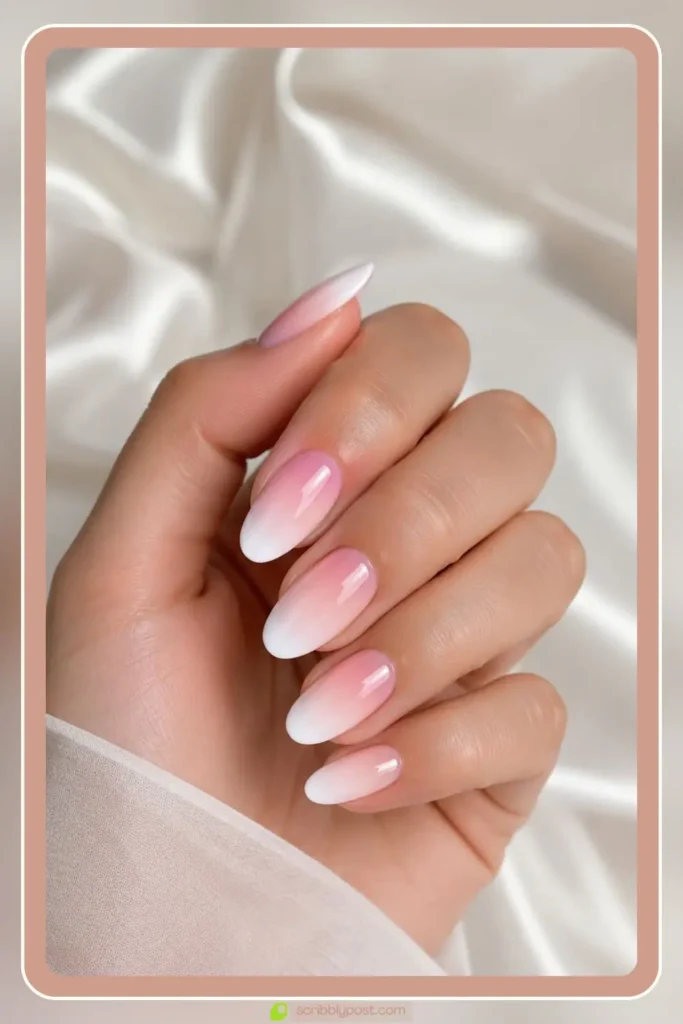
Pink and white ombre nails melt a soft pink into a clean white across each nail, staying bridal and gentle with no sharp edge. The pale pairing reads expensive and grows out invisibly, which is why brides reach for it.
DIY note: build the white in thin layers, a single heavy dab creates a hard line instead of a soft melt.
Create the Design
Pink And White Polish Duo
High Gloss Top Coat
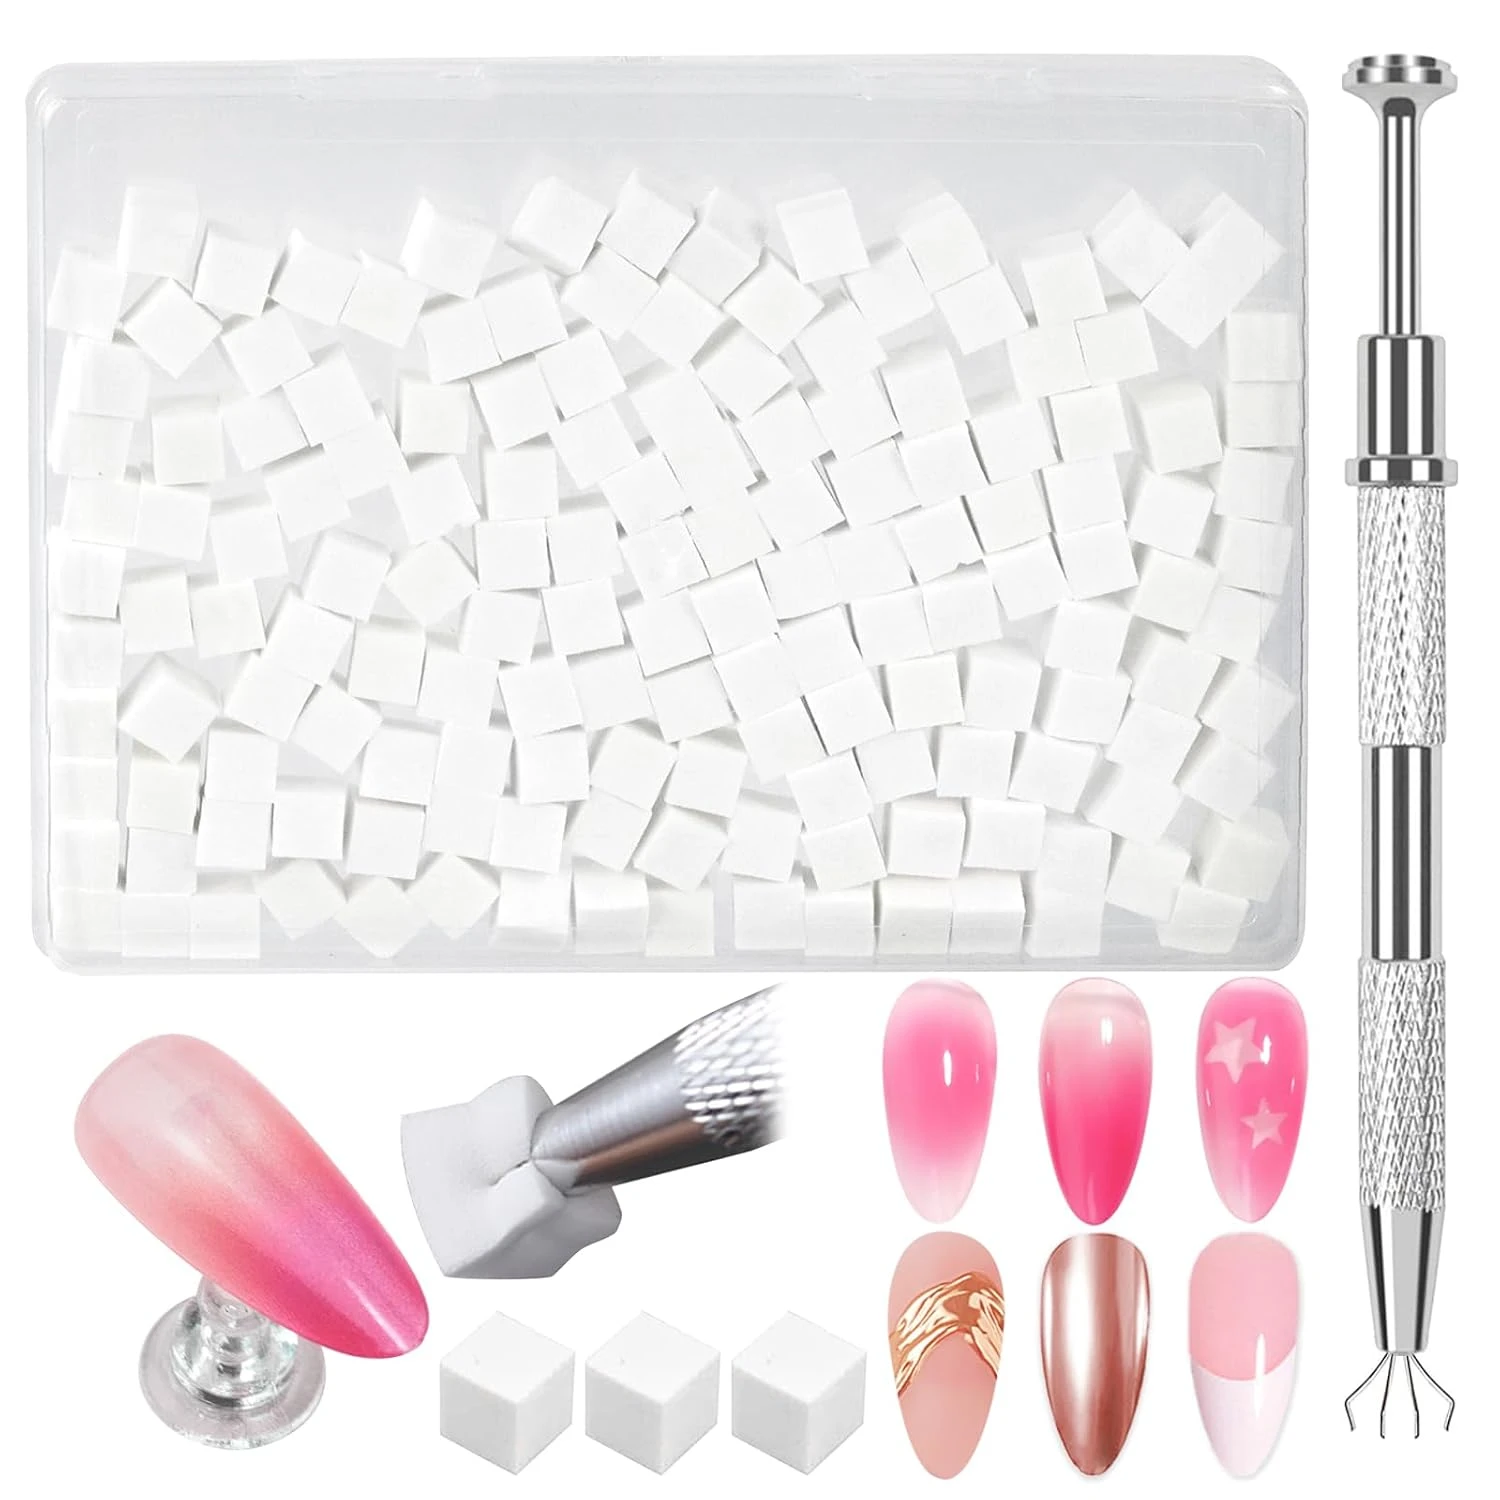
Nail Art Sponge Set
4. Summer Ombre Nails
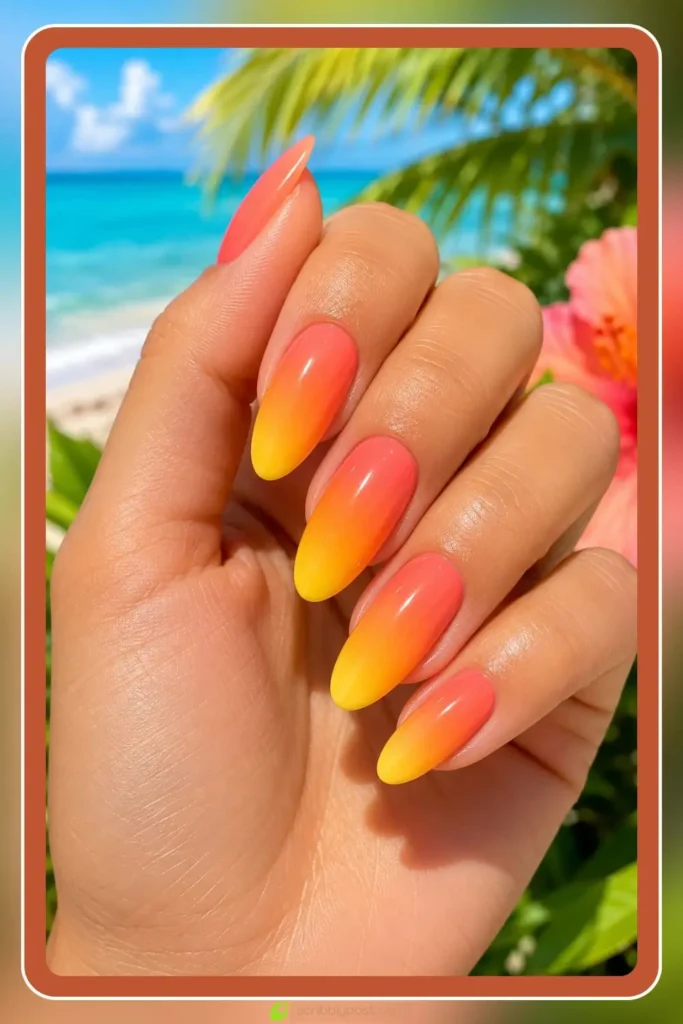
Summer ombre nails use bright blends like coral into yellow or lime into turquoise for warm-weather color. Warm neighboring colors blend without going muddy, so bold summer fades still look clean.
DIY note: pick two shades that sit next to each other on the color wheel, opposite warm and cool tones fight instead of blending.
Create the Design
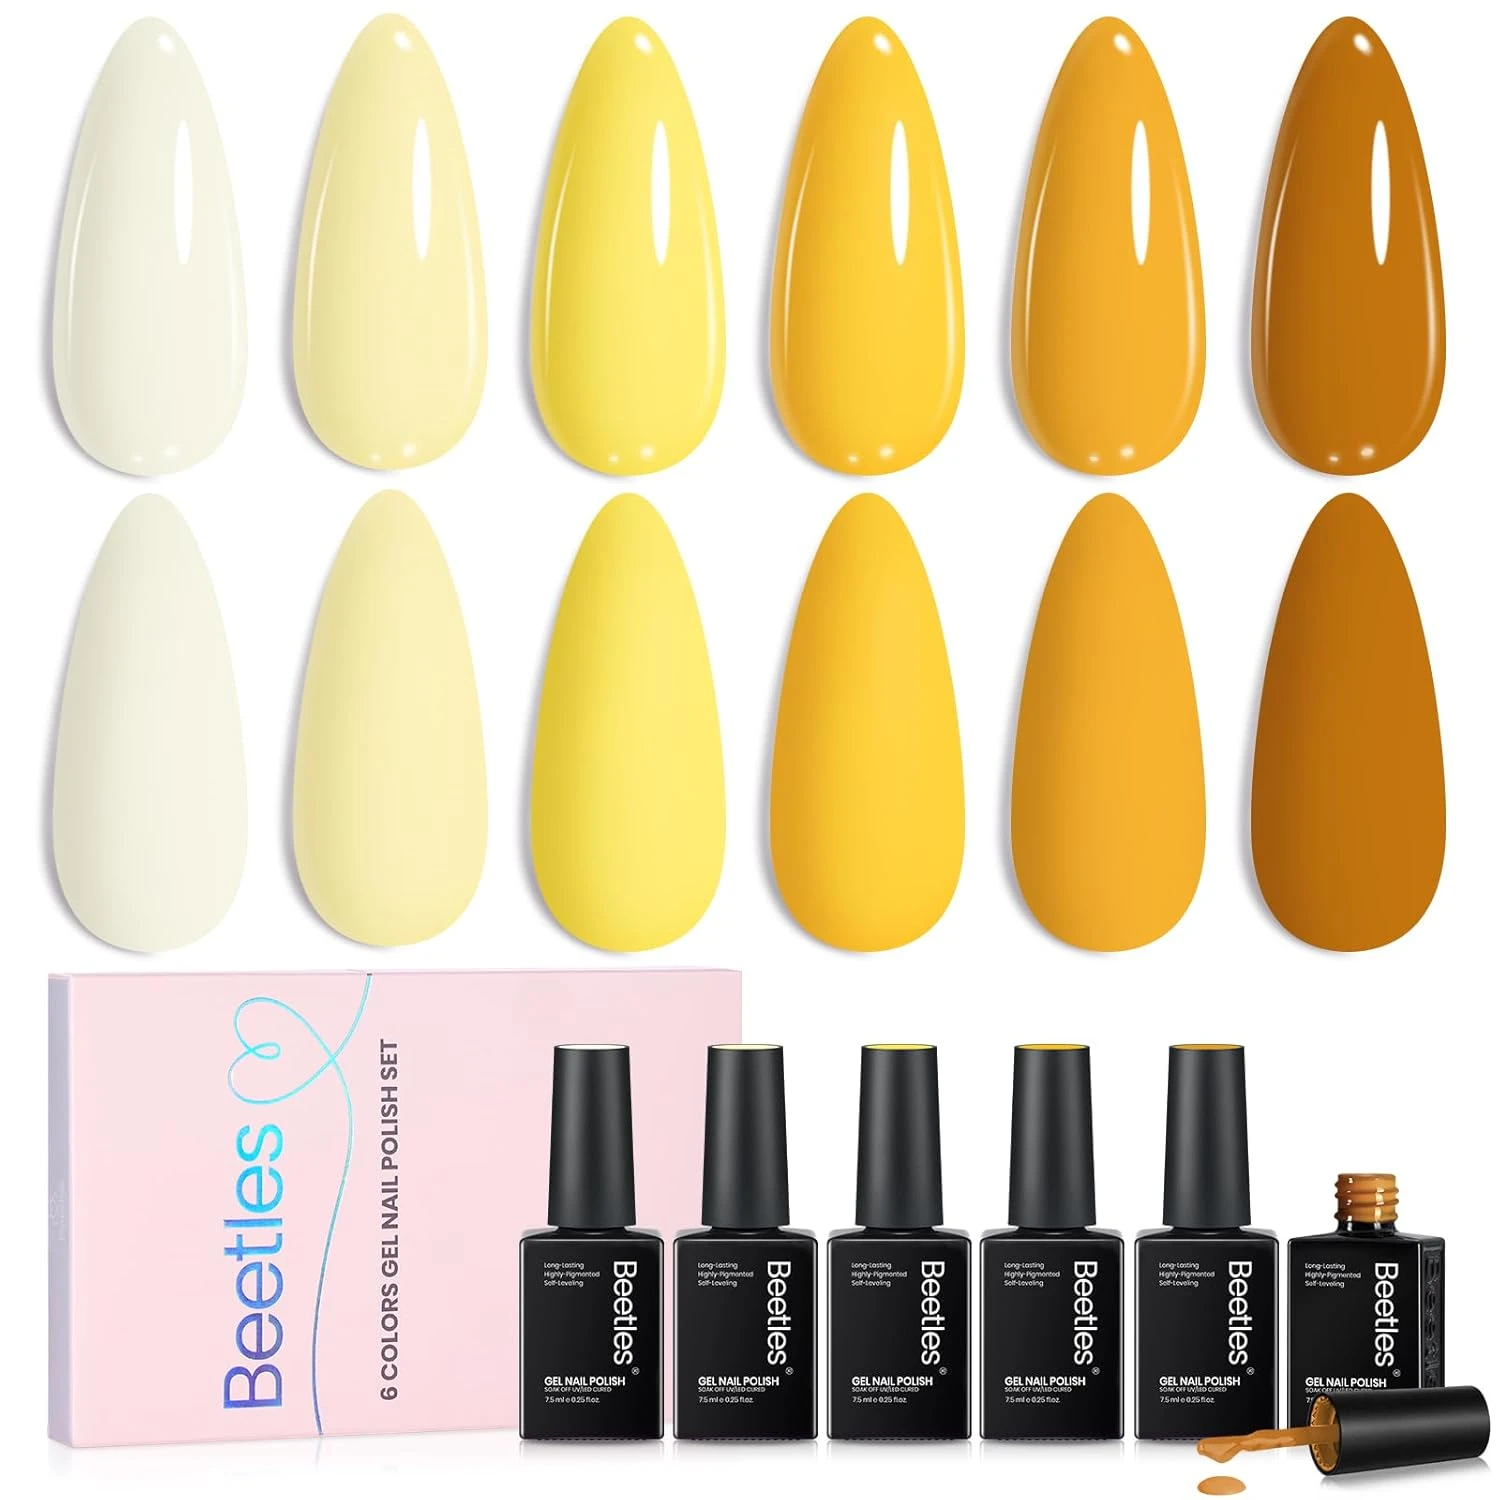
Coral And Yellow Polish Set
High Shine Top Coat
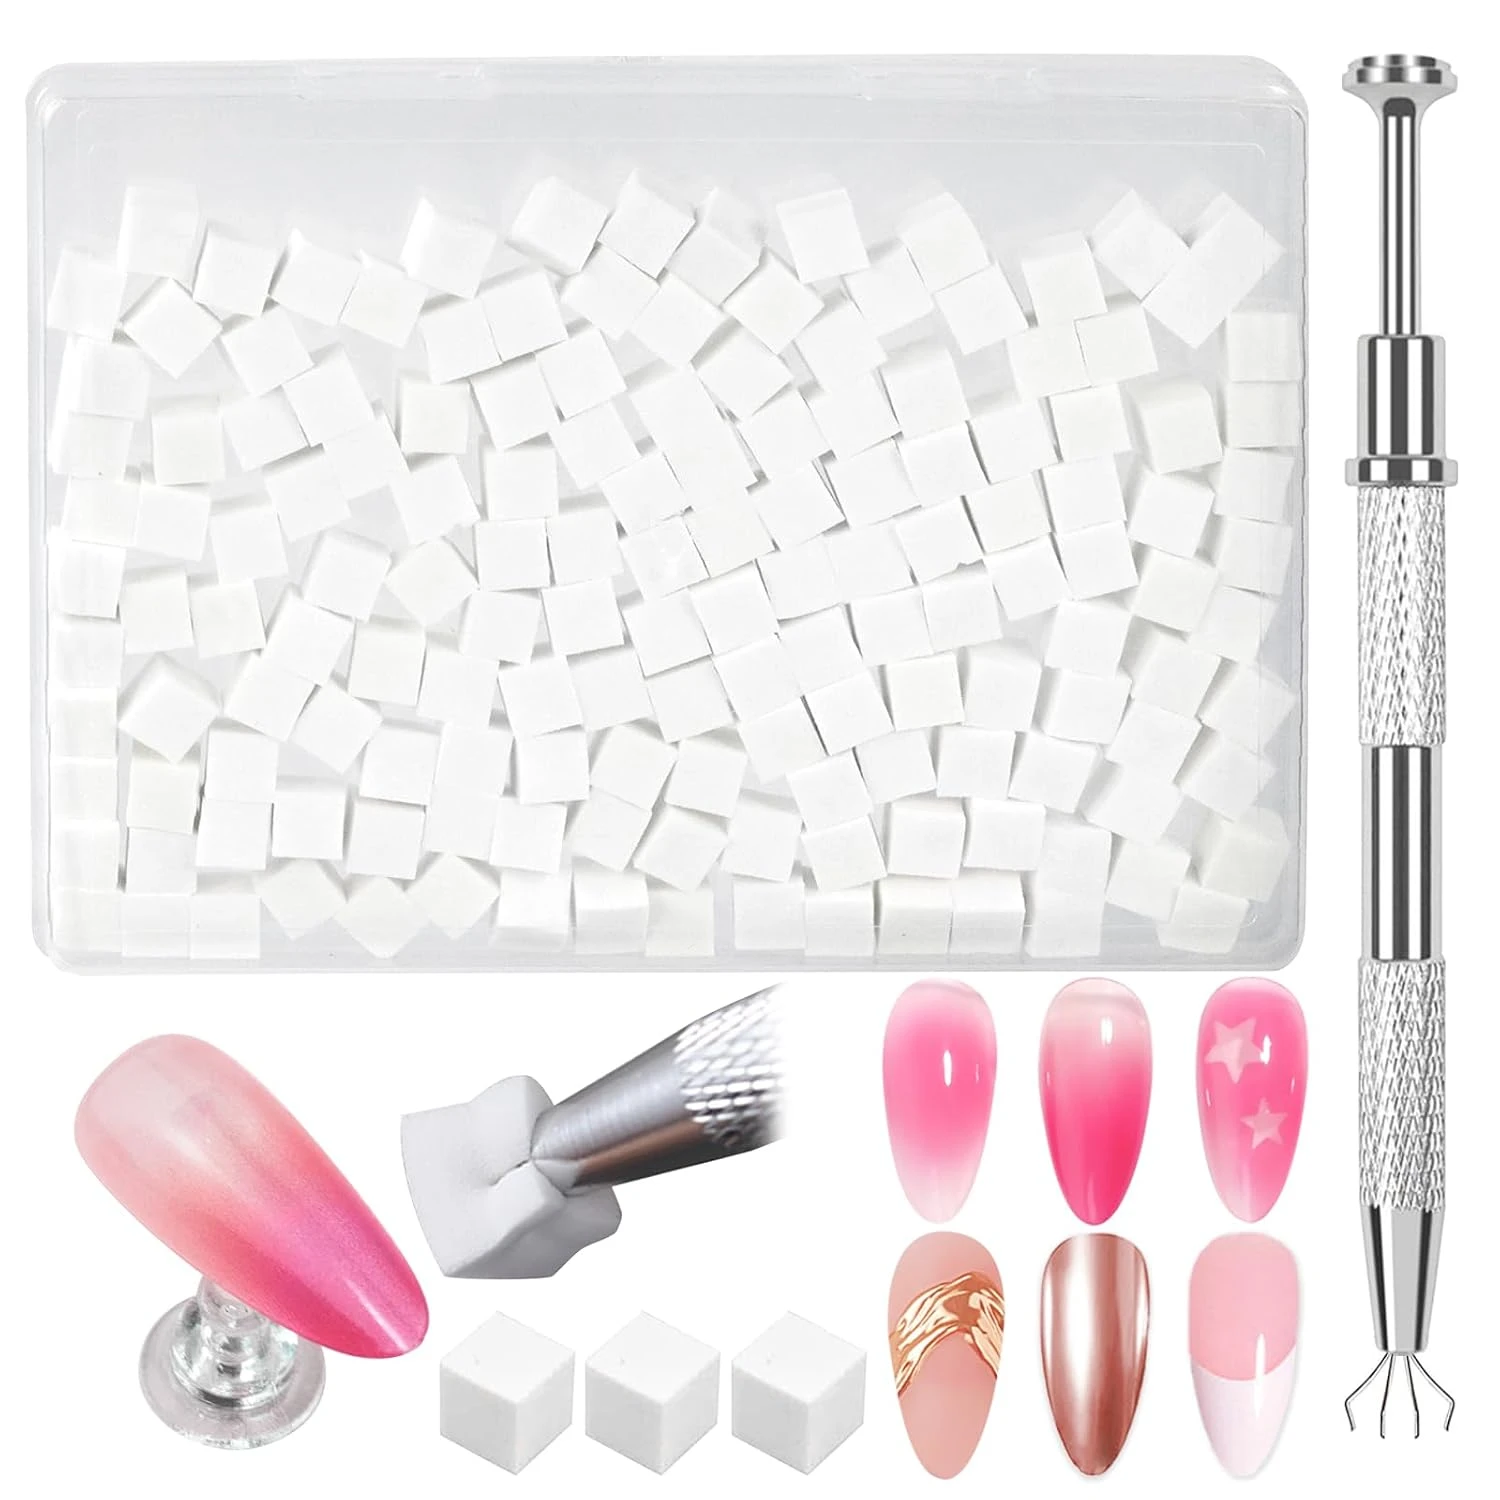
Ombre Nail Sponge
5. Blue Ombre Nails
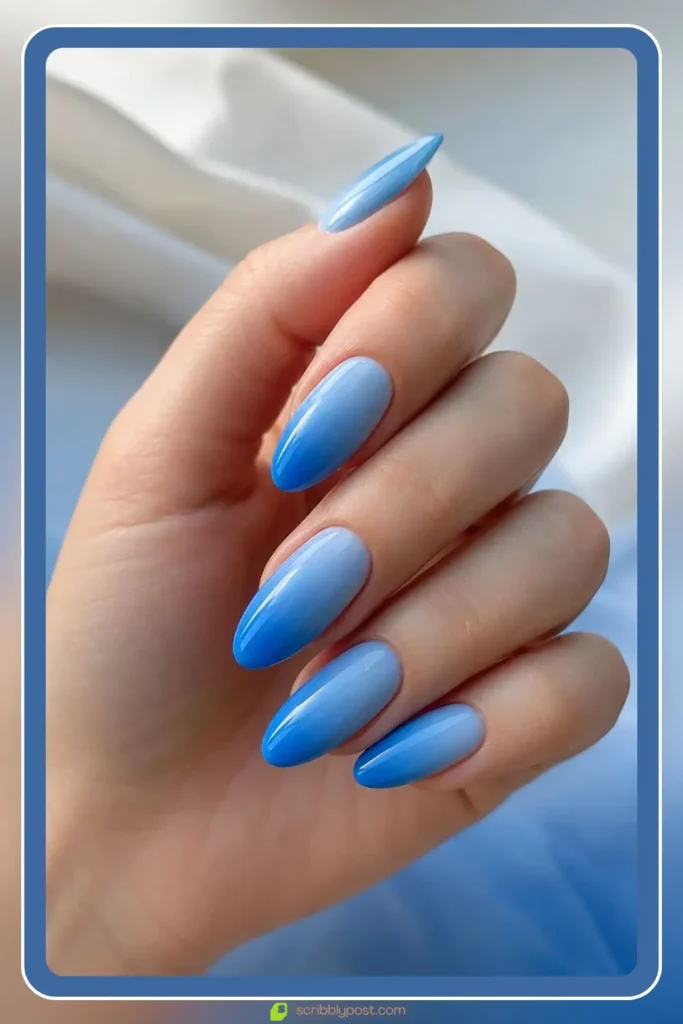
Blue ombre nails blend pale sky blue down into a deeper ocean blue for a cool fade that wears well in any season. The shared blue base keeps the transition smooth while the depth adds an ocean-like effect.
DIY note: use two blues from the same family, a true navy against a pastel blue skips too many steps for a smooth blend.
Create the Design
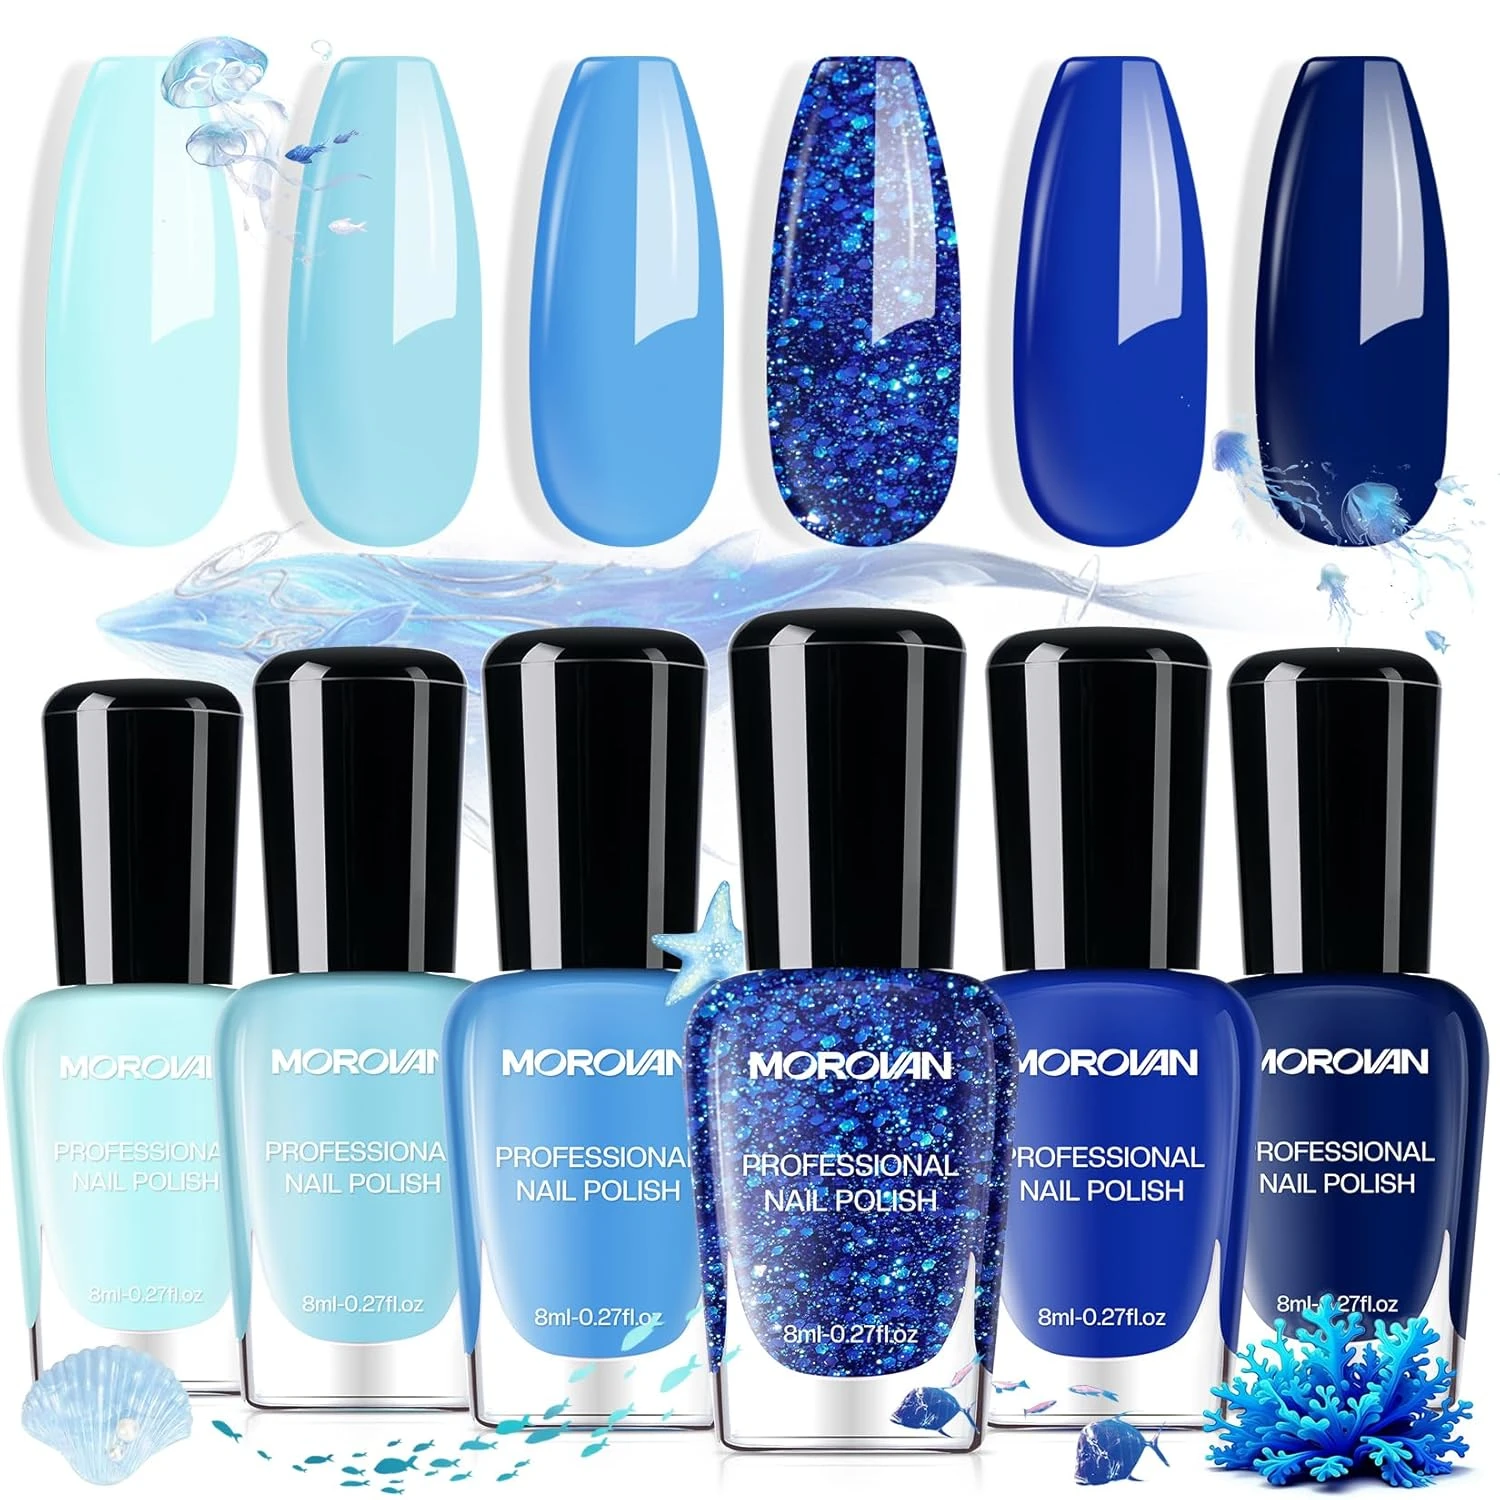
Blue Gradient Polish Set
Glossy Top Coat
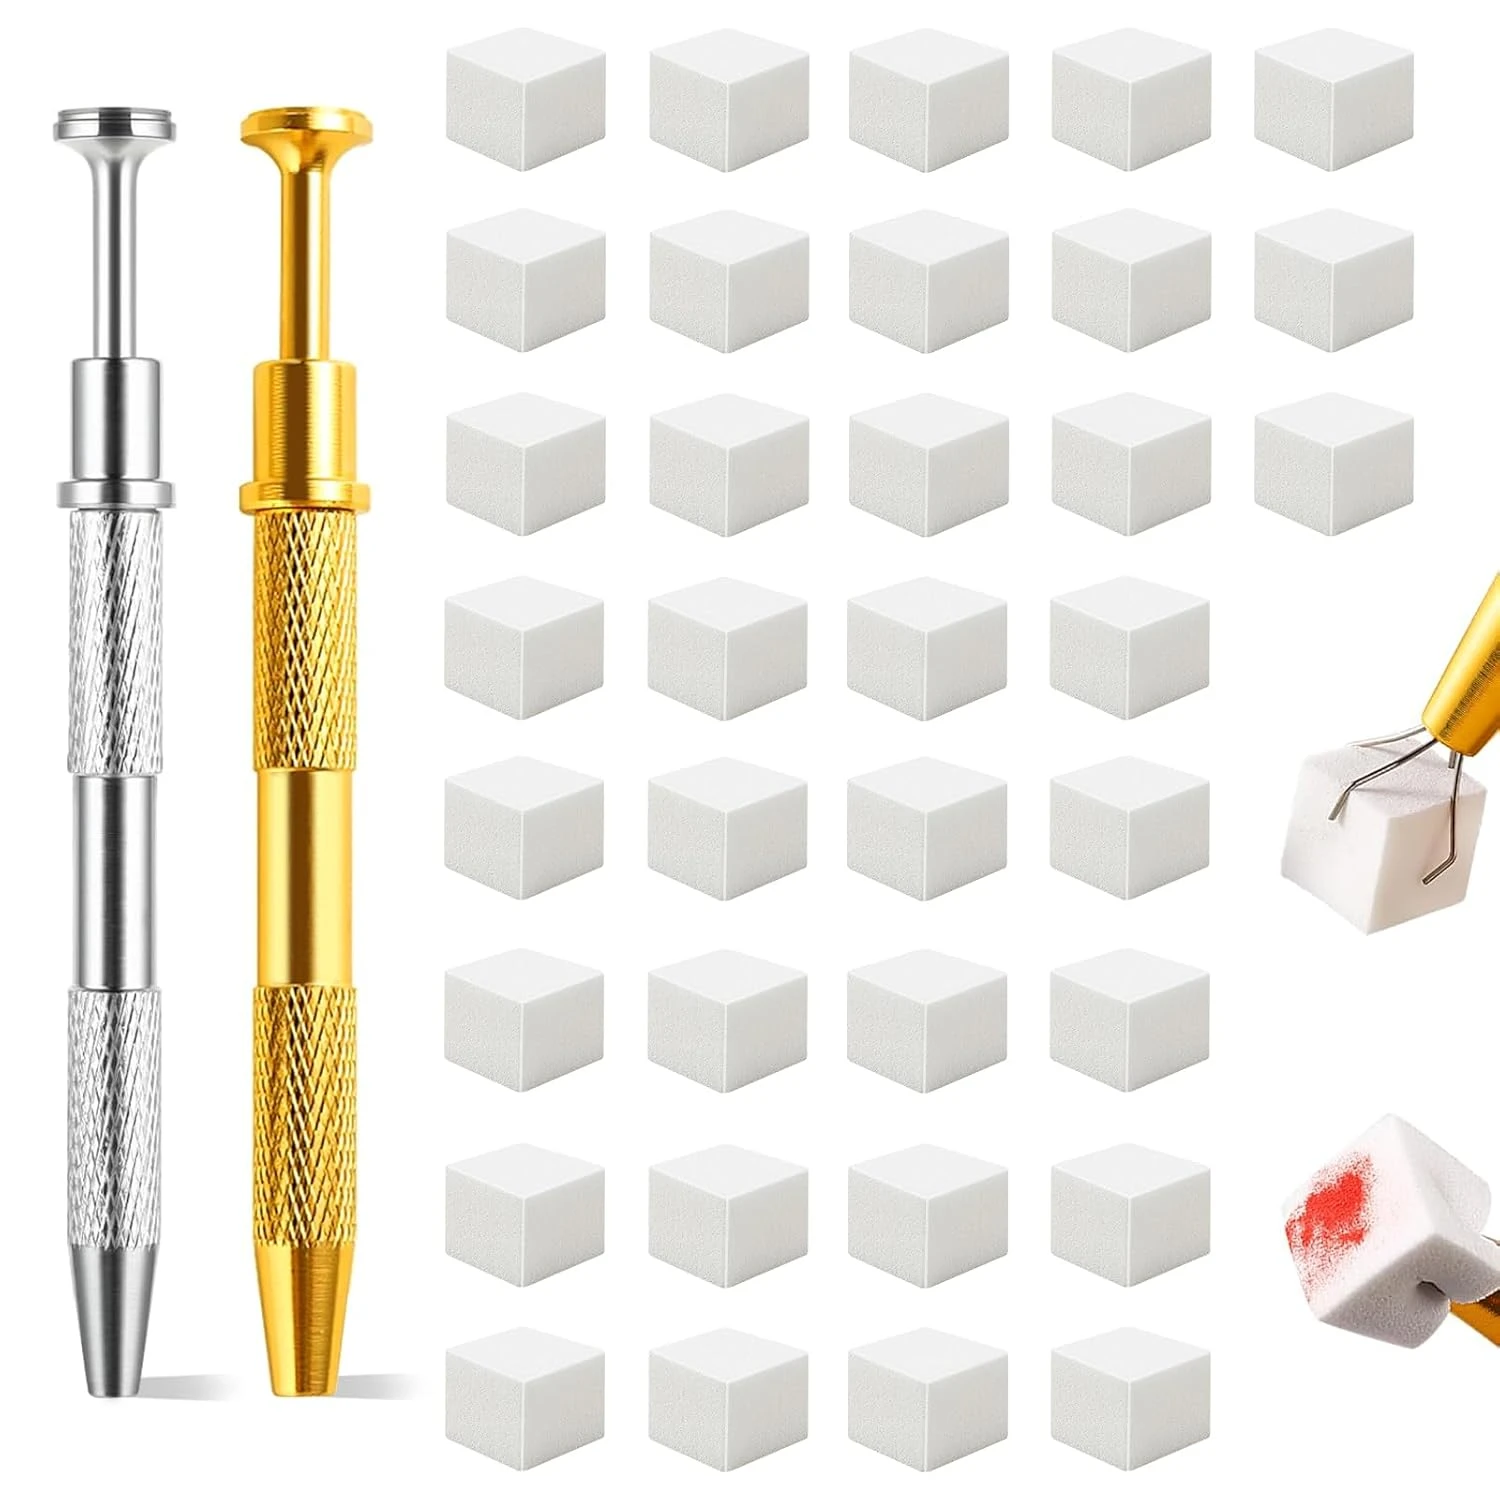
Ombre Nail Sponge
6. Red Ombre Nails
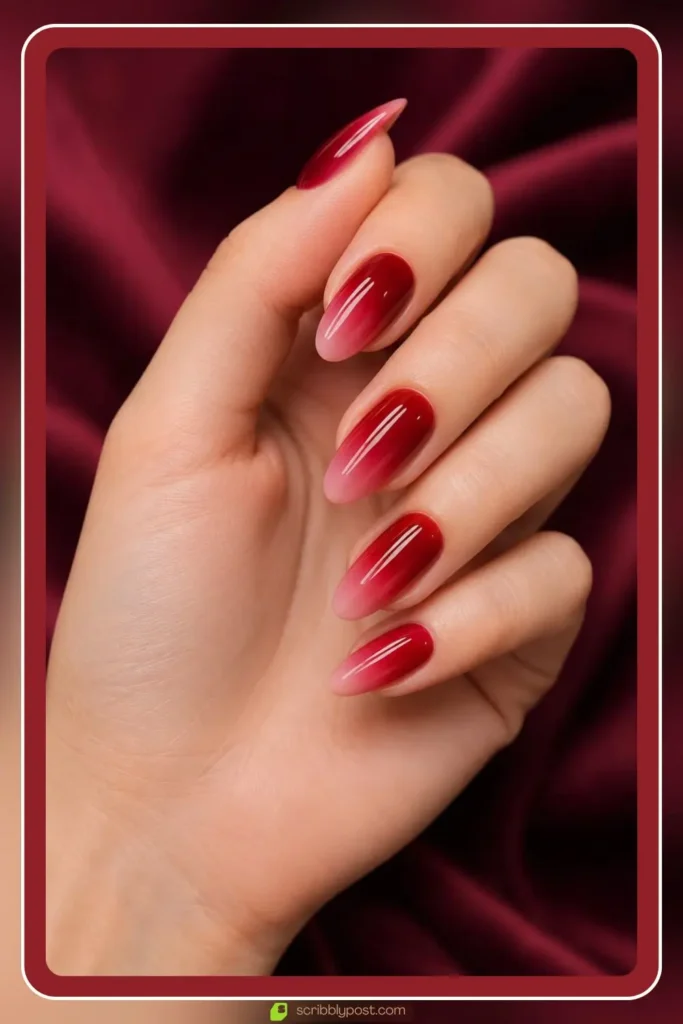
Red ombre nails blend a deep red into a softer pink or nude, warm and striking at once. Fading red into a related warm tone keeps the blend clean and the look less costume than a straight red-to-white fade.
DIY note: route the fade through a warm pink or nude rather than white, red against white is the highest-risk combination for a harsh line.
Create the Design
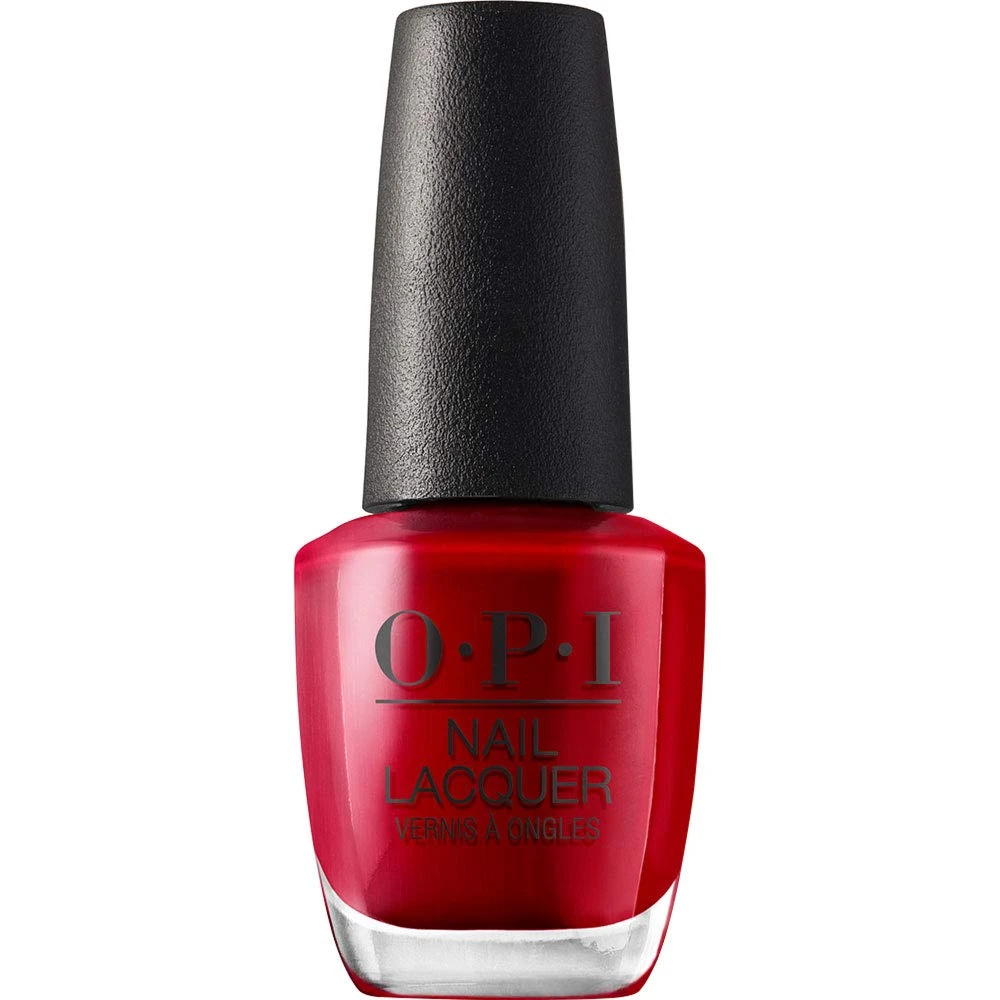
Red And Pink Polish Duo
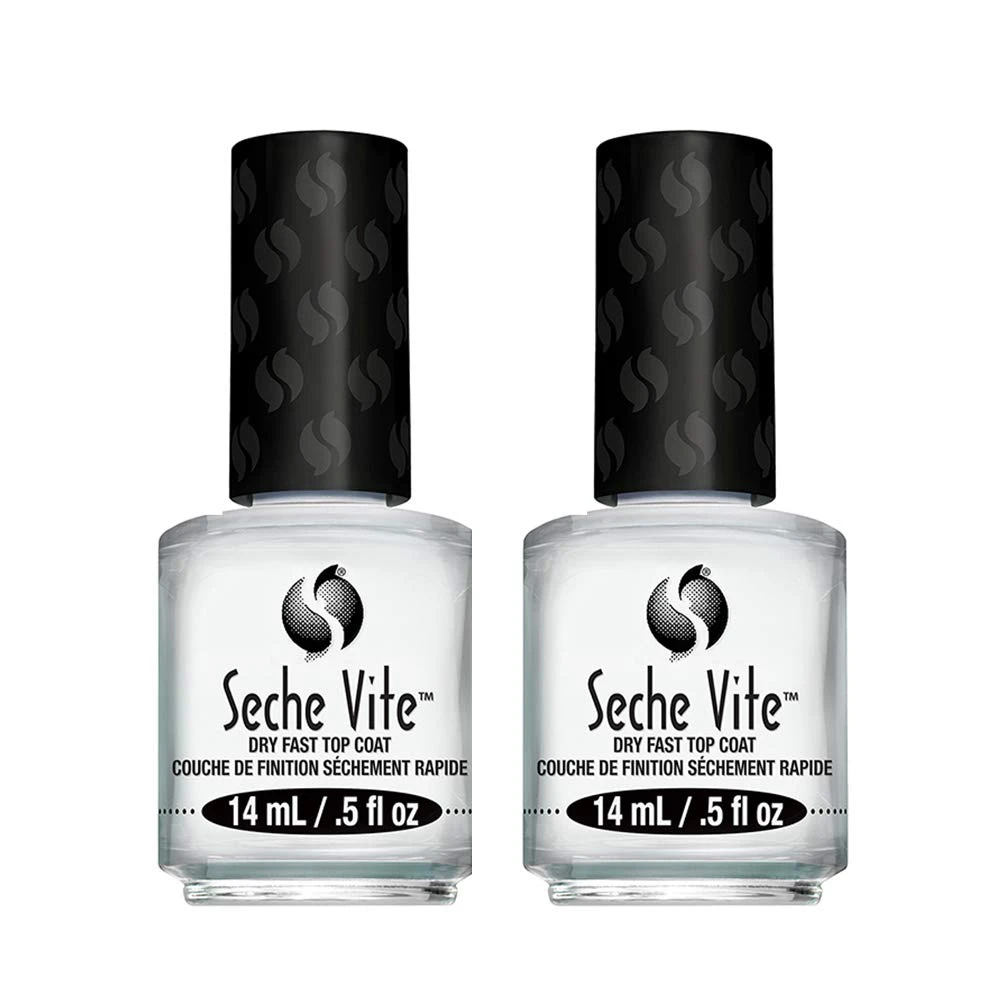
Quick Dry Top Coat
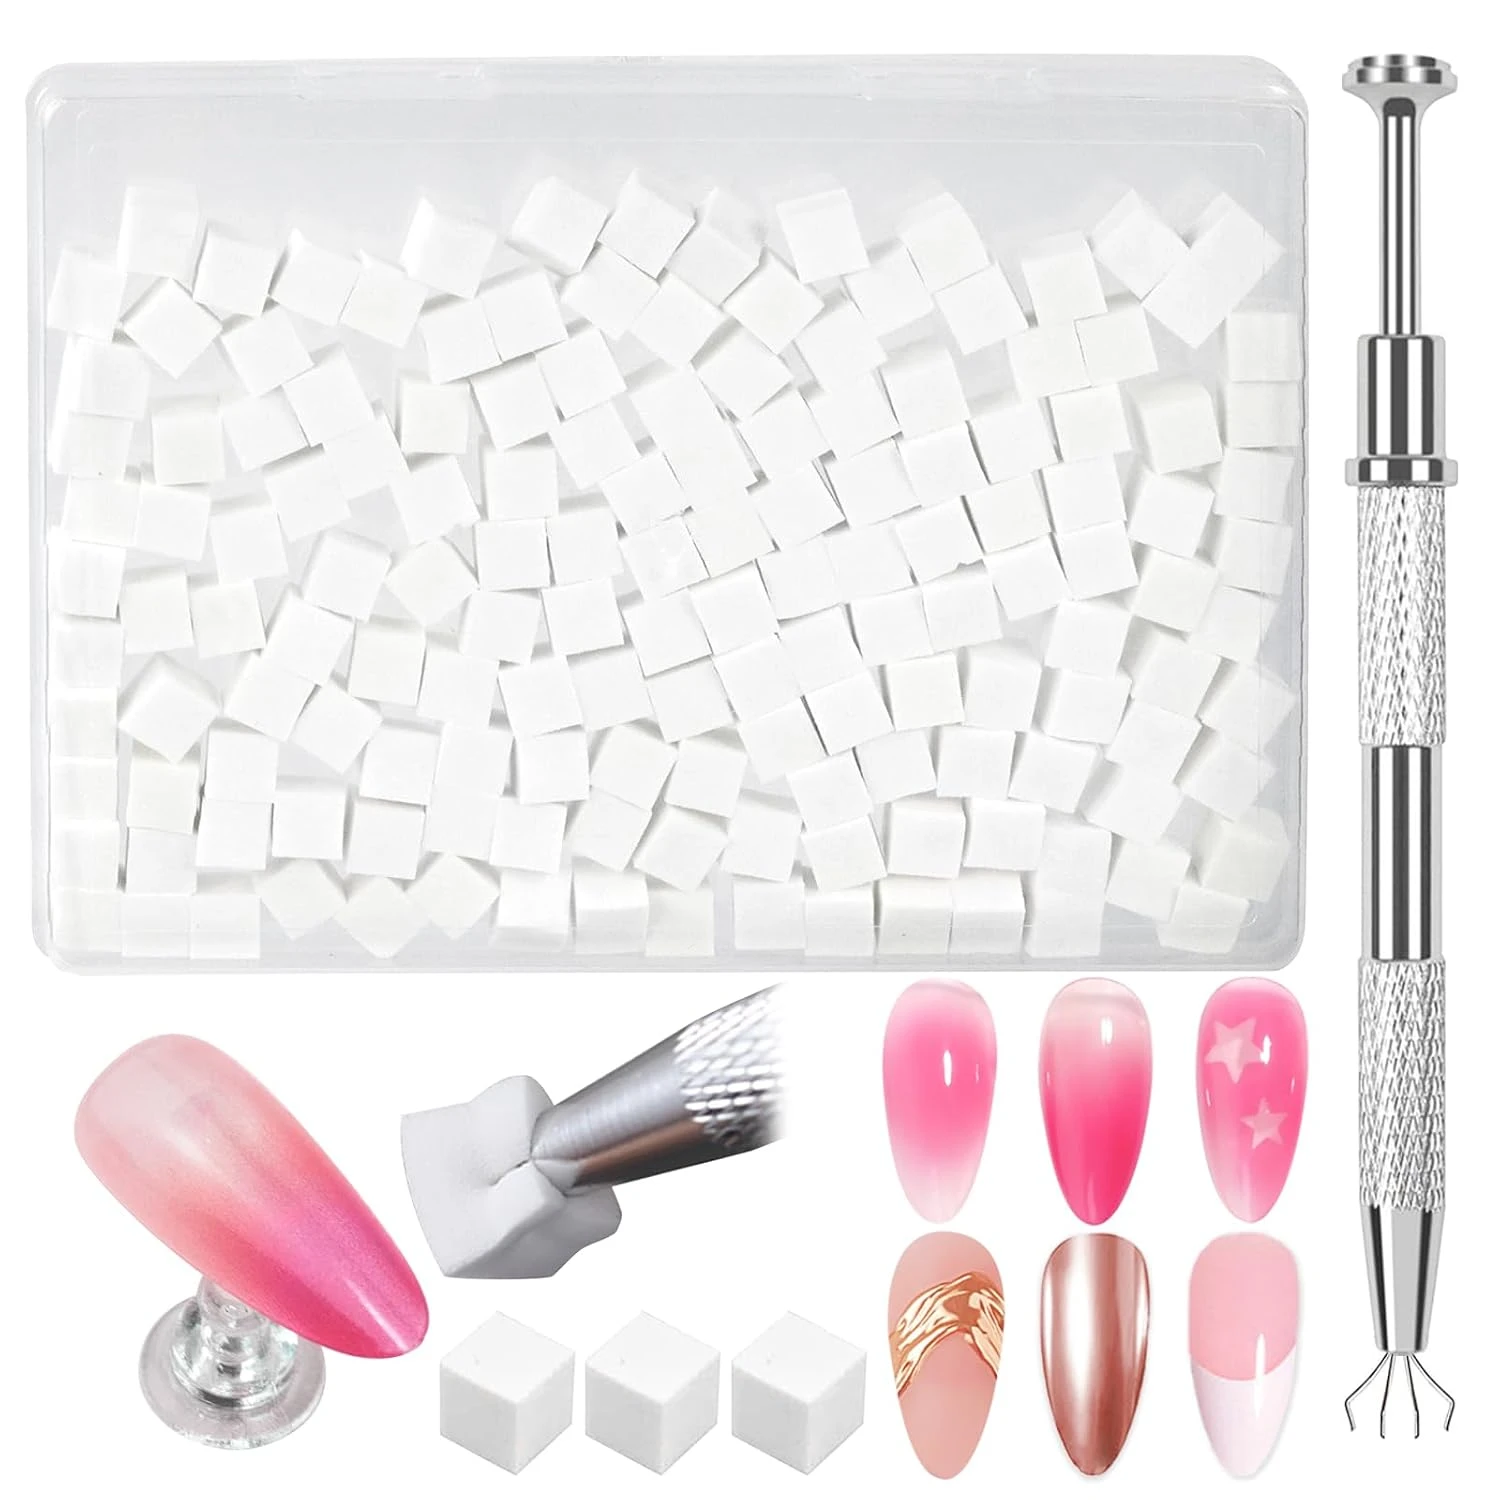
Nail Art Sponge Set
7. Black Ombre Nails
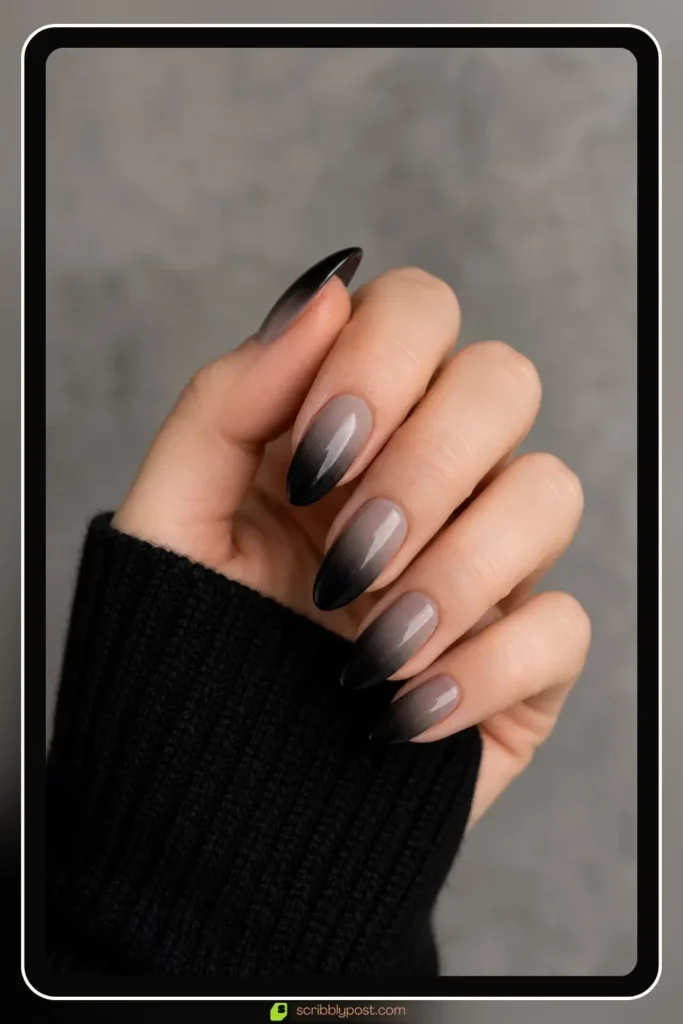
Black ombre nails melt black at the tips into grey or nude at the base for an edgy, moody finish. Routing black through grey instead of straight to nude avoids the muddy line a hard contrast leaves.
DIY note: always use grey as the middle step between black and a lighter base, skipping it is the single most common cause of a streaky black fade.
Create the Design
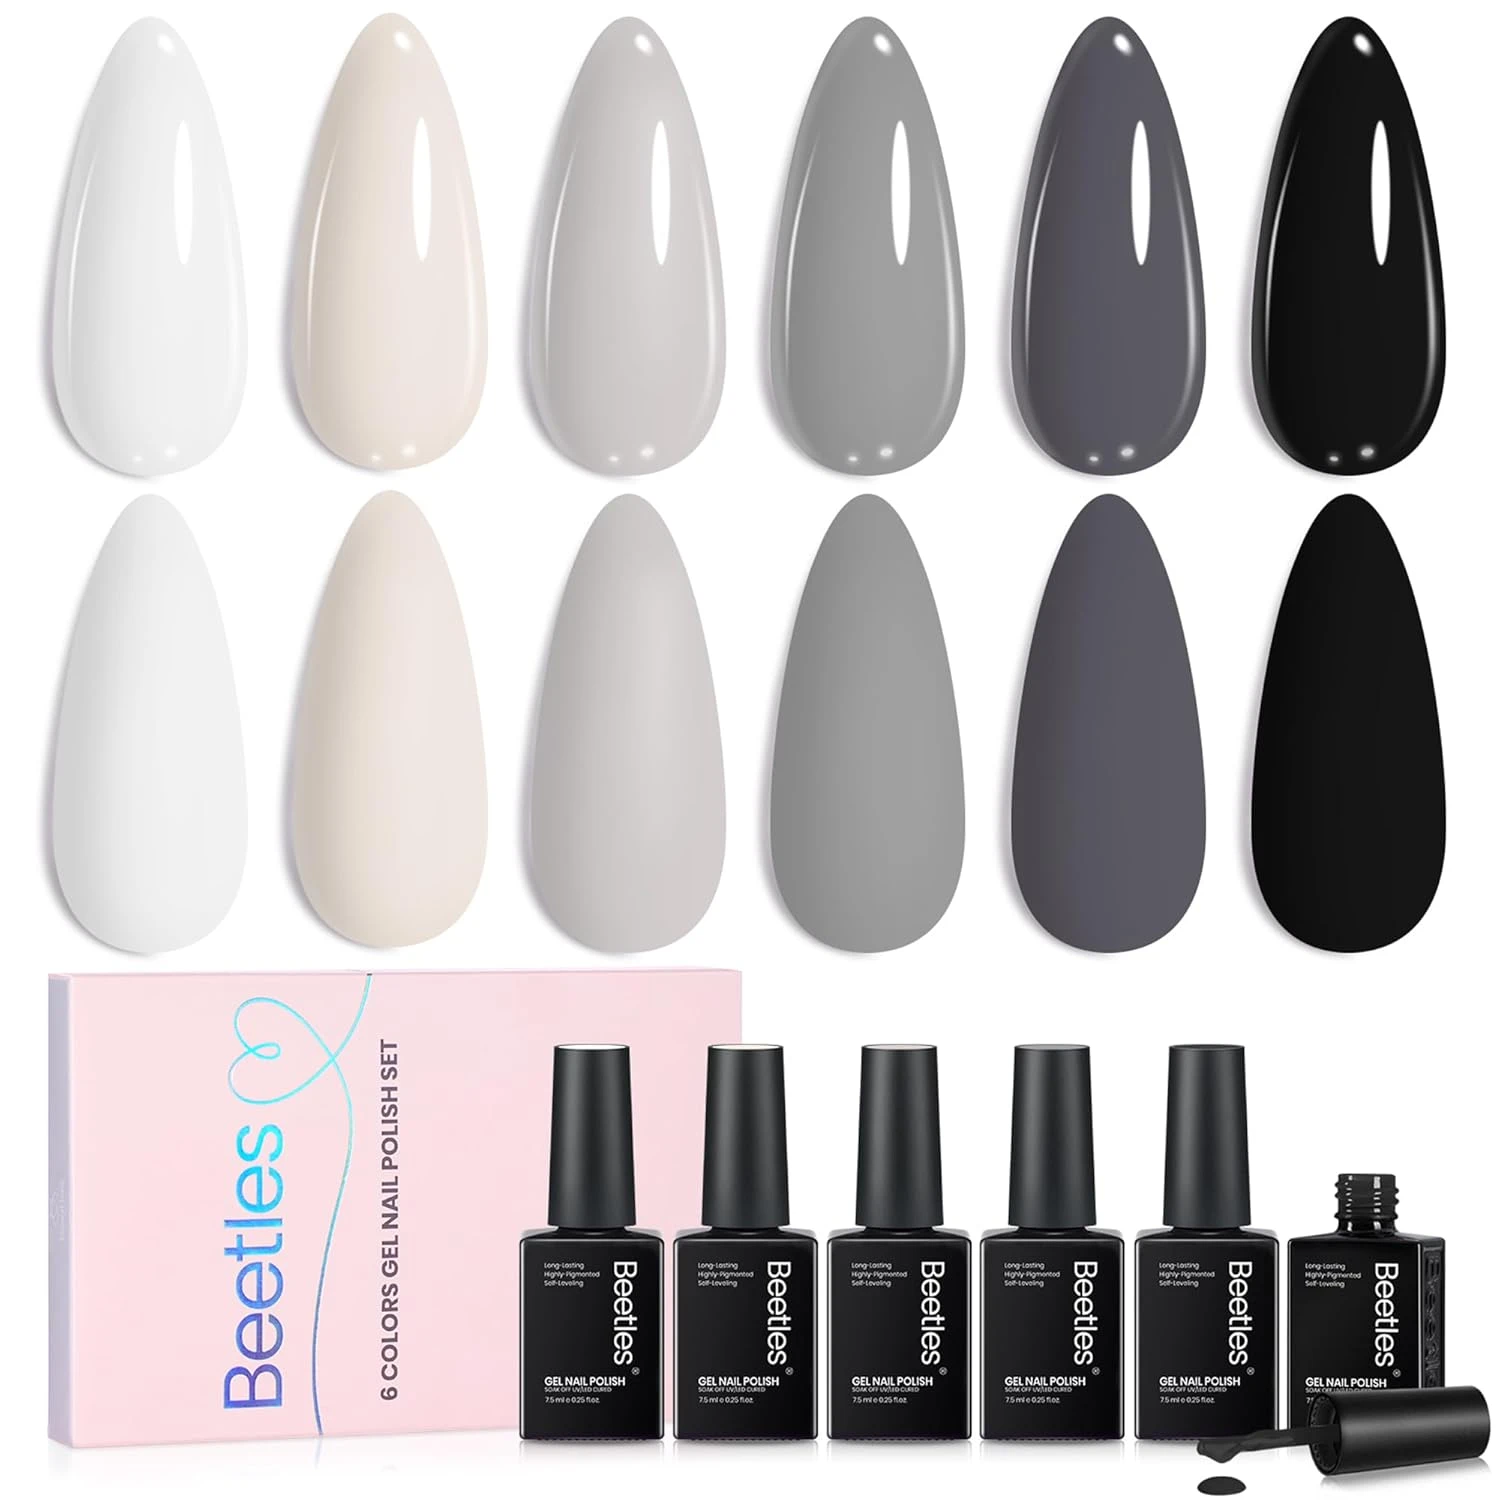
Black And Grey Polish Set
Matte Top Coat
Nail Dotting Tool
8. Purple Ombre Nails
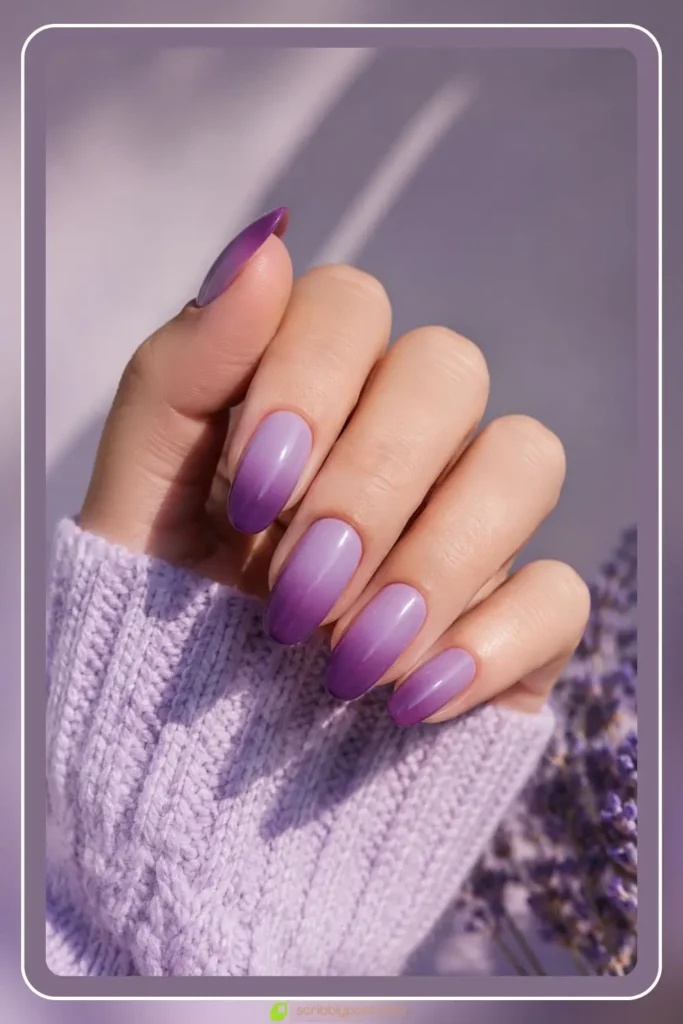
Purple ombre nails blend lavender into plum for a soft, feminine gradient that stays playful and classy. Lavender and plum sit close on the color wheel, so the fade stays smooth and rich. For more soft purple shades on their own, our lavender nail ideas guide has the full range.
DIY note: pick a lavender and plum from the same undertone family, a cool lavender against a warm plum creates a visible seam.
Create the Design
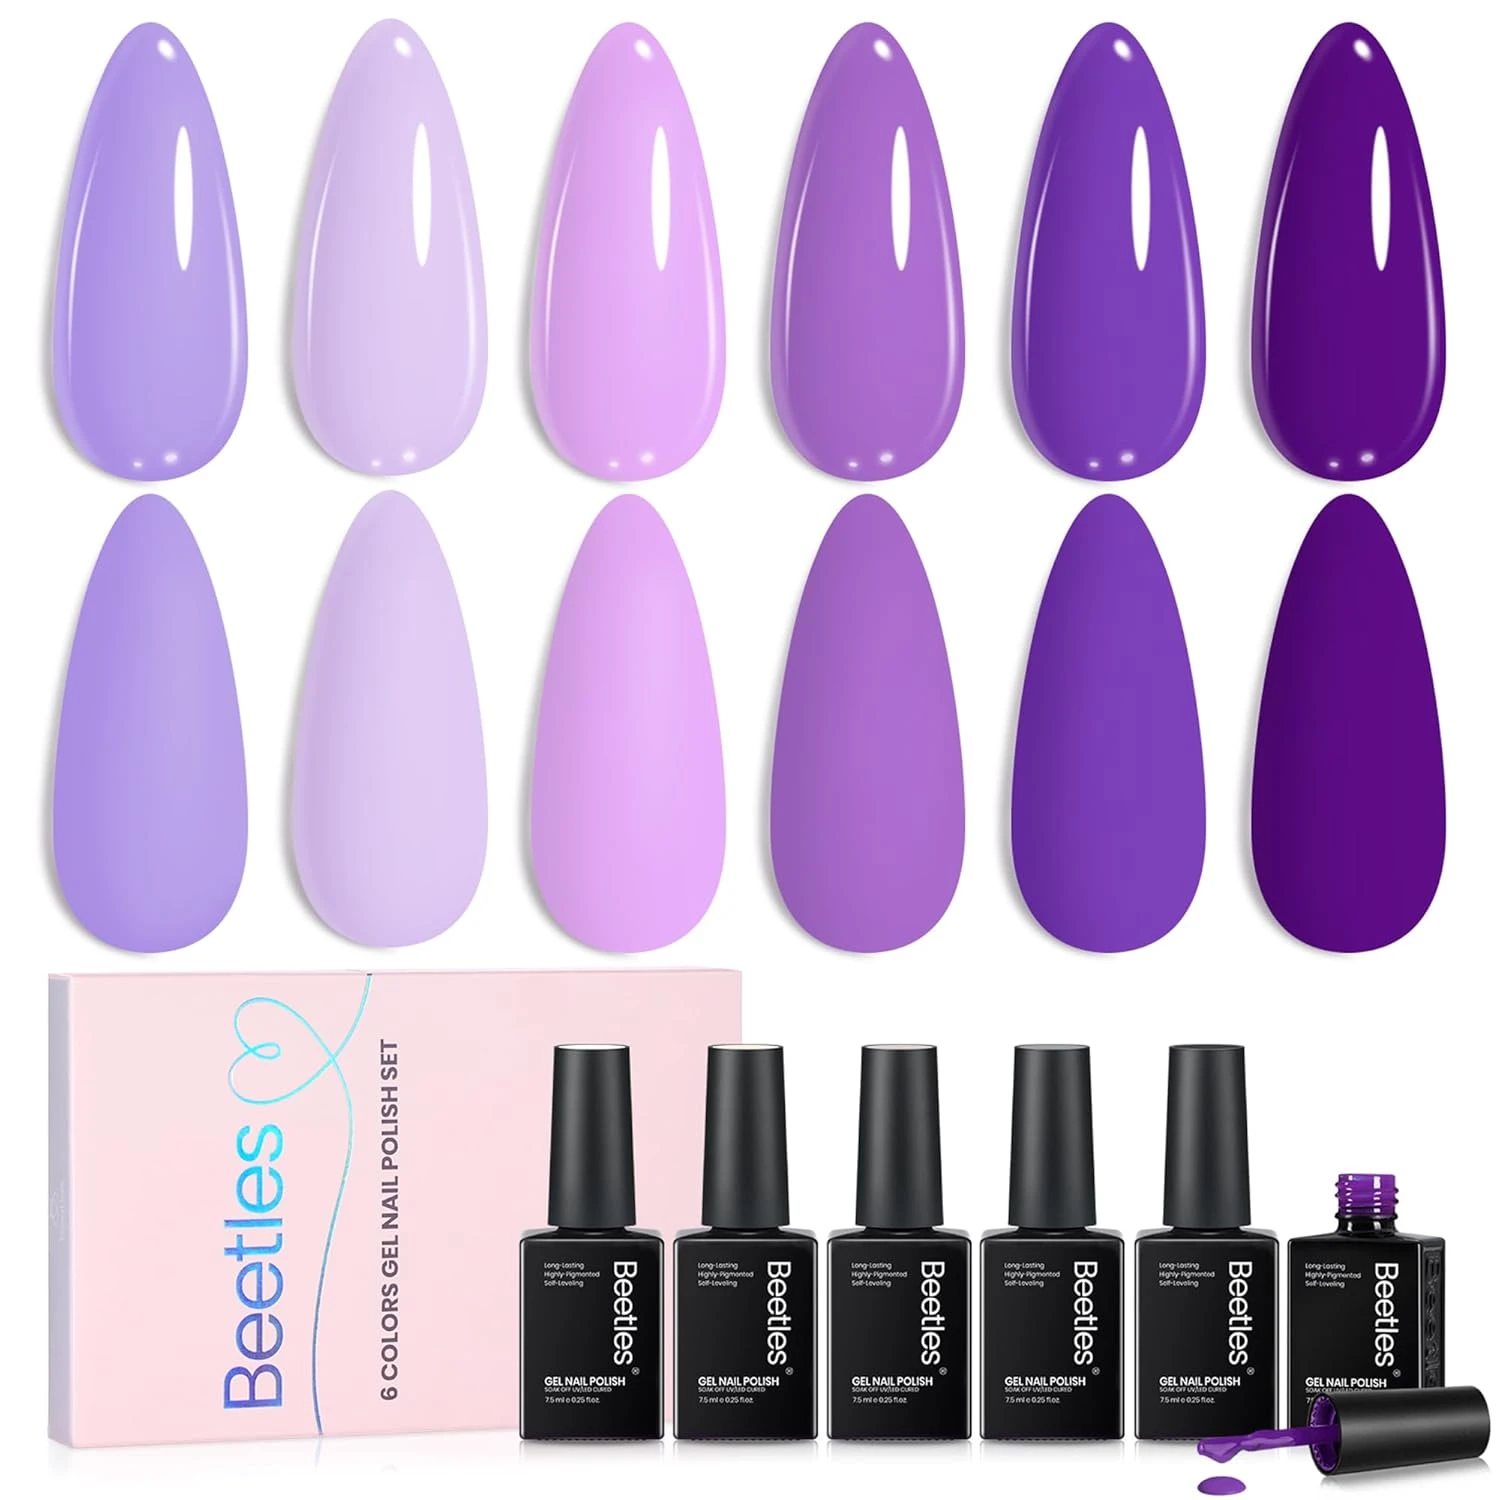
Lavender And Plum Polish Set
Glossy Top Coat
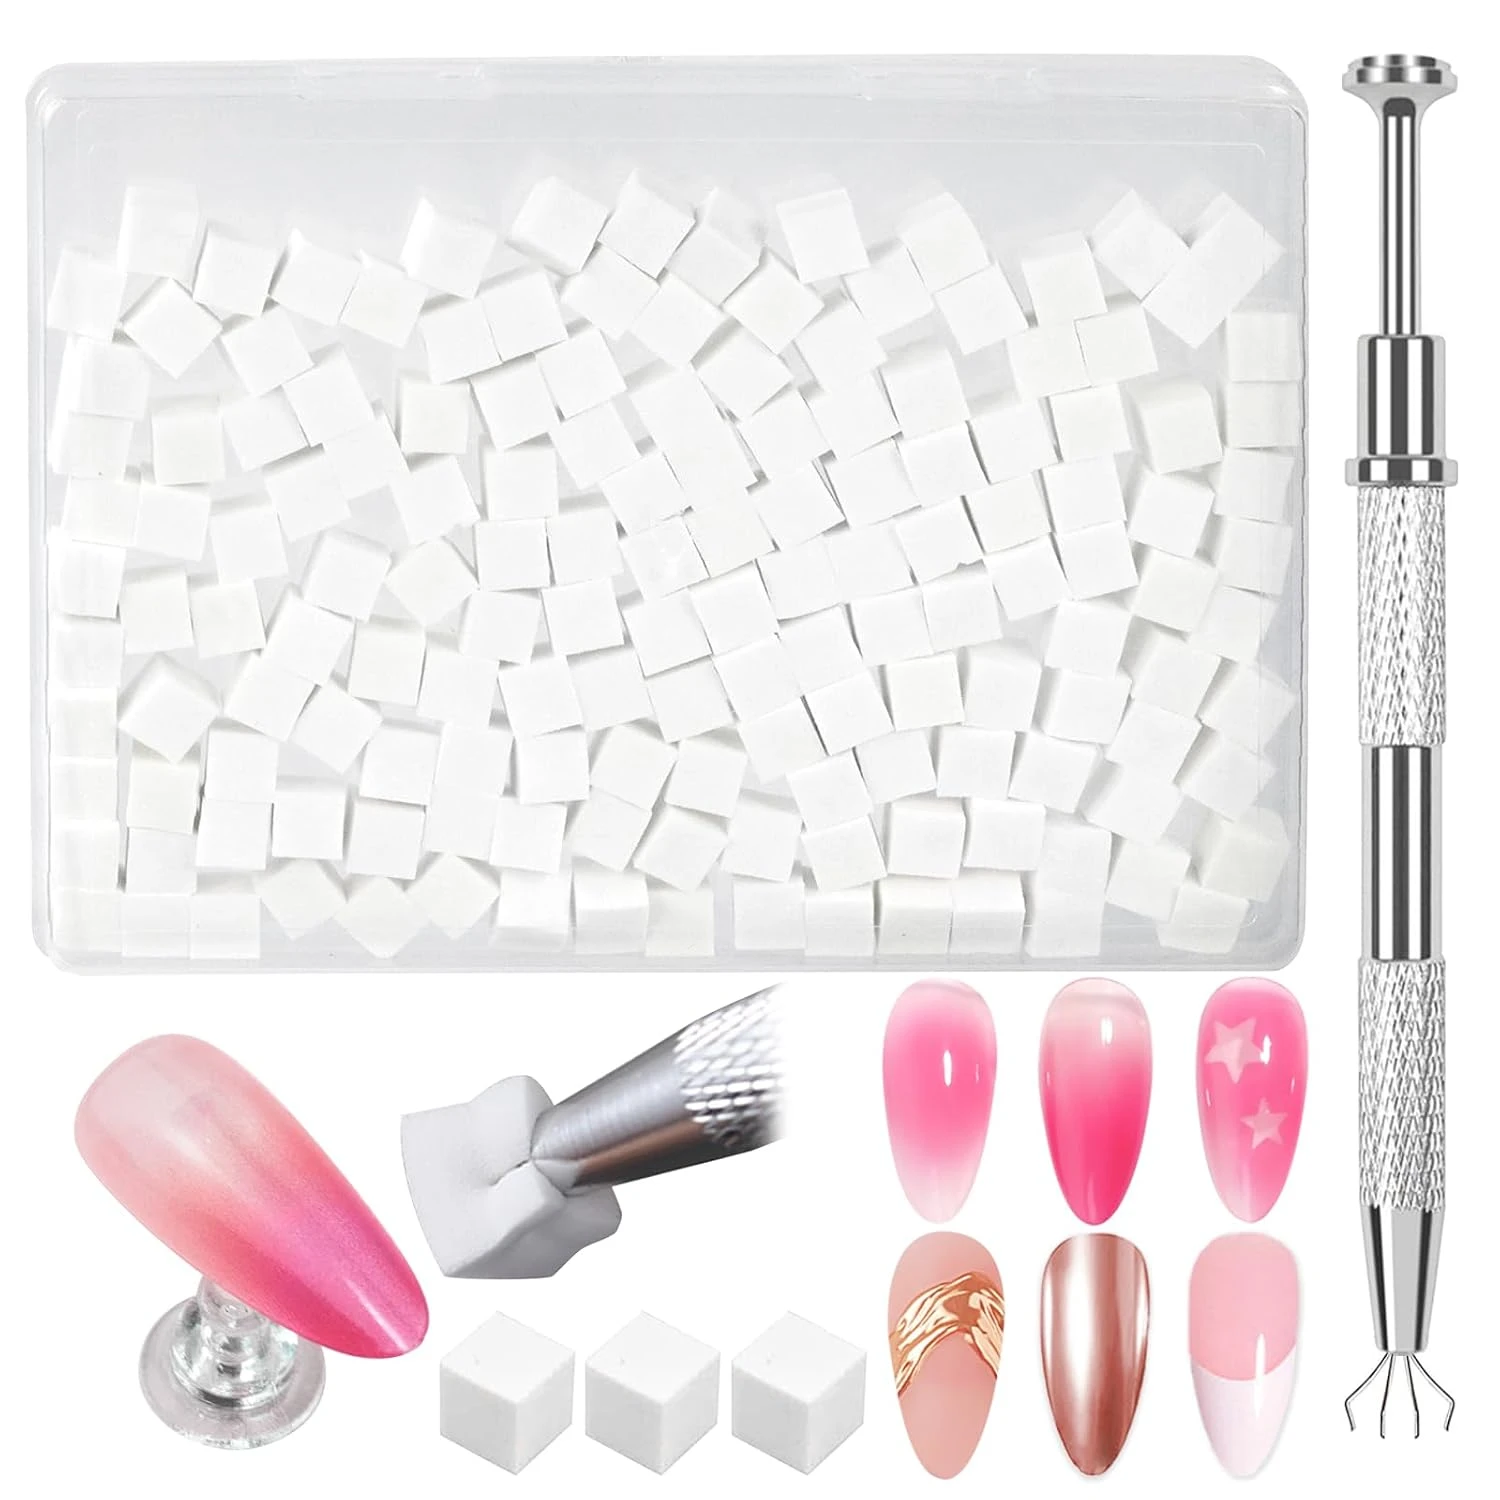
Ombre Nail Sponge
9. White Ombre Nails
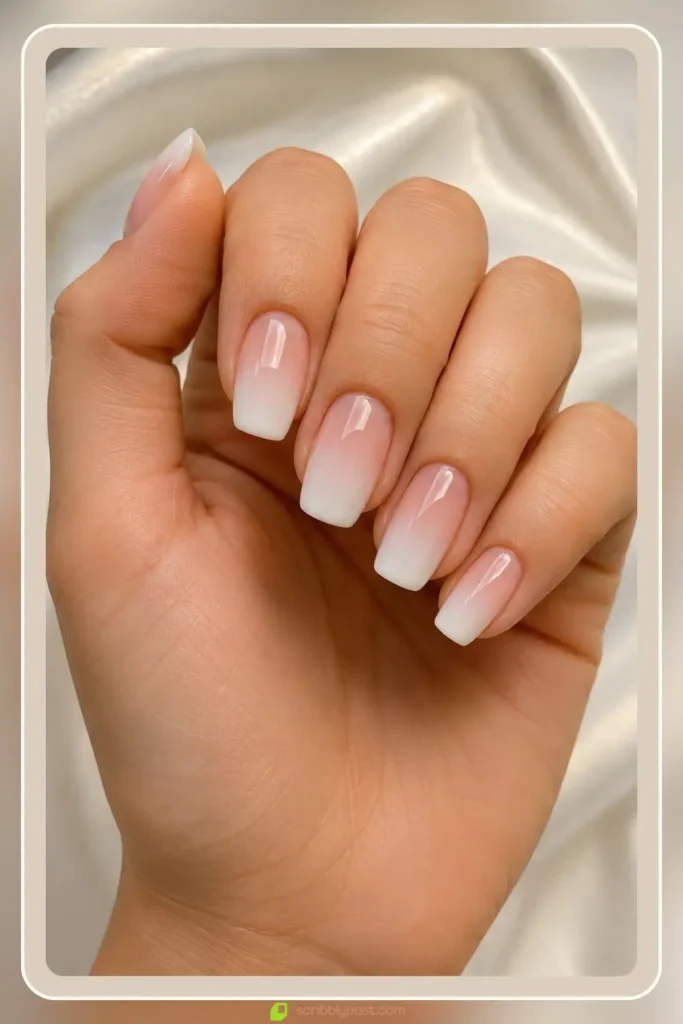
White ombre nails fade a sheer base into a milky white tip, clean and minimal on any length. The sheer-to-white blend keeps the white from looking chalky or flat.
DIY note: build the white gradually in two to three thin layers, one thick pass turns the tip opaque and flat instead of gradient.
Create the Design
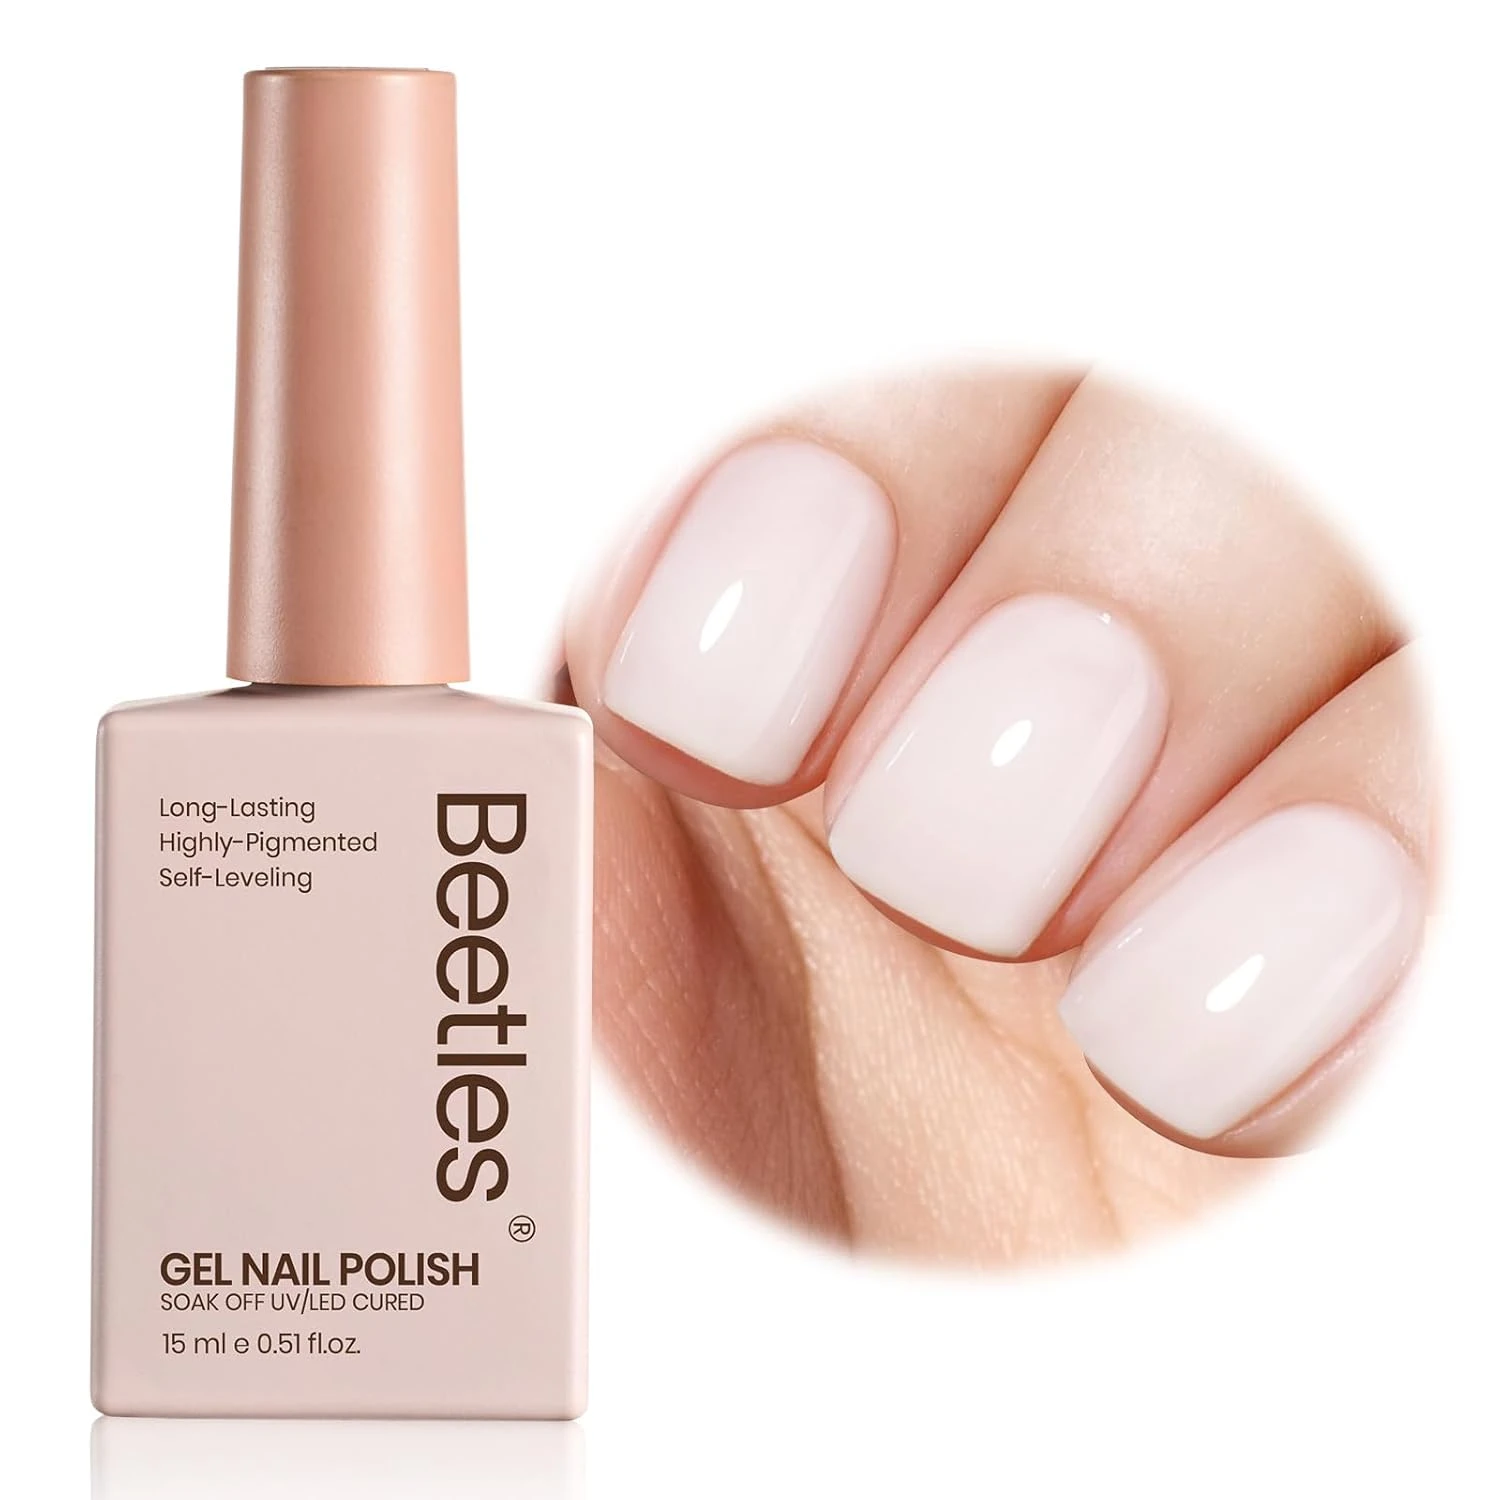
Milky White Nail Polish
High Gloss Top Coat
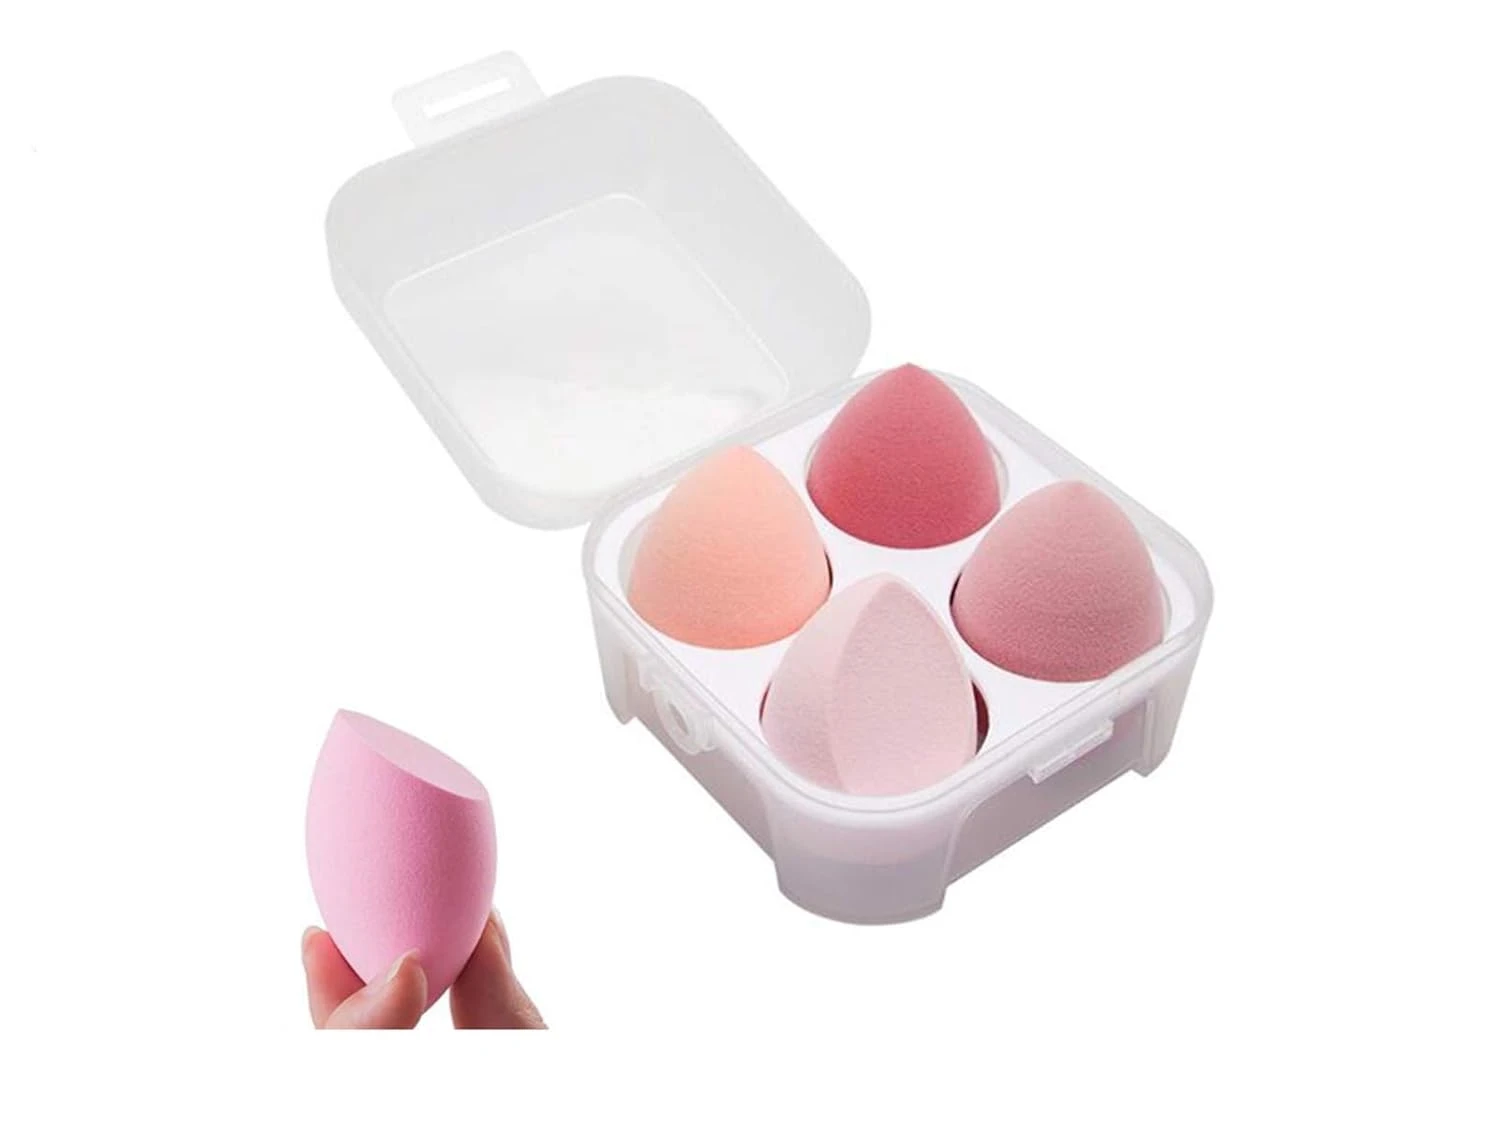
Gradient Makeup Sponge
10. Ombre Dip Nails
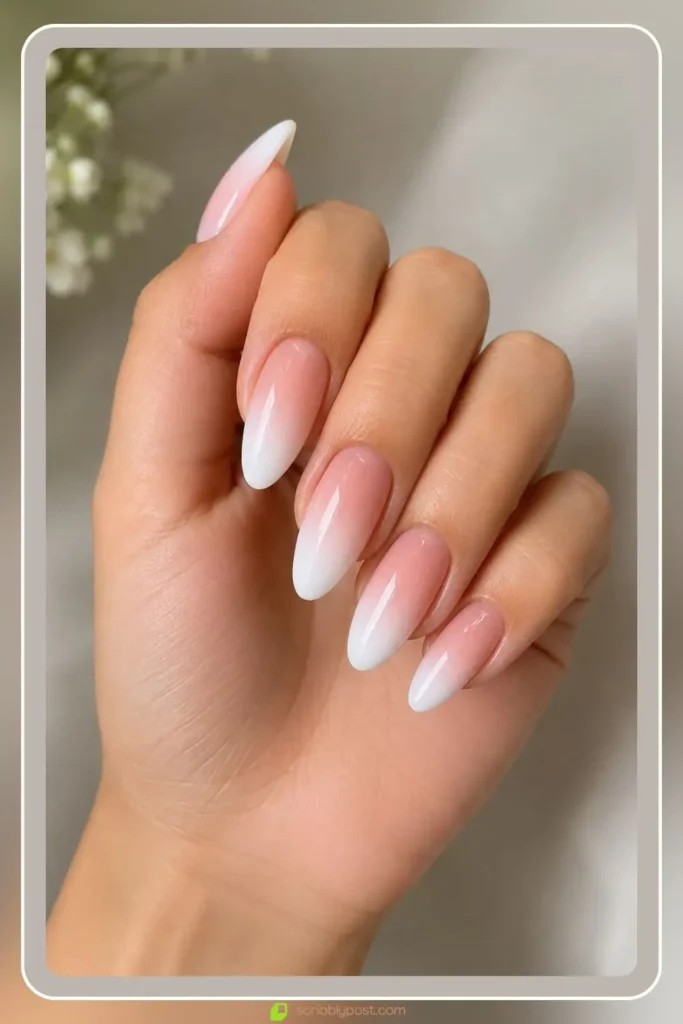
Ombre dip nails build a powder gradient that holds a smooth fade with dip durability. The powder blends at the overlap point, giving a smoother fade than a sponge achieves on natural nails.
DIY note: dip the brush at a consistent angle for each pass, uneven dipping is what creates a patchy powder gradient.
Create the Design
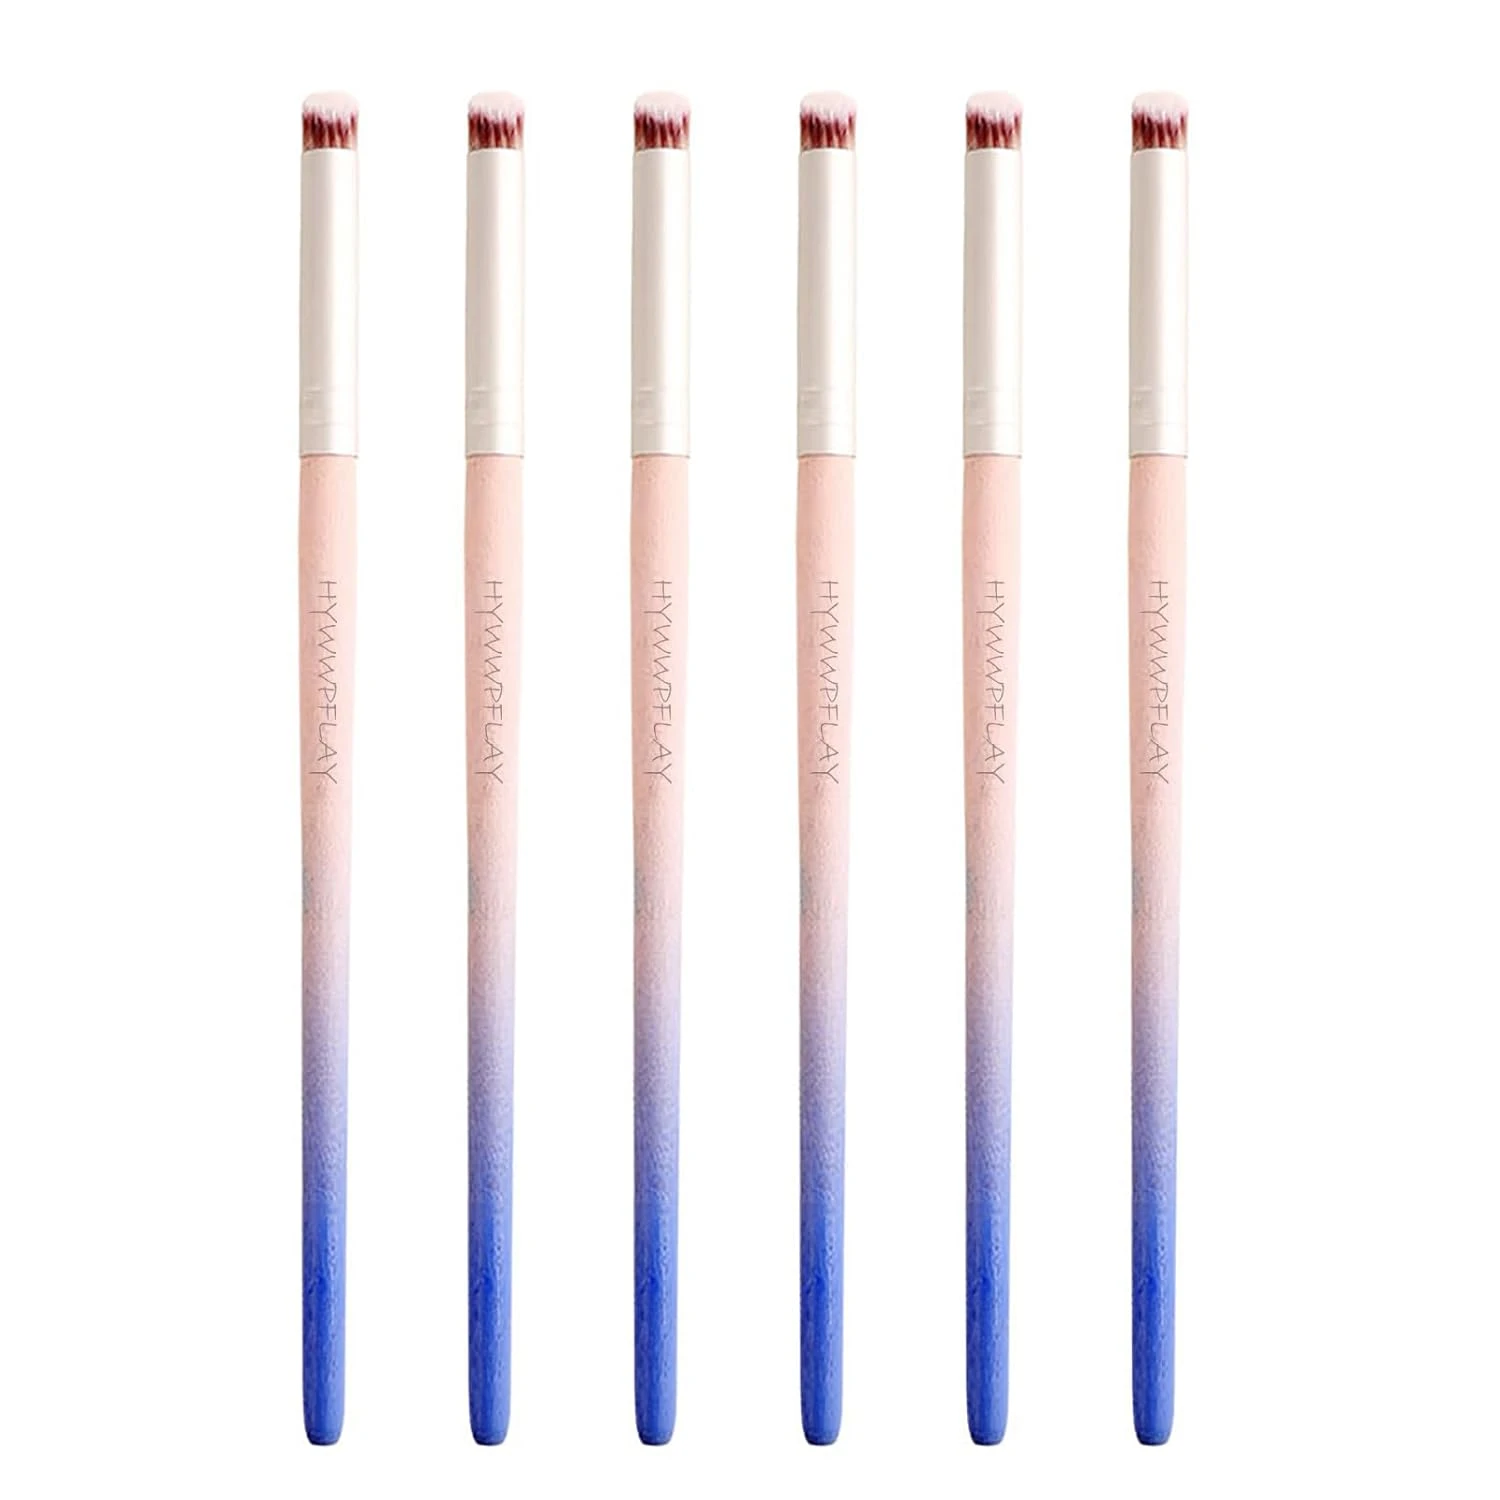
Ombre Dip Powder Set
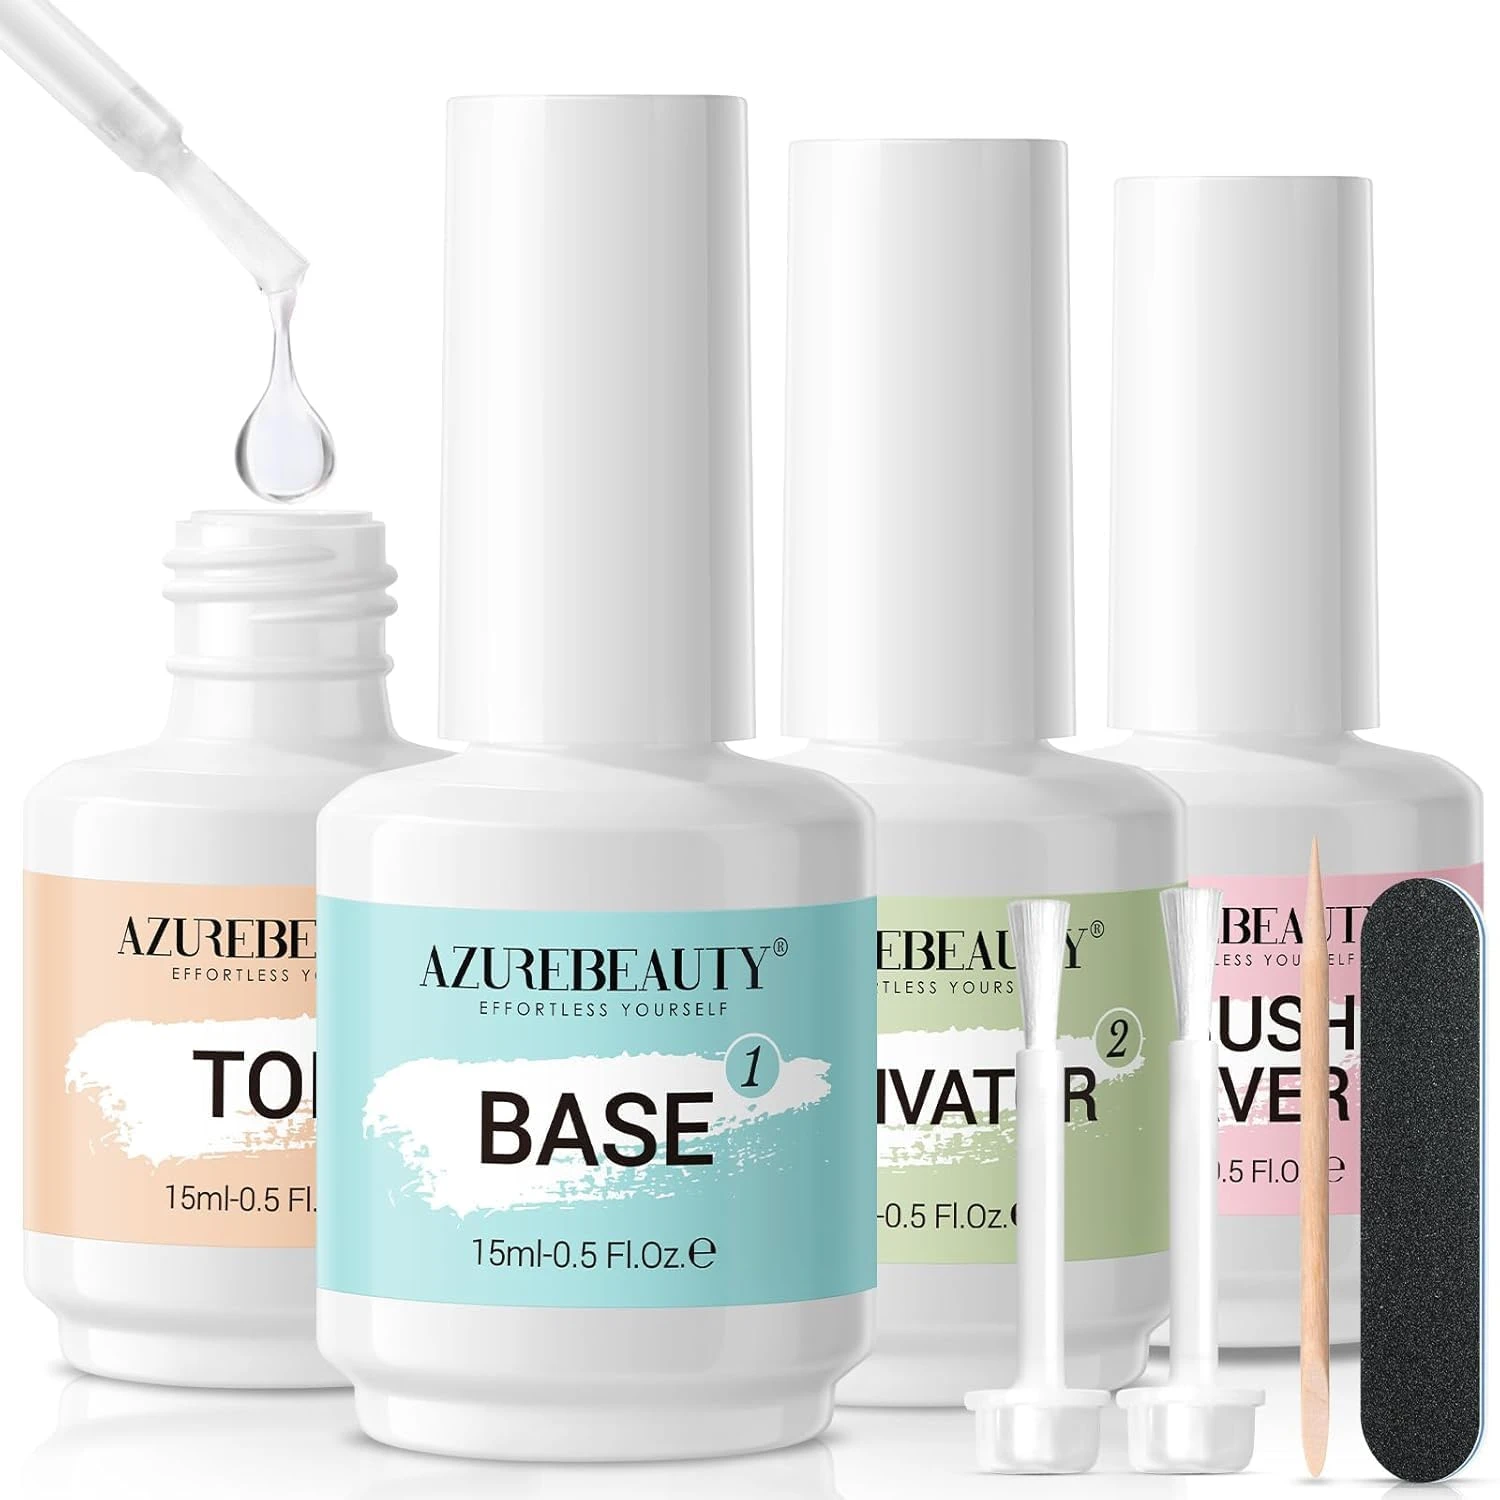
Dip Powder Top Coat
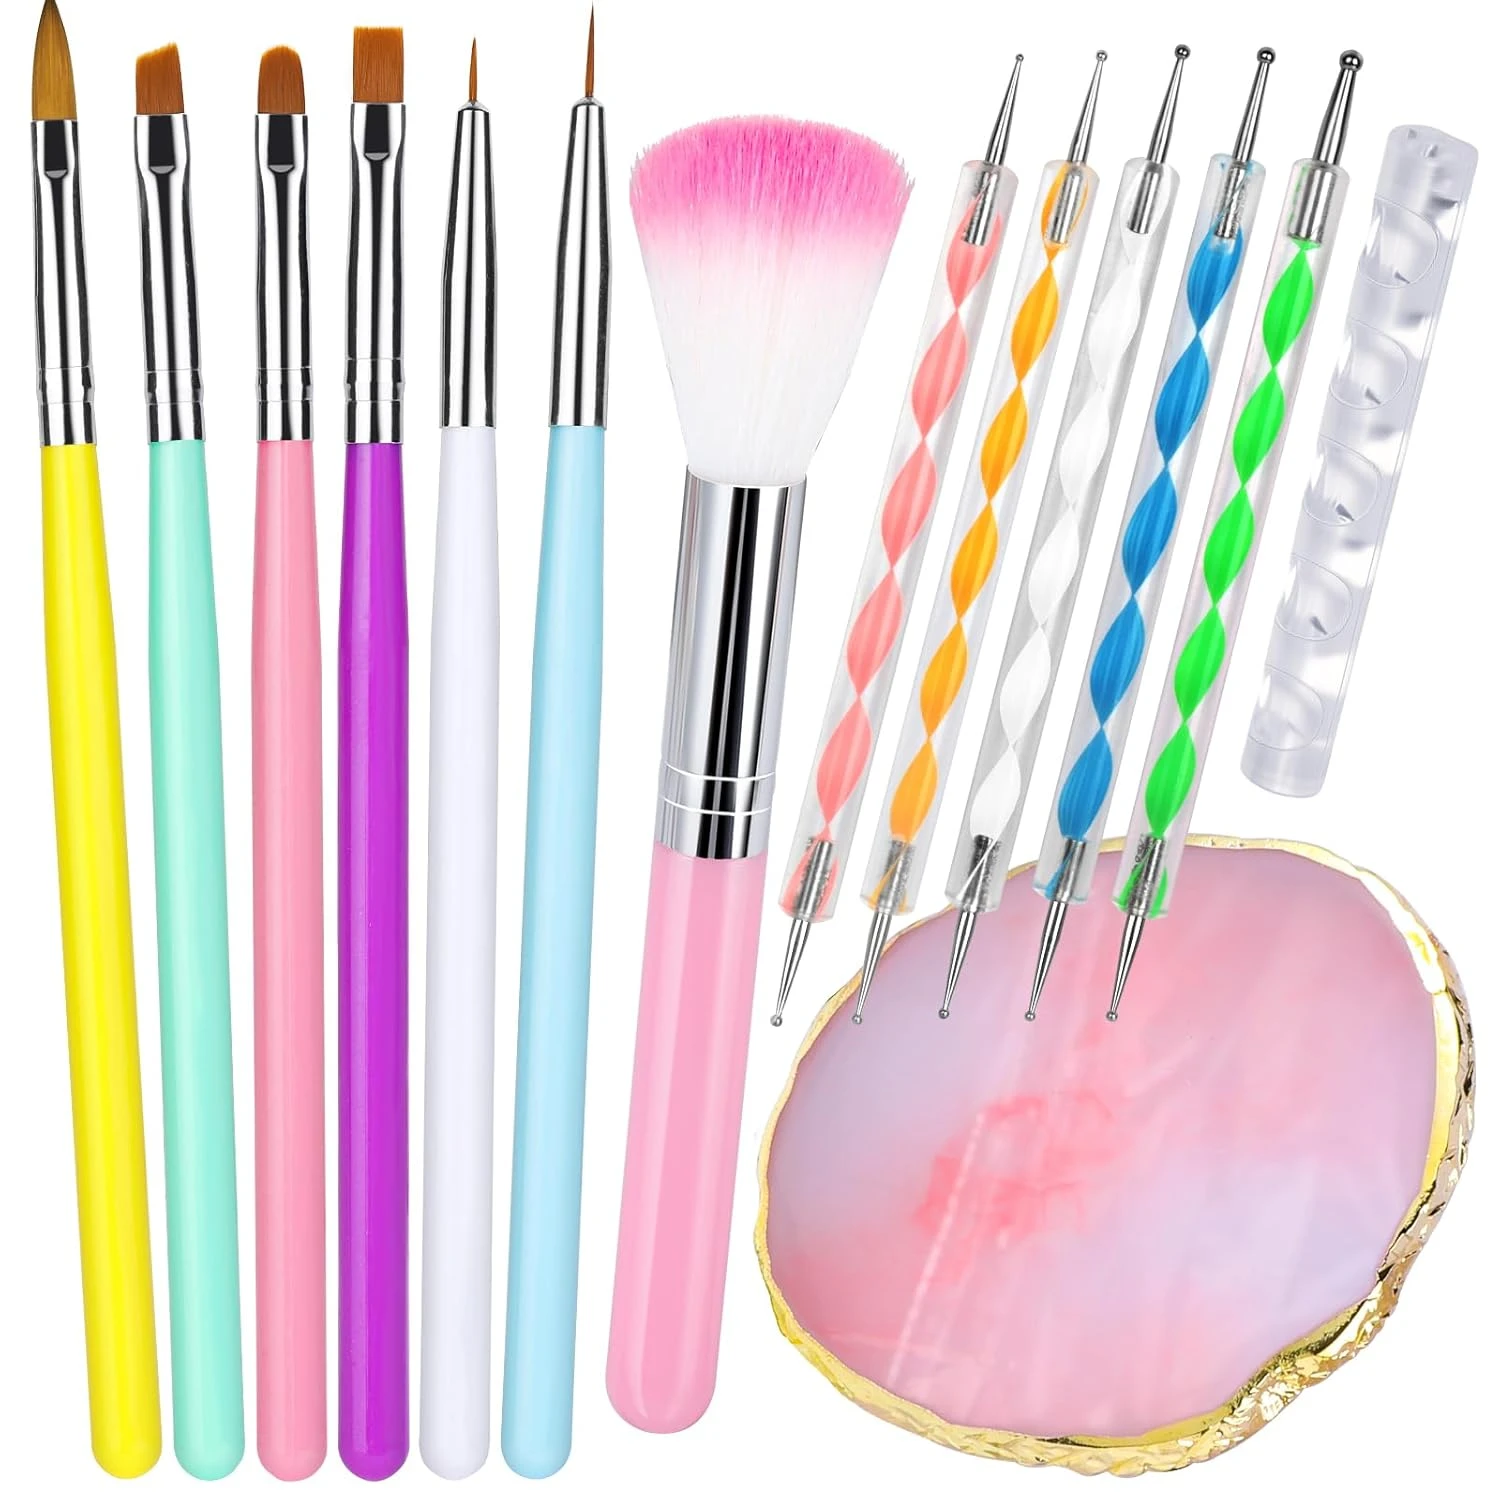
Dip Powder Brush Set
11. French Ombre Nails with Glitter
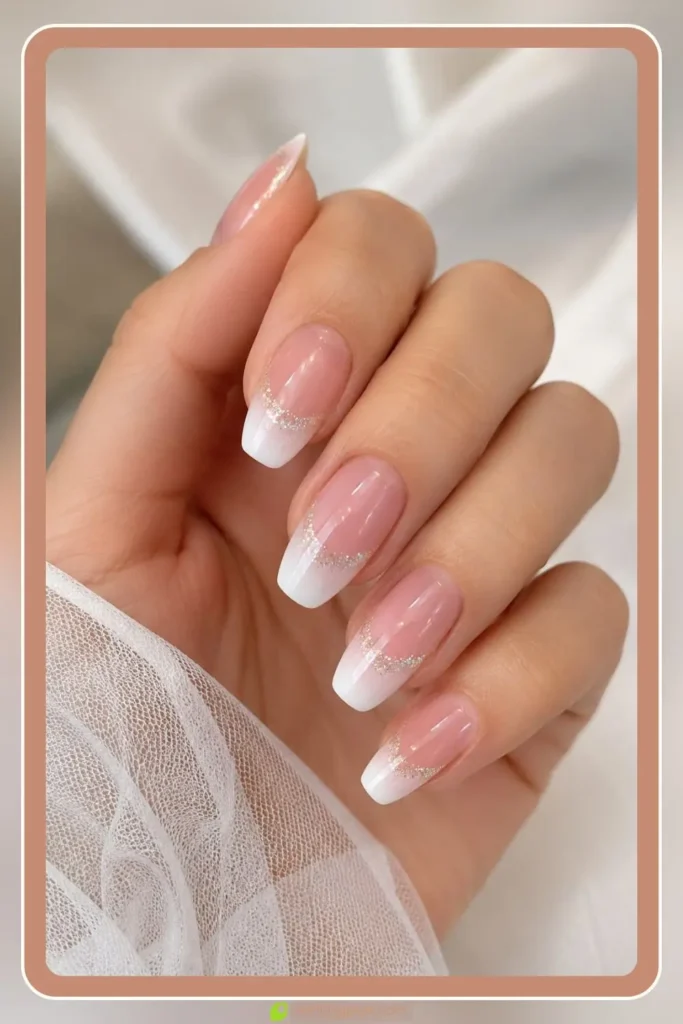
French ombre nails with glitter add a sparkle line to a soft pink-to-white French fade where the blend meets the tip. A thin glitter line at the smile line catches light without crowding the soft French base.
DIY note: cluster the glitter in a thin band rather than fading it evenly, an even glitter spread reads messy instead of intentional.
Create the Design
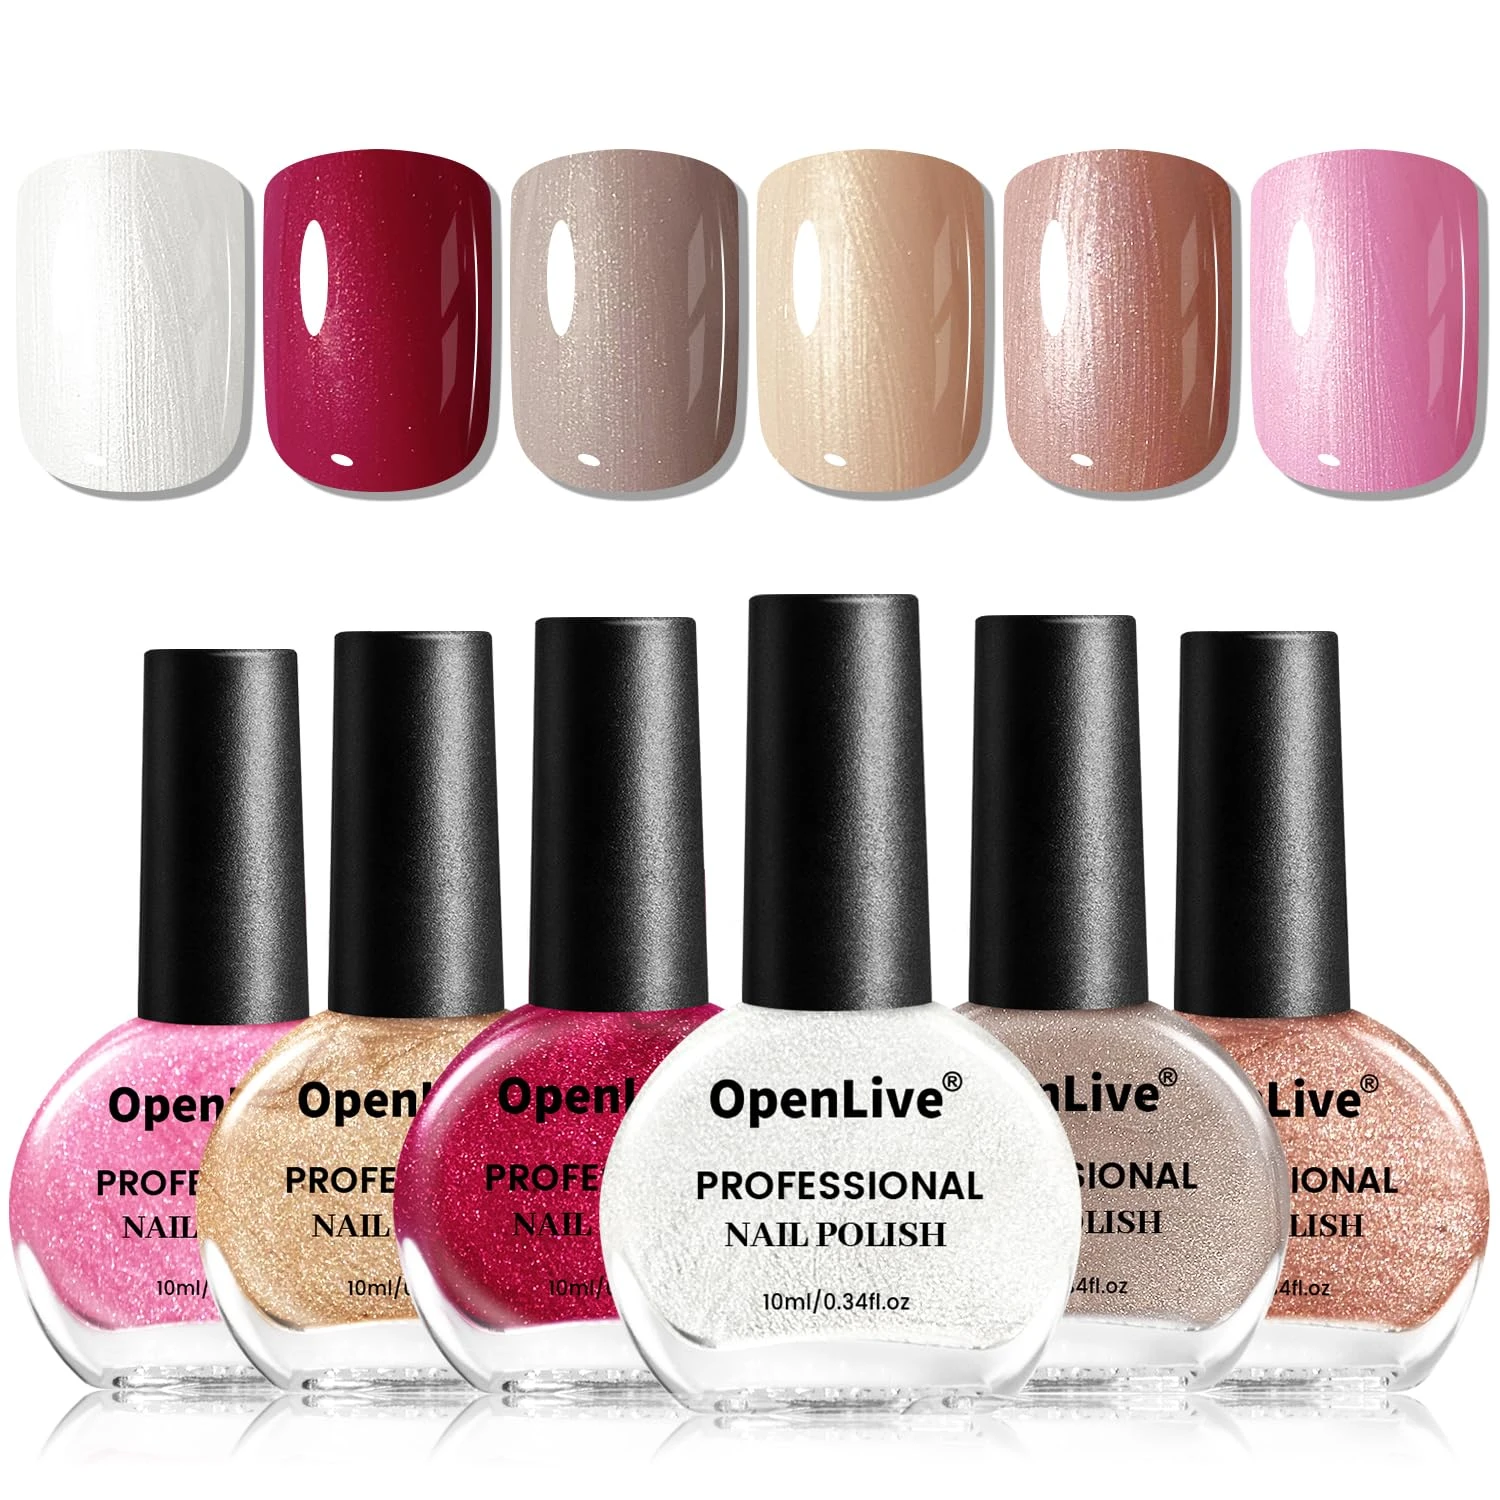
Pink White Glitter Polish Set
High Gloss Top Coat
Nail Glitter Brush
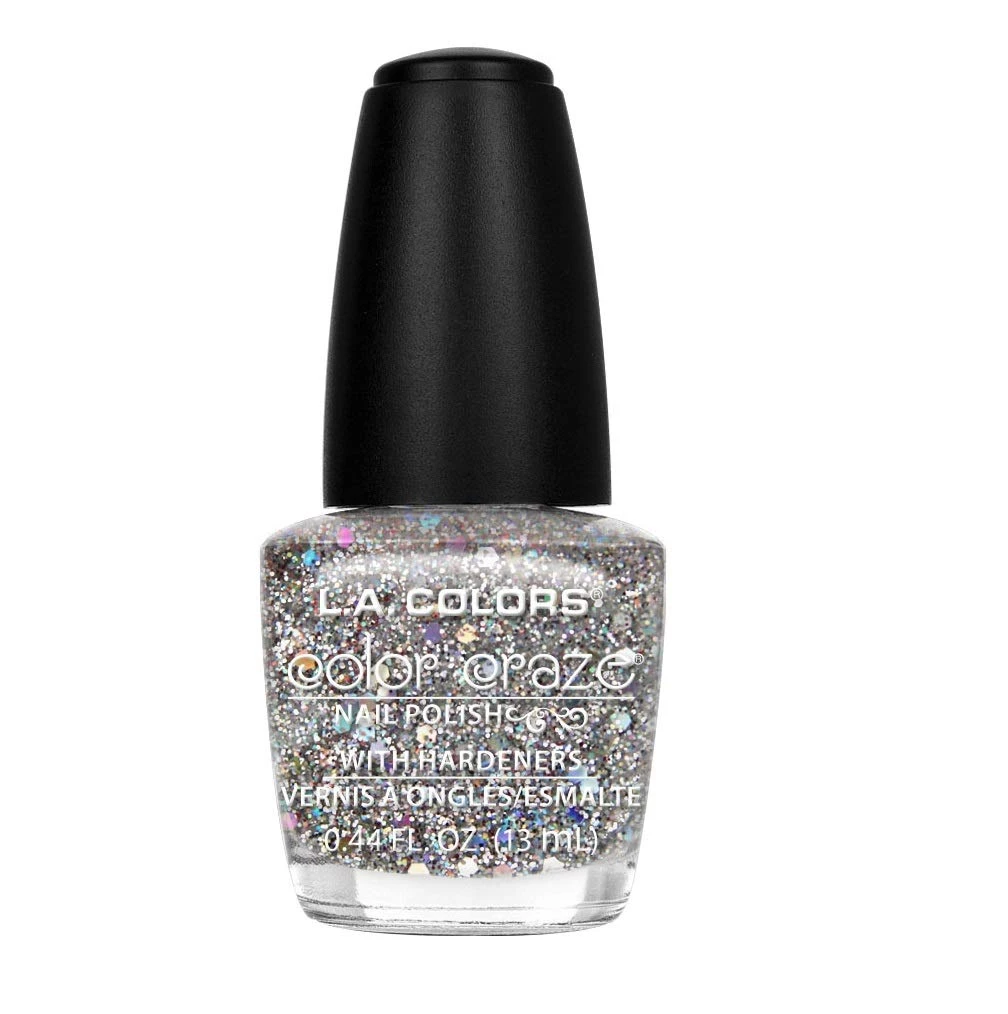
12. Glitter Ombre Nails
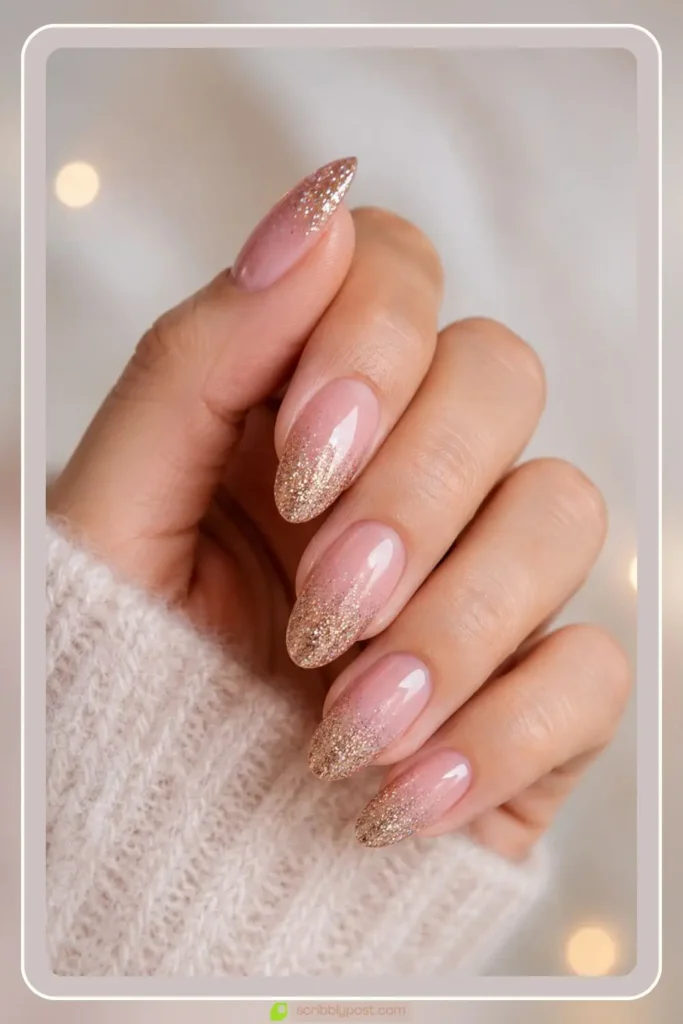
Glitter ombre nails fade a solid base into a dense glitter tip so the sparkle builds toward the edge. Concentrating glitter at the tip and fading it upward reads intentional instead of messy.
DIY note: apply glitter heaviest at the tip and taper it upward, an even glitter spread across the whole nail loses the ombre effect entirely.
Create the Design
Fine Nail Glitter Polish
Glossy Top Coat
Nail Glitter Brush
13. Royal Blue Ombre Nails
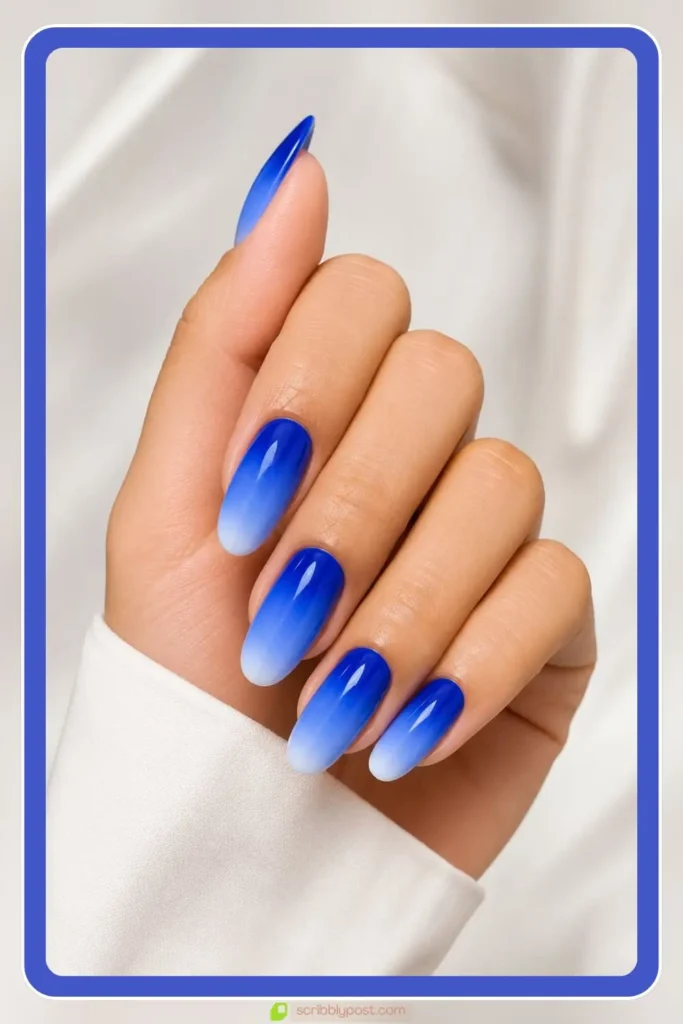
Royal blue ombre nails fade a bright royal blue into a lighter blue or white tip for a vivid, saturated look. A saturated royal blue holds its brightness through the fade so the gradient stays vibrant rather than washing out.
DIY note: use a lighter shade from the same blue family for the tip, jumping straight to white risks a harsh line against the saturated base.
Create the Design
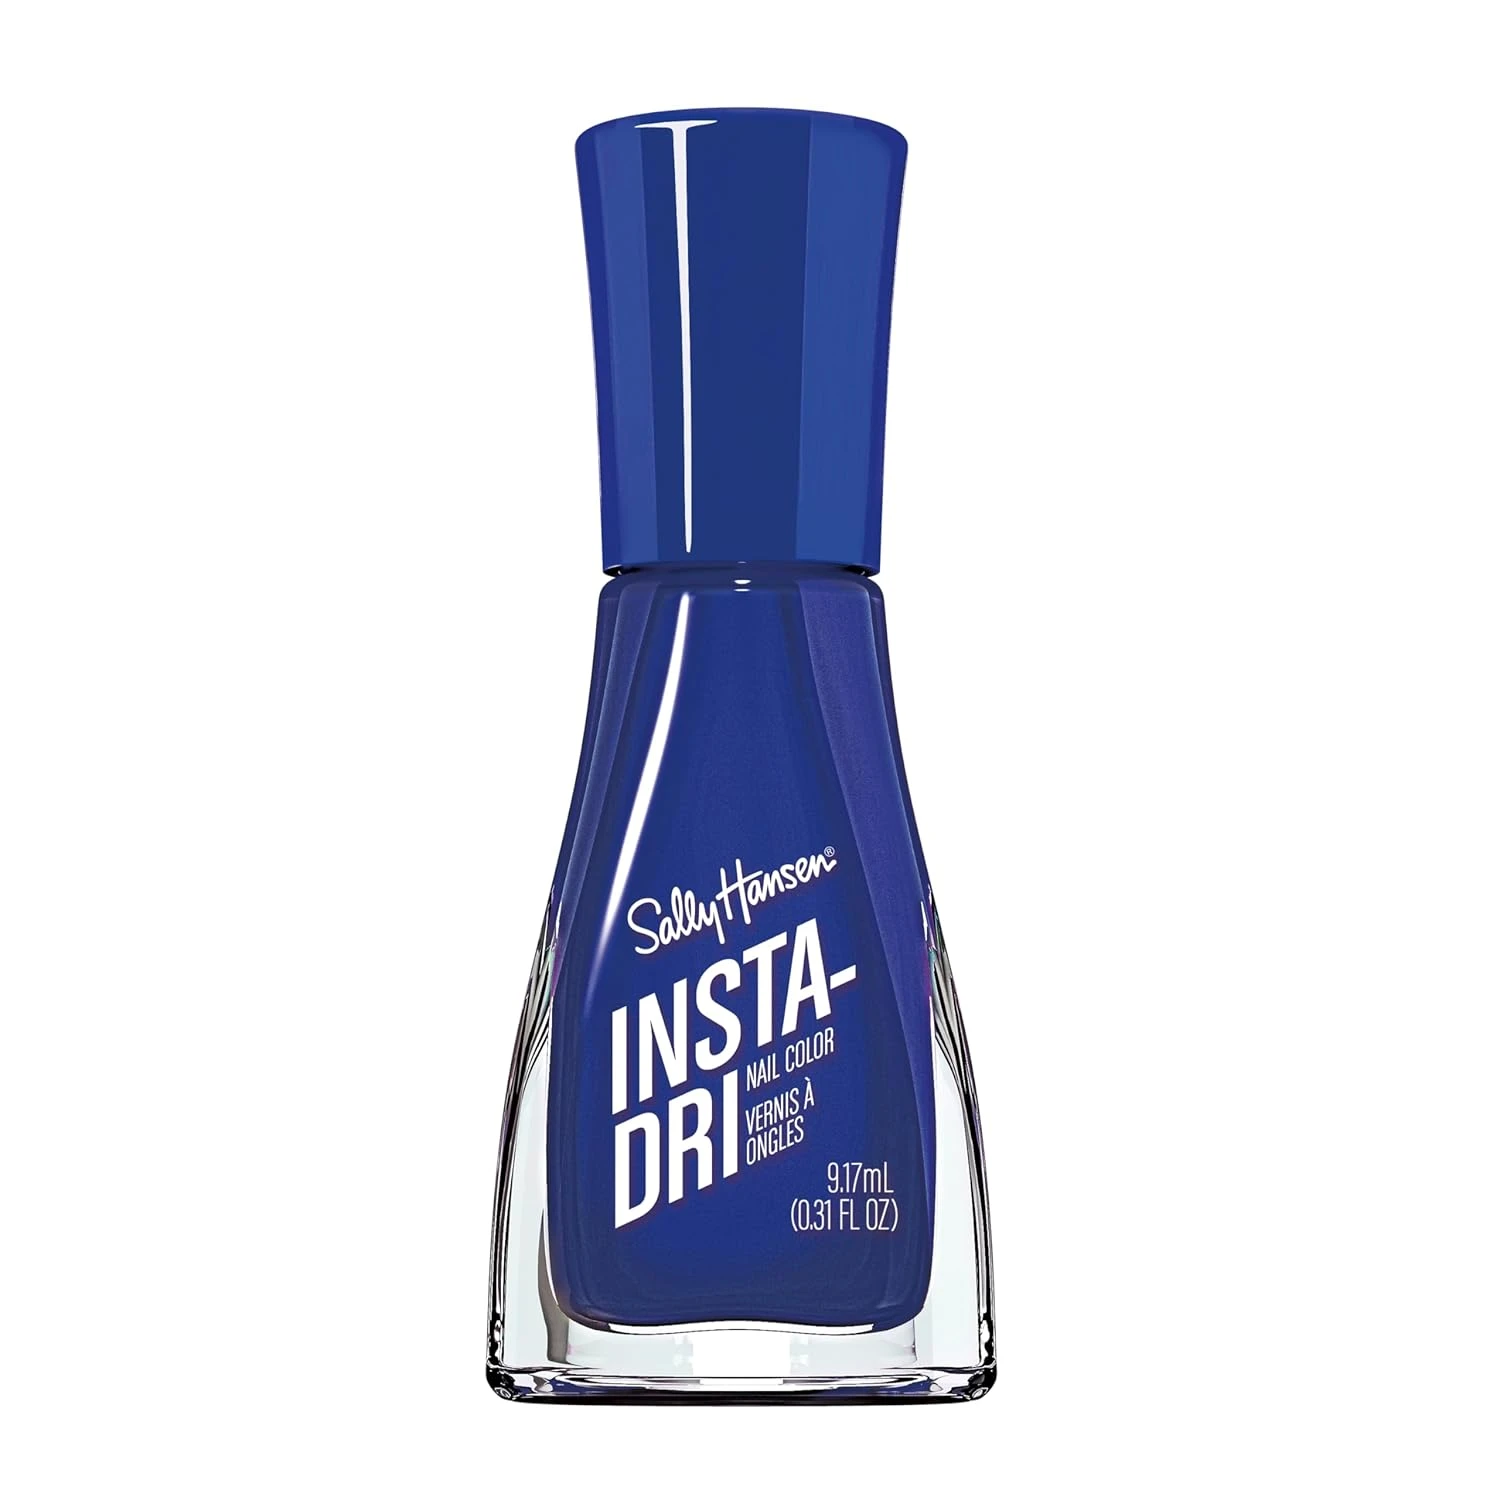
Royal Blue Nail Polish
High Shine Top Coat
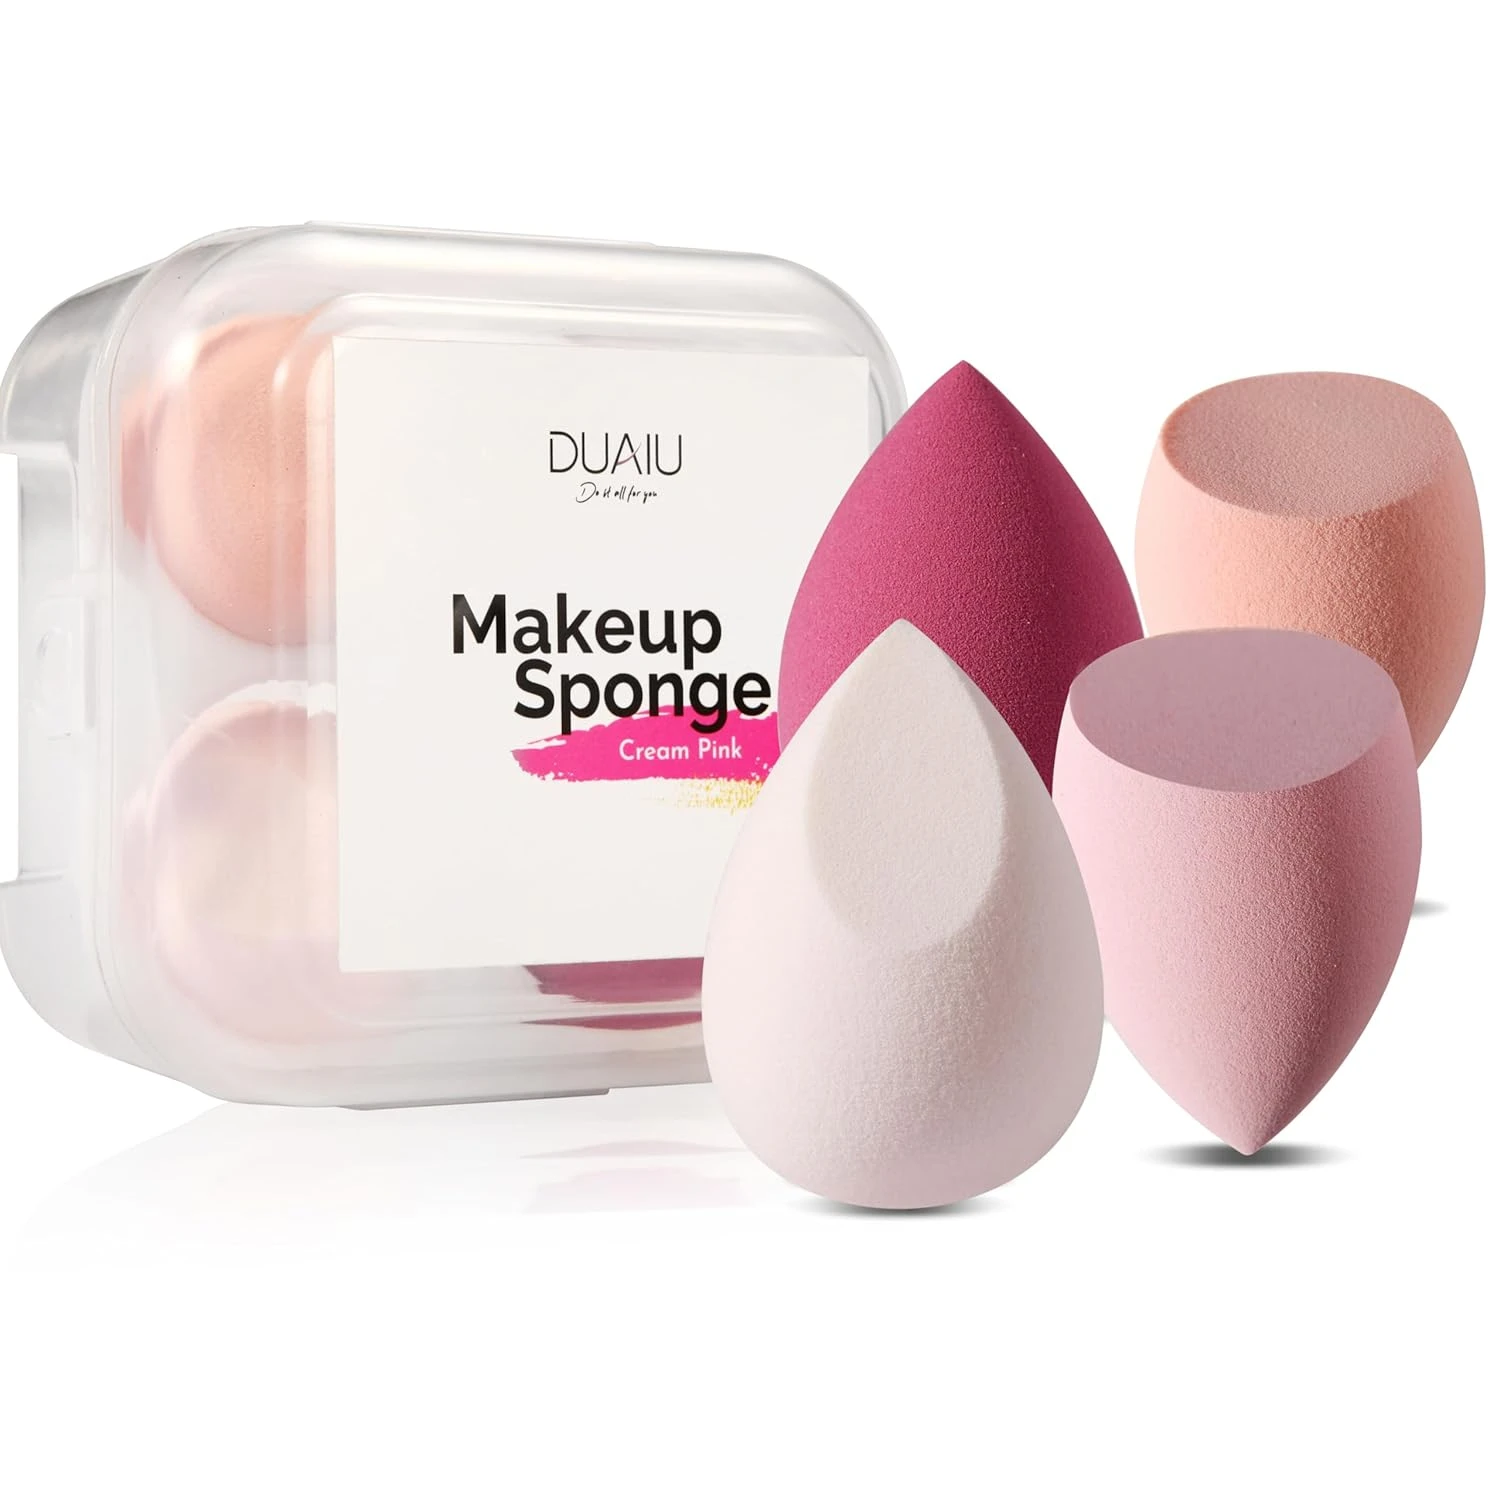
Gradient Makeup Sponge
14. Nude Ombre Nails
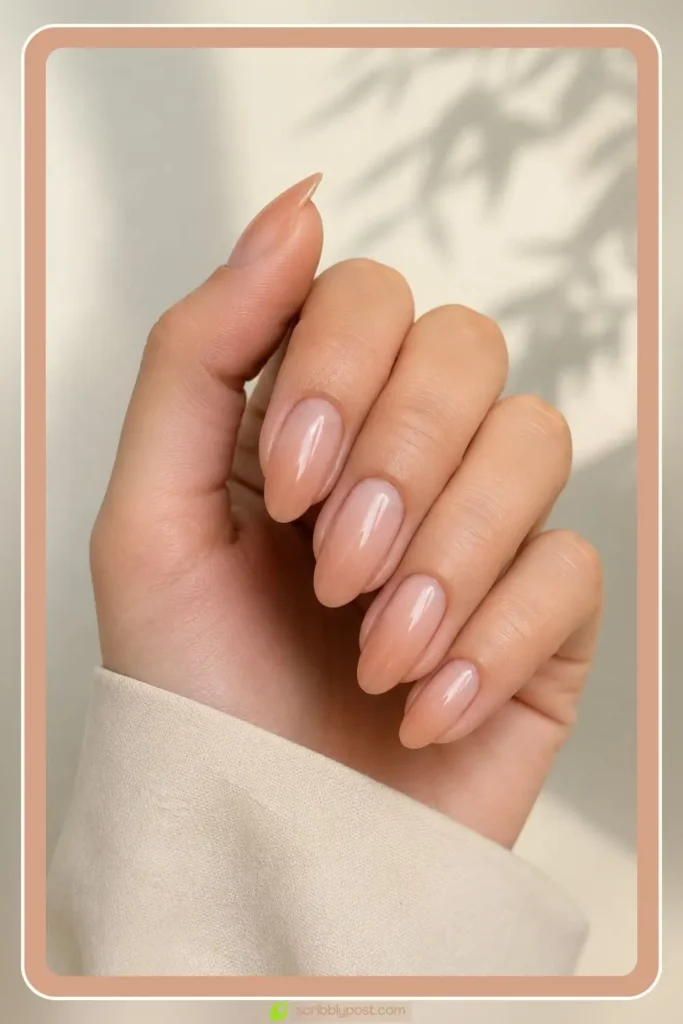
Nude ombre nails fade a bare nude into a slightly deeper nude for a barely-there gradient. Layering two nudes adds depth so the nail looks polished without any obvious color.
DIY note: pick two nudes with a visible but subtle difference, shades too close together will not show a gradient at all.
Create the Design
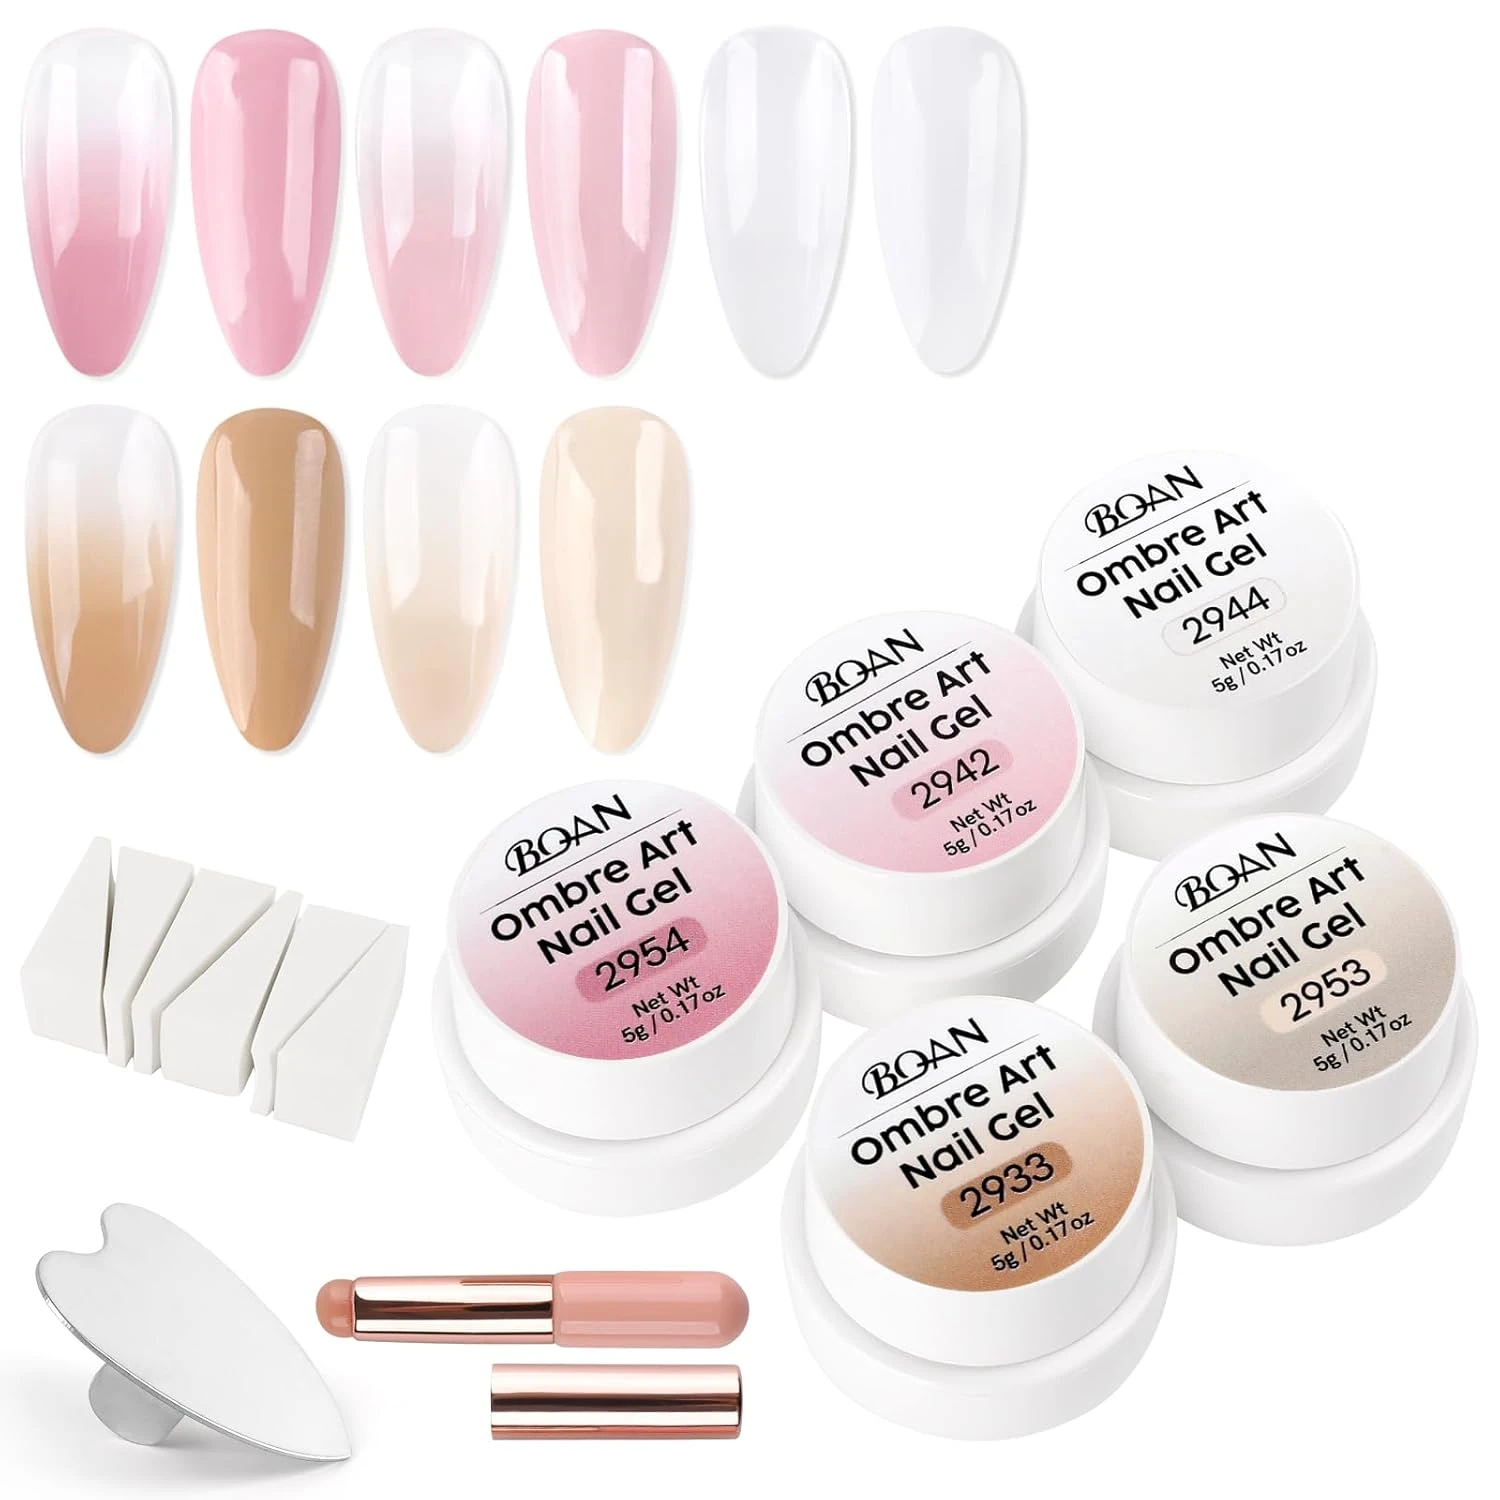
Nude Ombre Polish Set
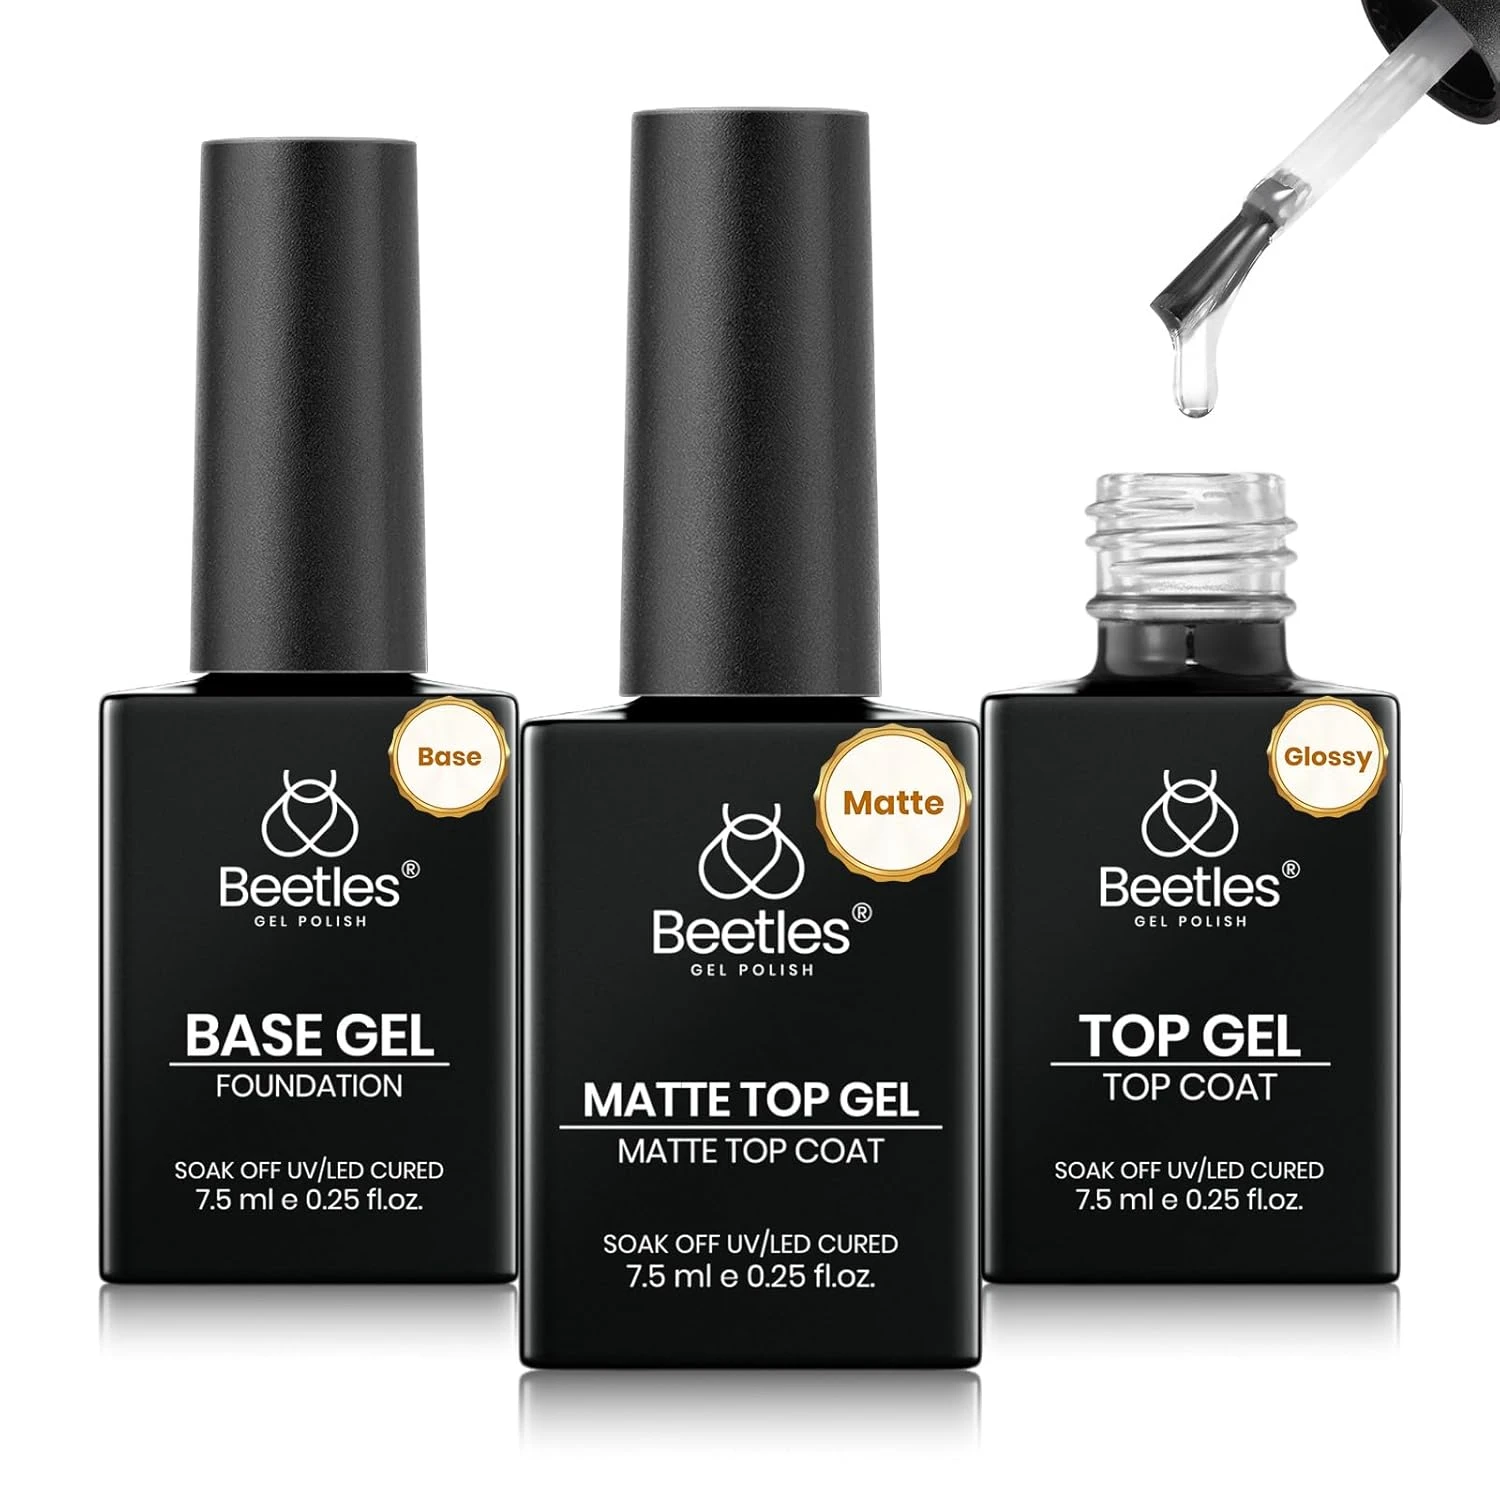
Matte Top Coat
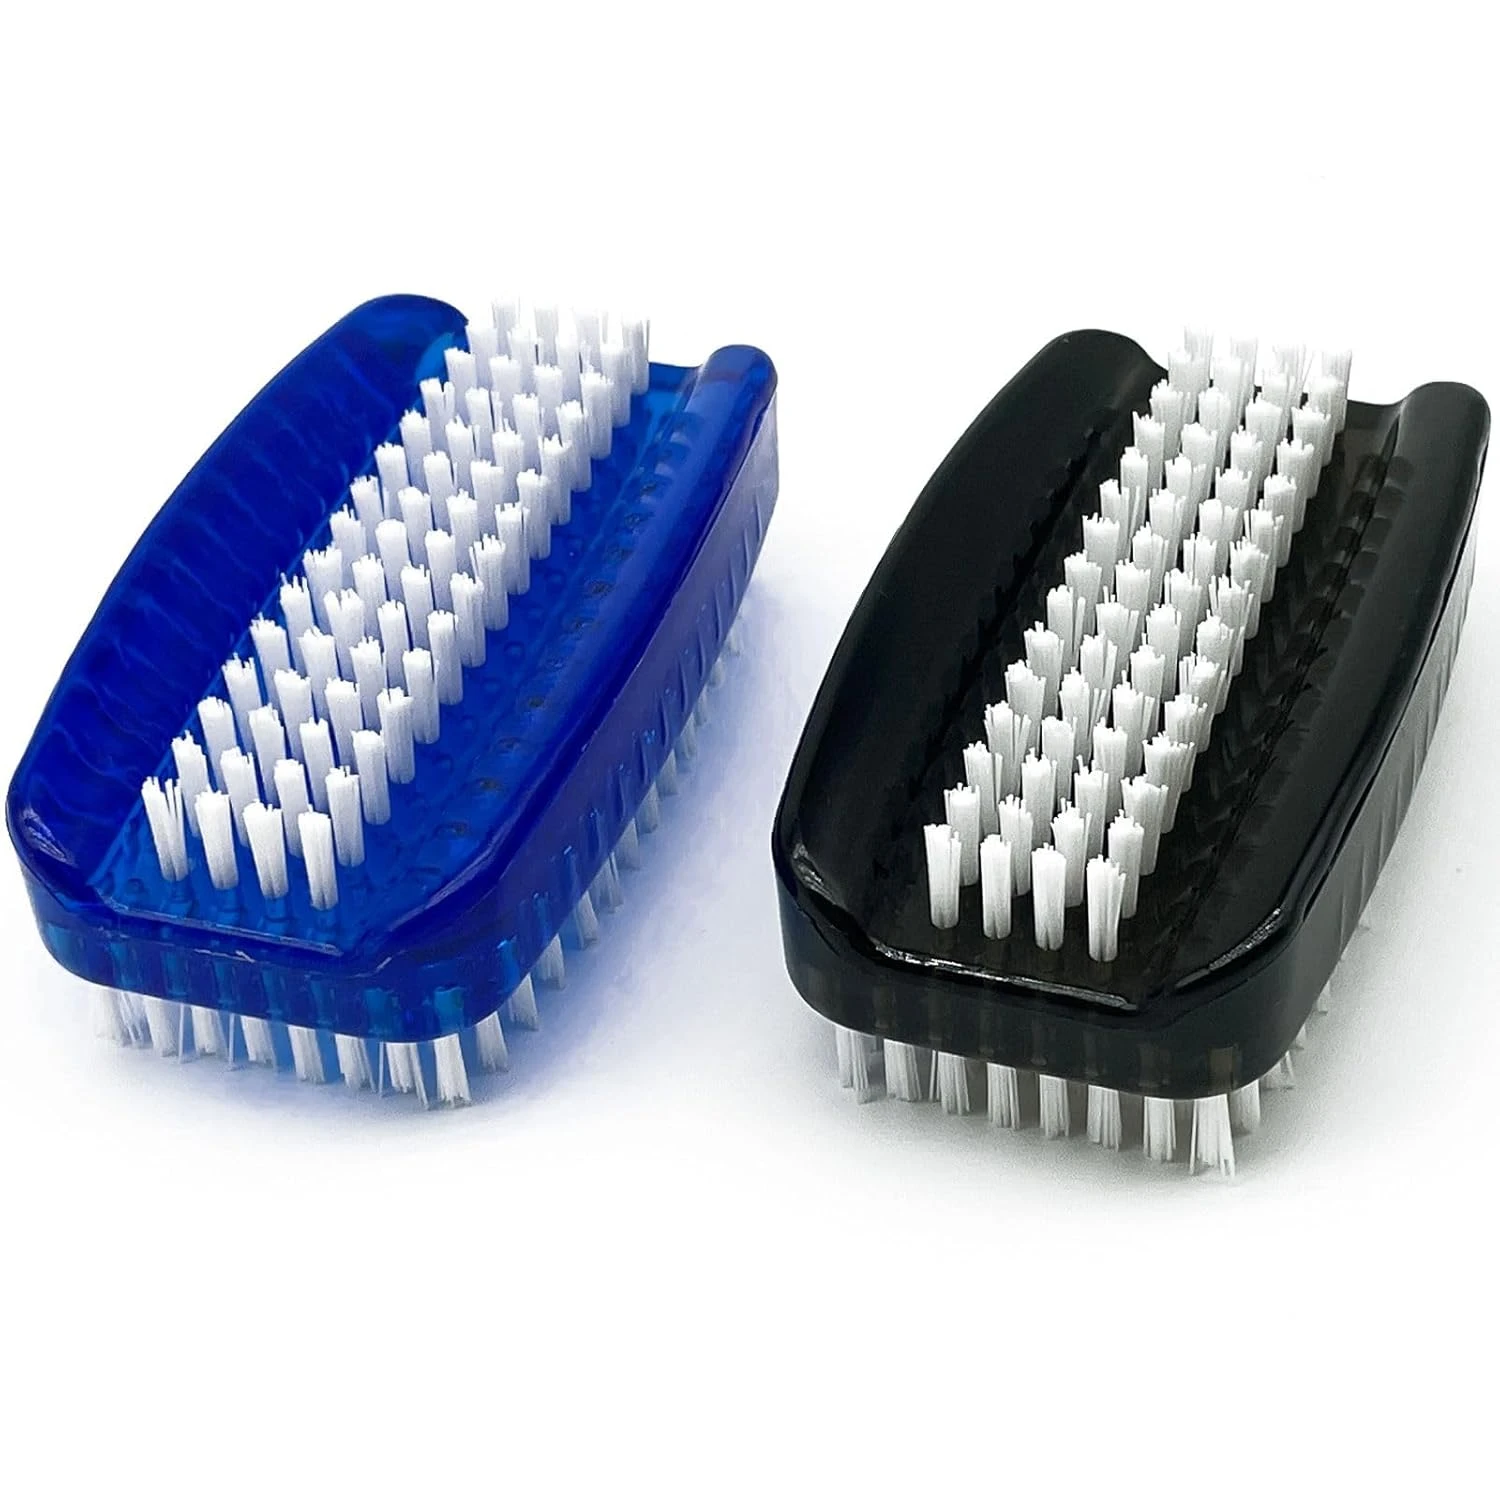
Nail Cleanup Brush
15. Fall Ombre Nails
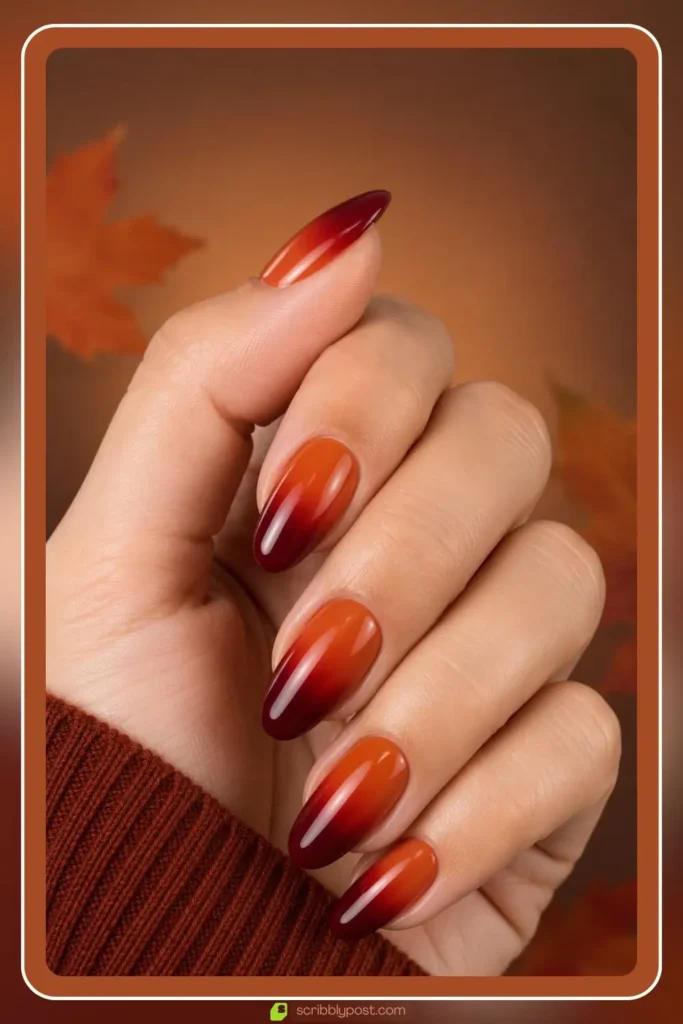
Fall ombre nails melt burnt orange into deep red or burgundy for an autumn-leaf gradient that matches transitional weather palettes. The orange-to-burgundy fade mirrors changing leaves and keeps the warm tones connected.
DIY note: stay within the warm end of the color wheel for both shades, adding a cool tone breaks the seasonal color story.
Create the Design
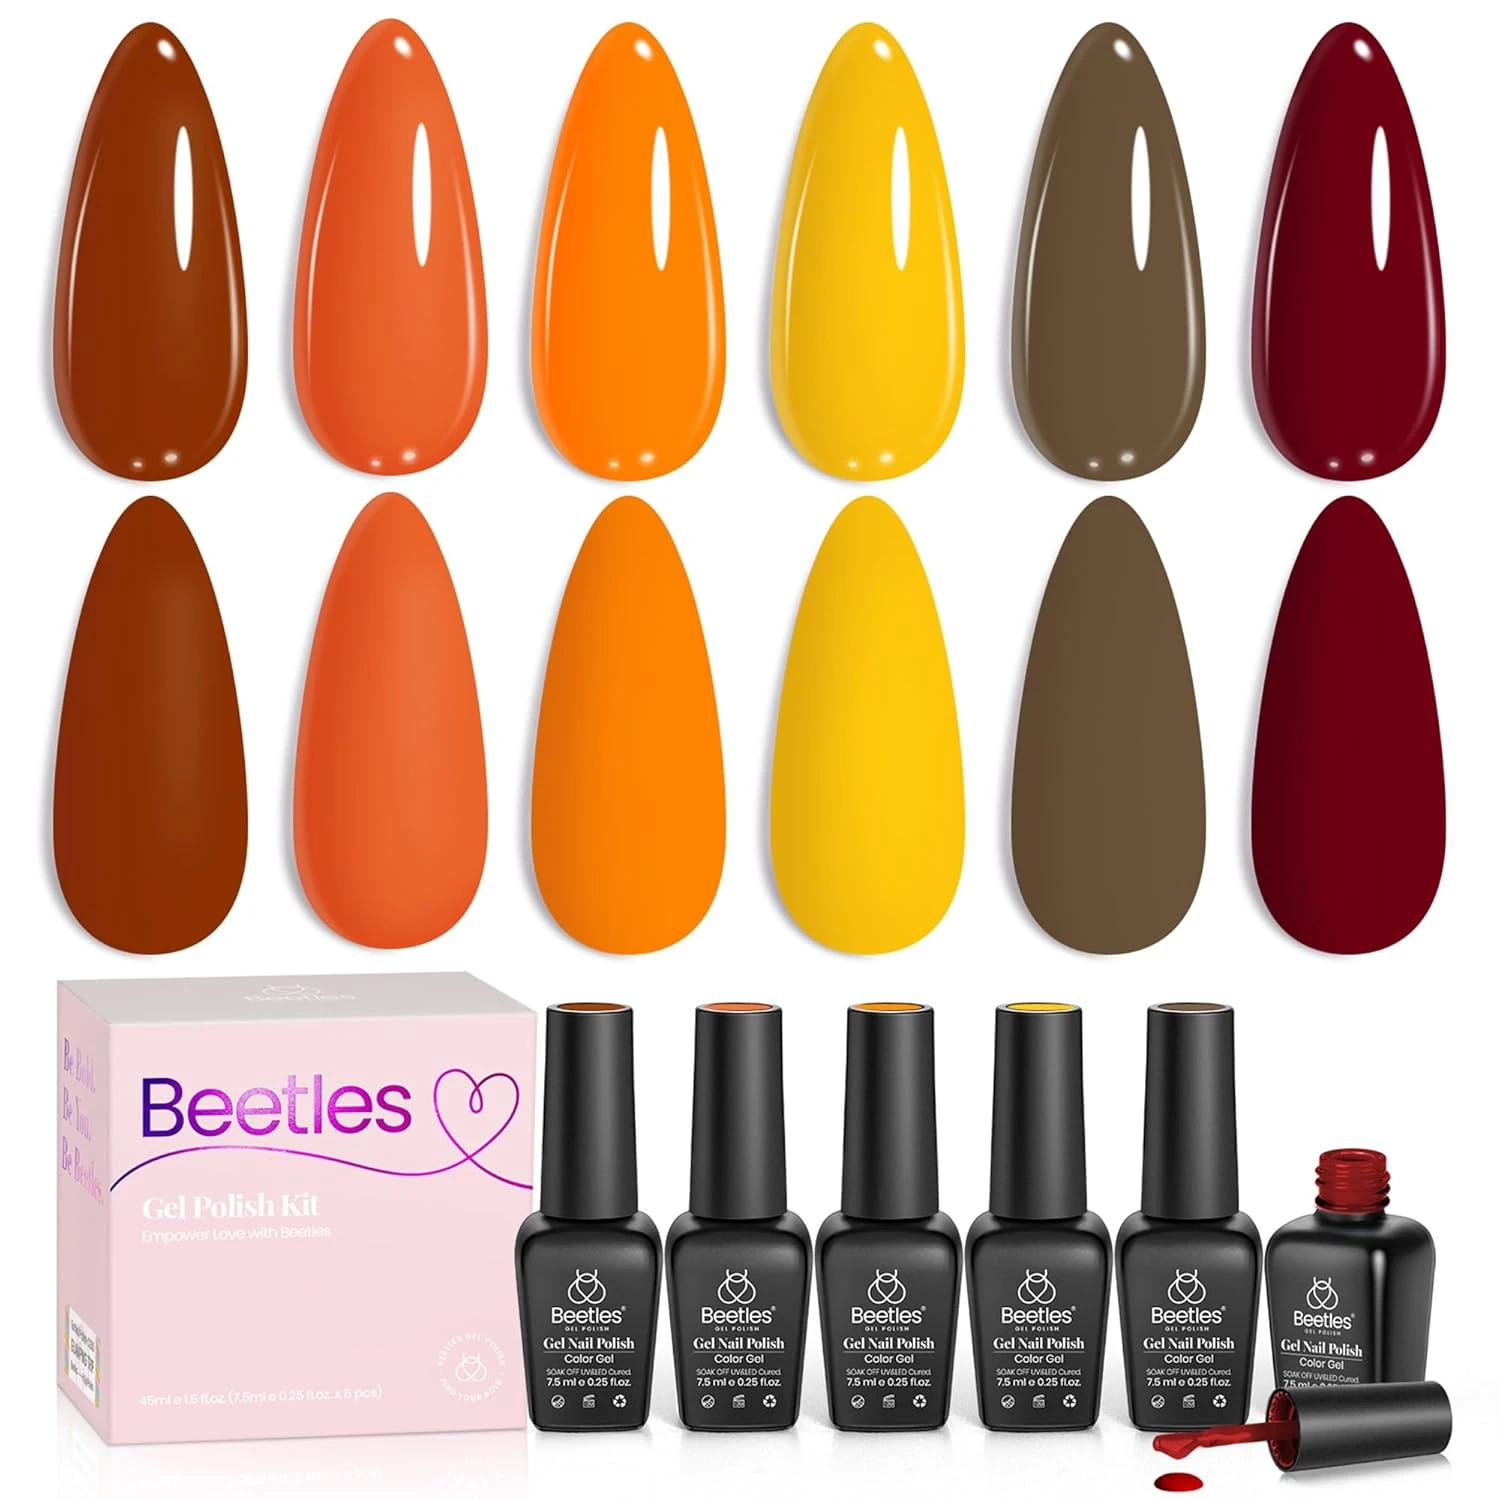
Burnt Orange And Burgundy Polish Set
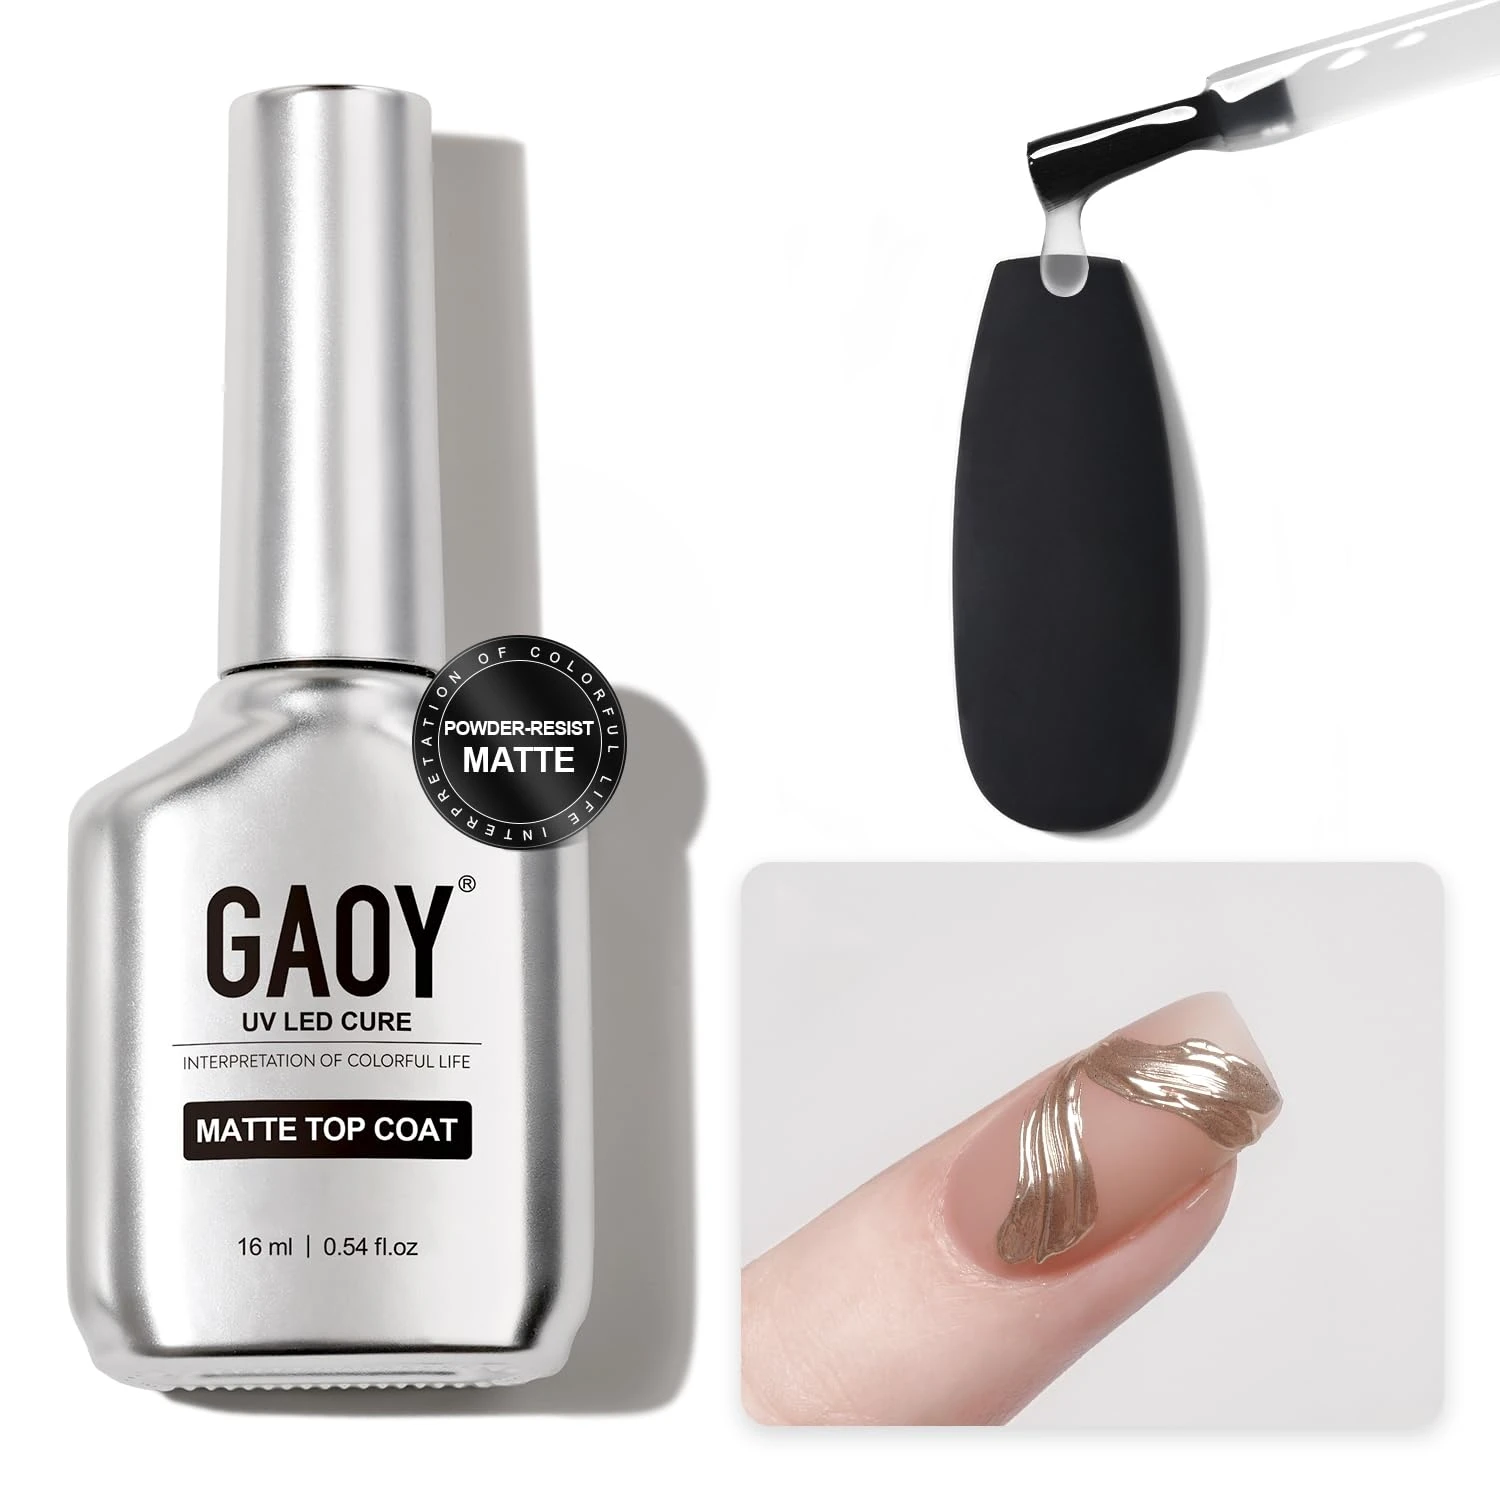
Matte Top Coat
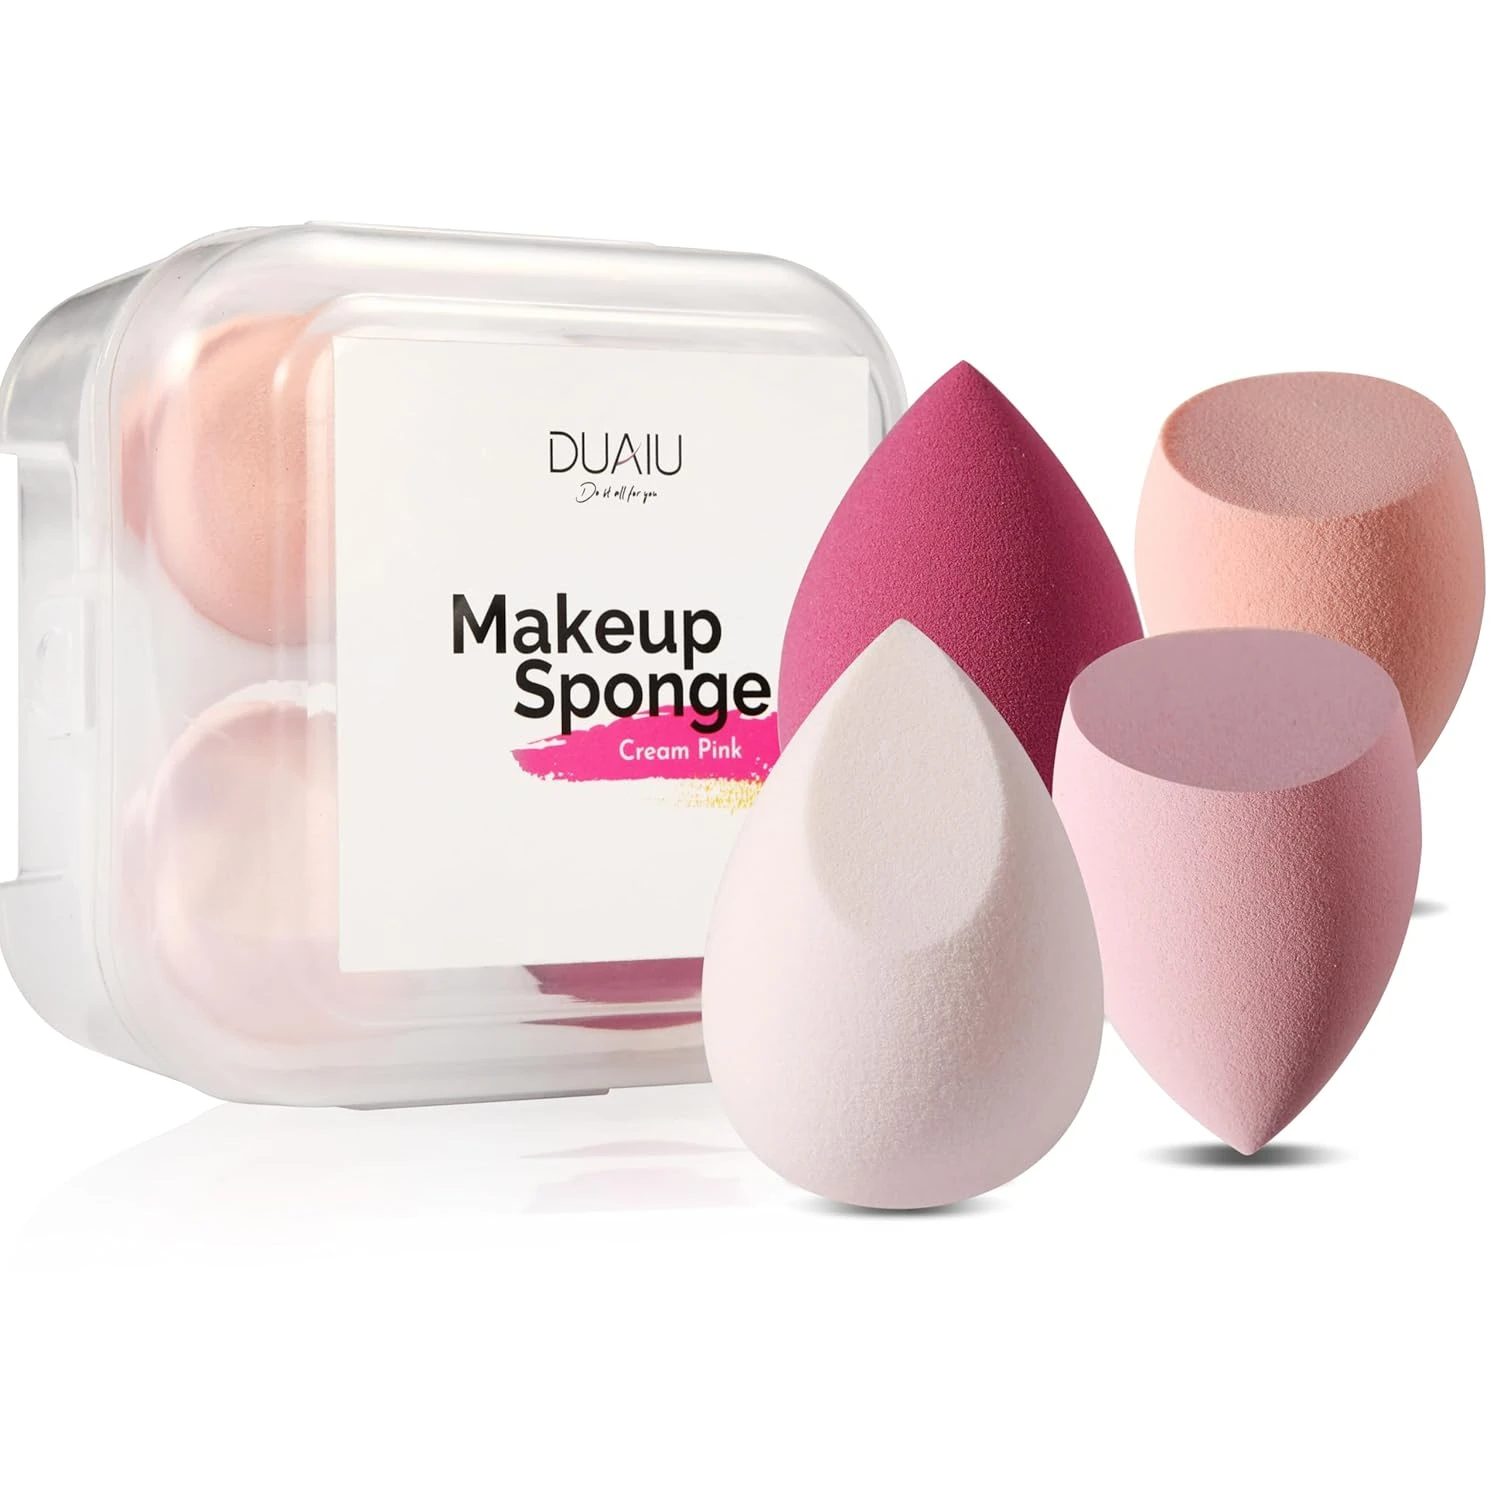
Gradient Makeup Sponge
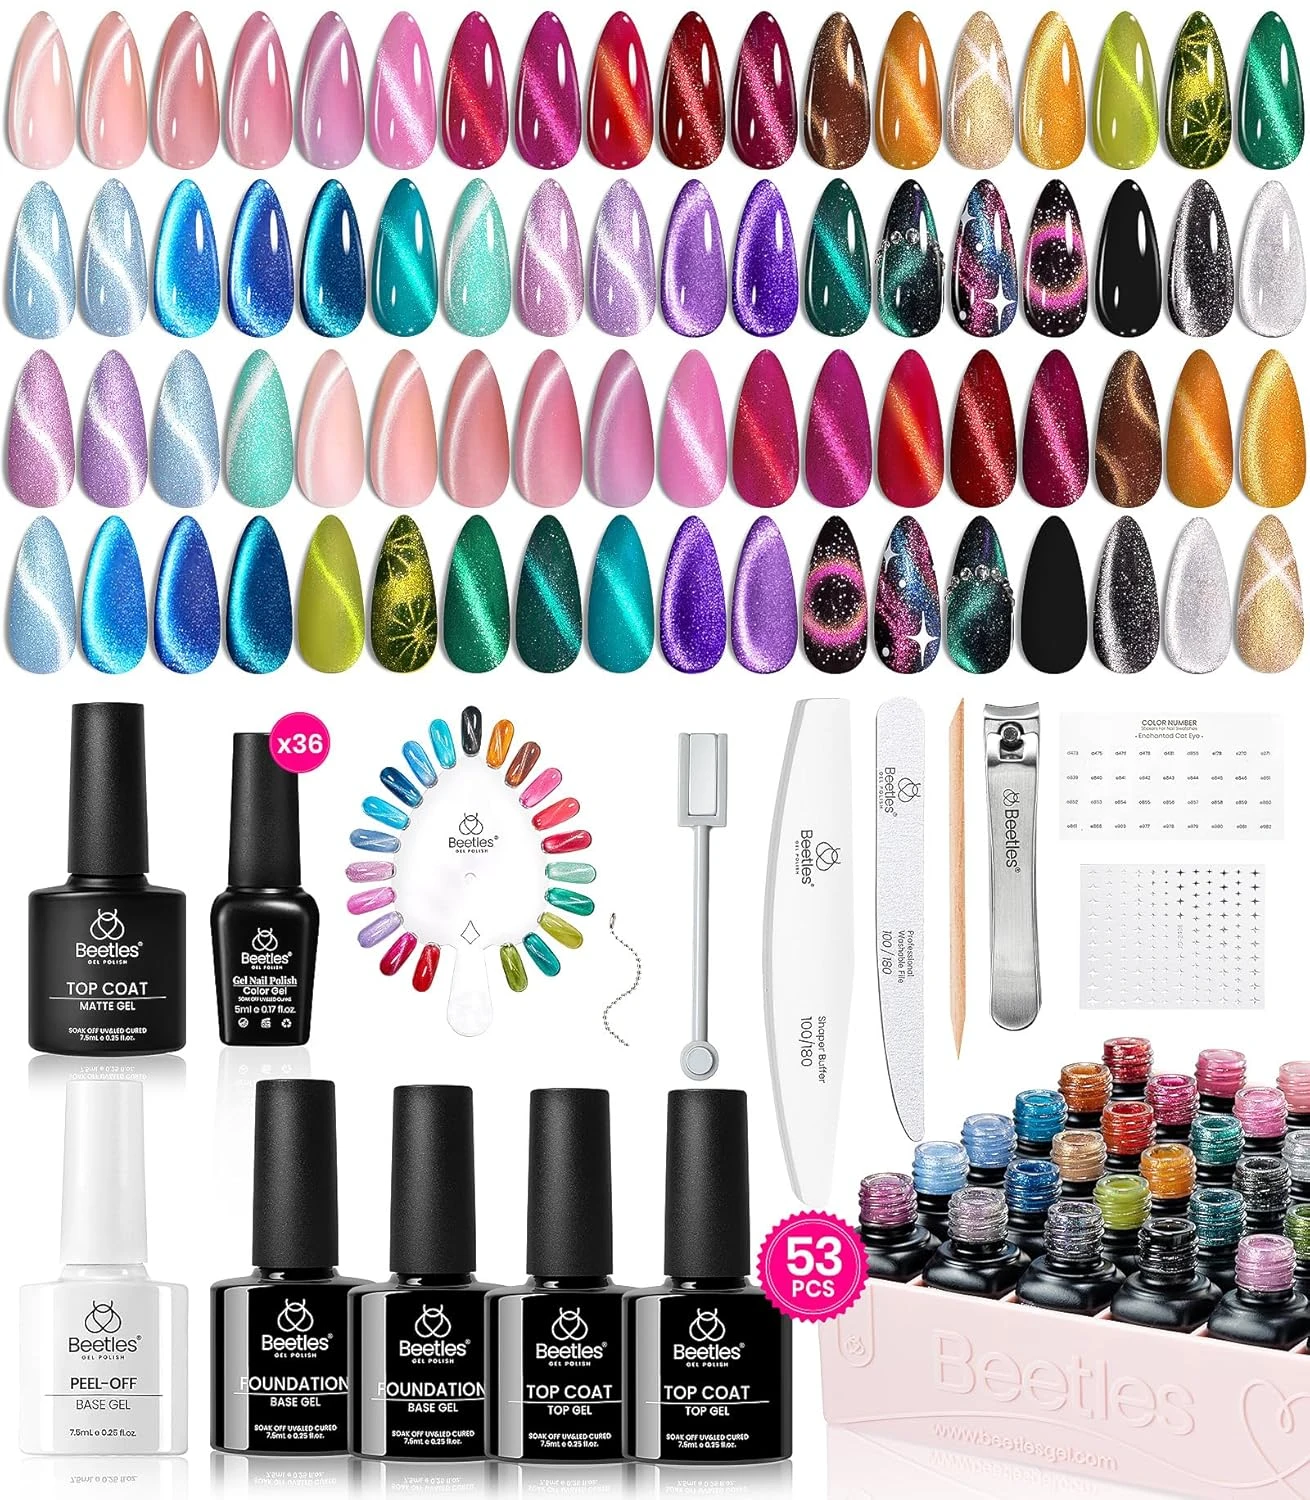
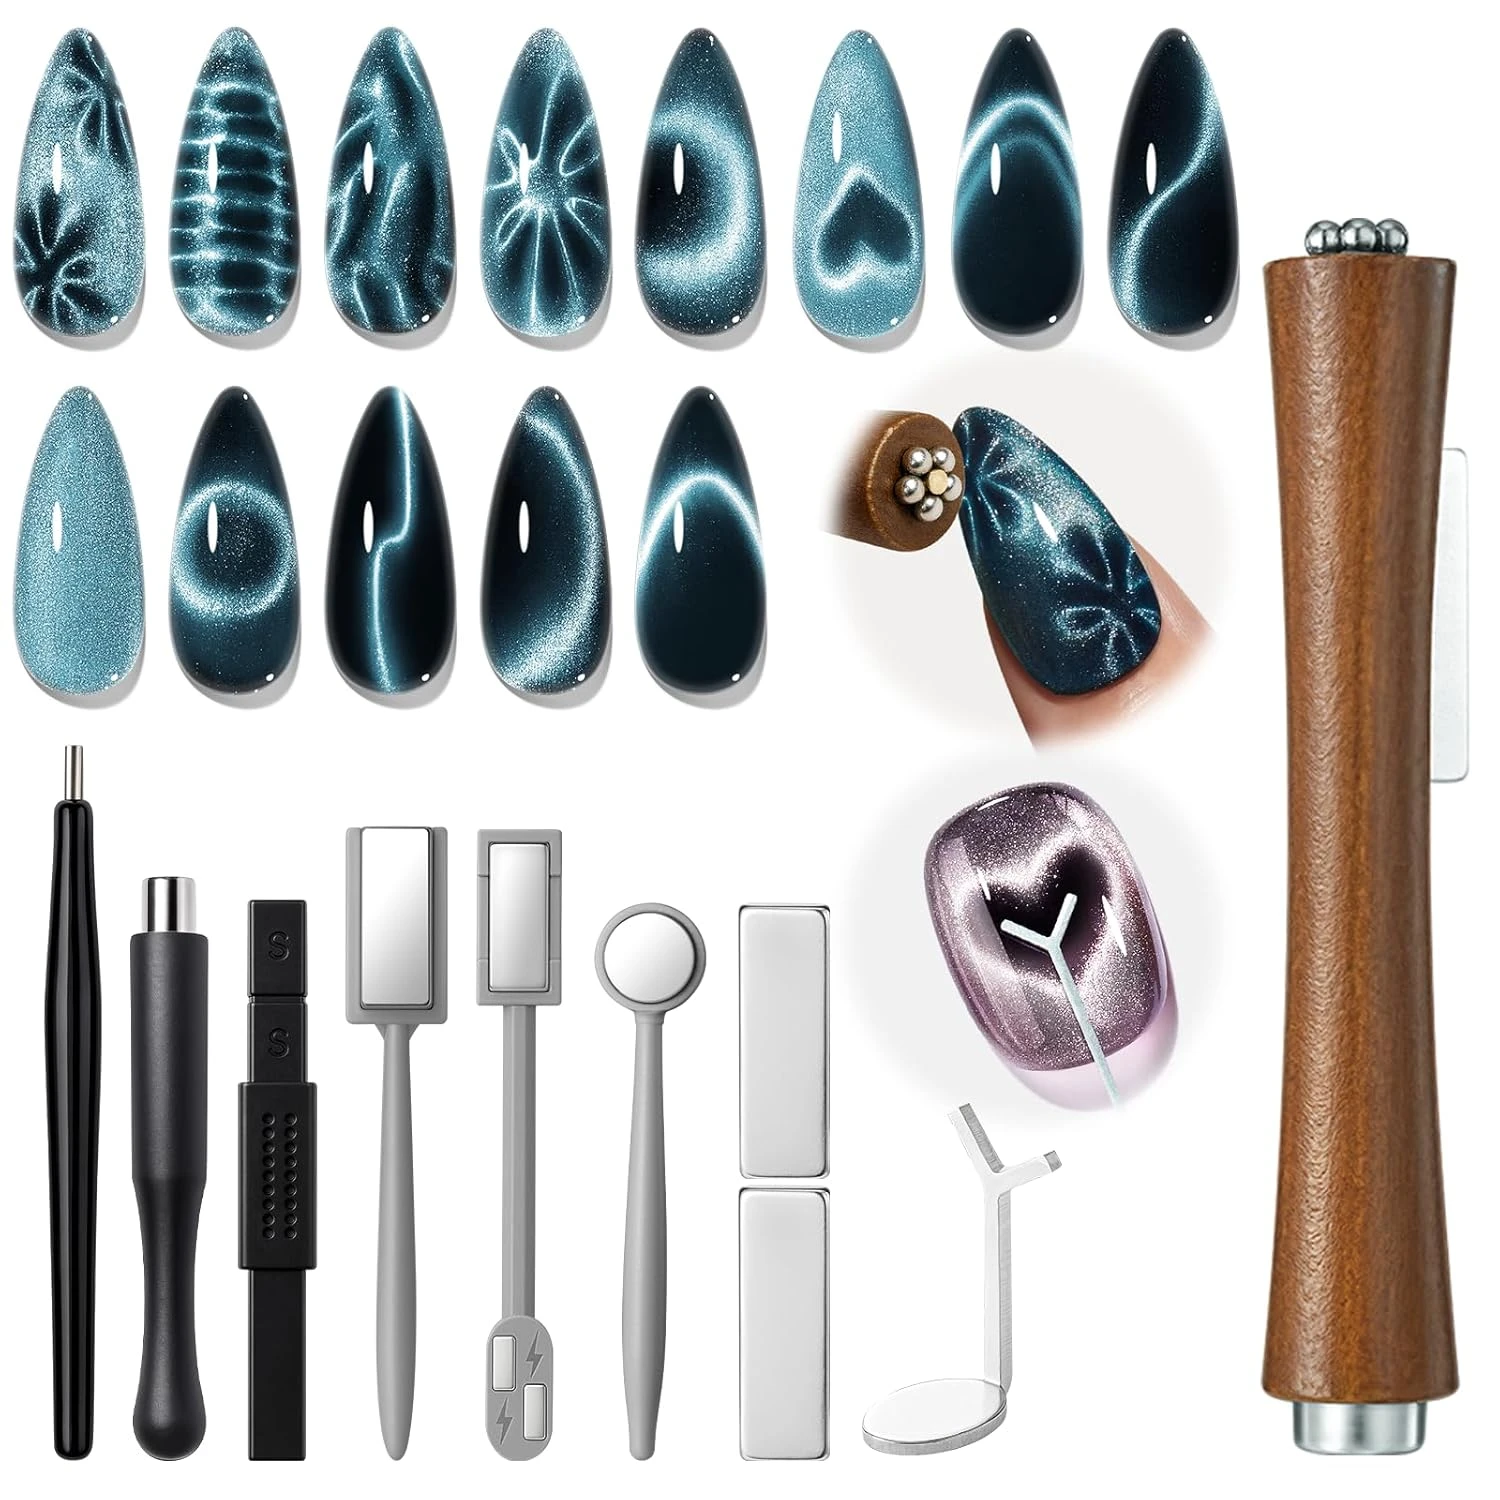
16. Ombre Cat Eye Nails
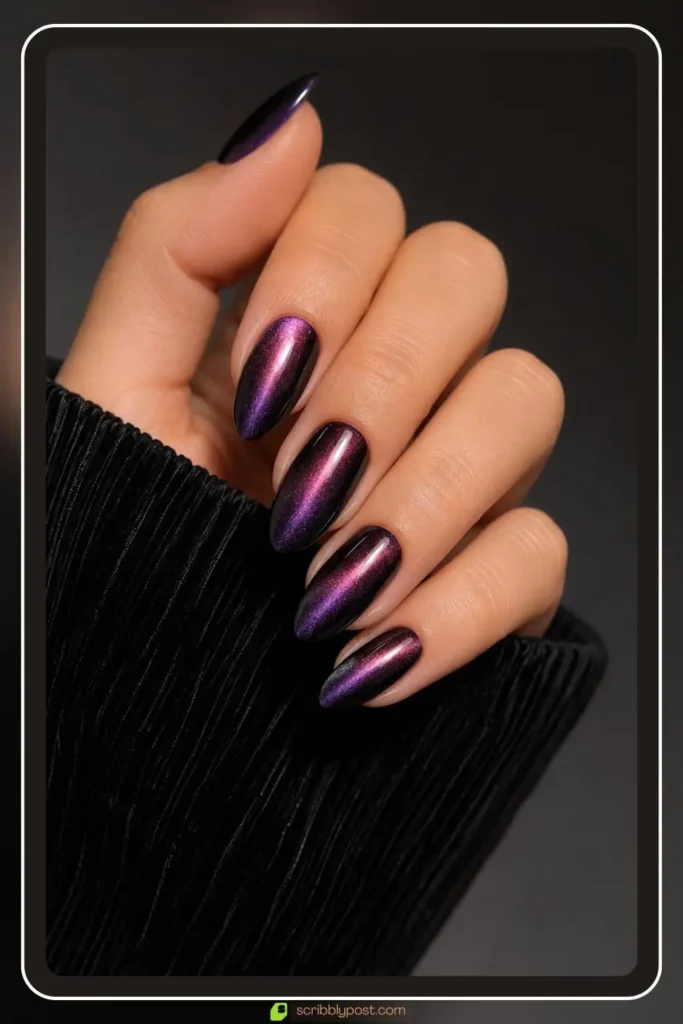
Ombre cat eye nails blend a magnetic polish into a gradient so the bright light streak shifts as the color fades. The magnet streak moving across a fade gives two effects in one, depth and reflection.
DIY note: pull the magnet in one continuous motion per nail, stopping partway through creates a broken streak instead of a smooth shift.
Create the Design
Magnetic Cat Eye Gel Polish
Glossy Top Coat
Cat Eye Nail Magnet
17. Short Ombre Nails
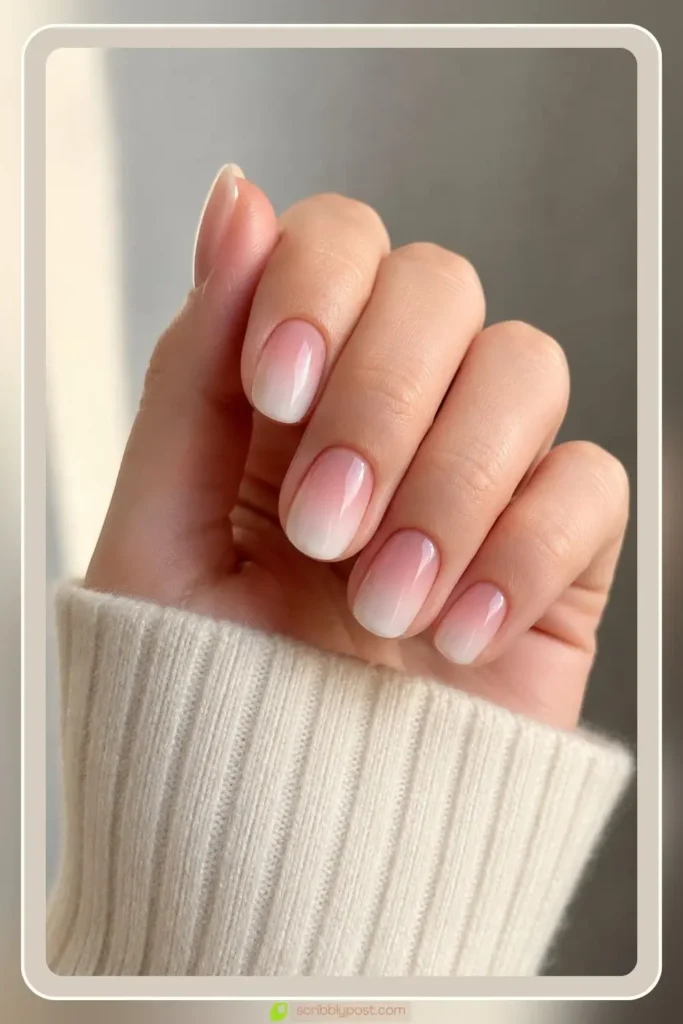
Short ombre nails scale the fade down for shorter length, often a single-shade gradient. The tighter blend keeps short nails looking neat and intentional rather than crowded. If hand-painting a fade feels like too much, our press-on nail designs guide has ombre sets ready to apply.
DIY note: use fewer dabs than you would on a longer nail, the shorter fade zone floods with color fast if over-applied.
Create the Design
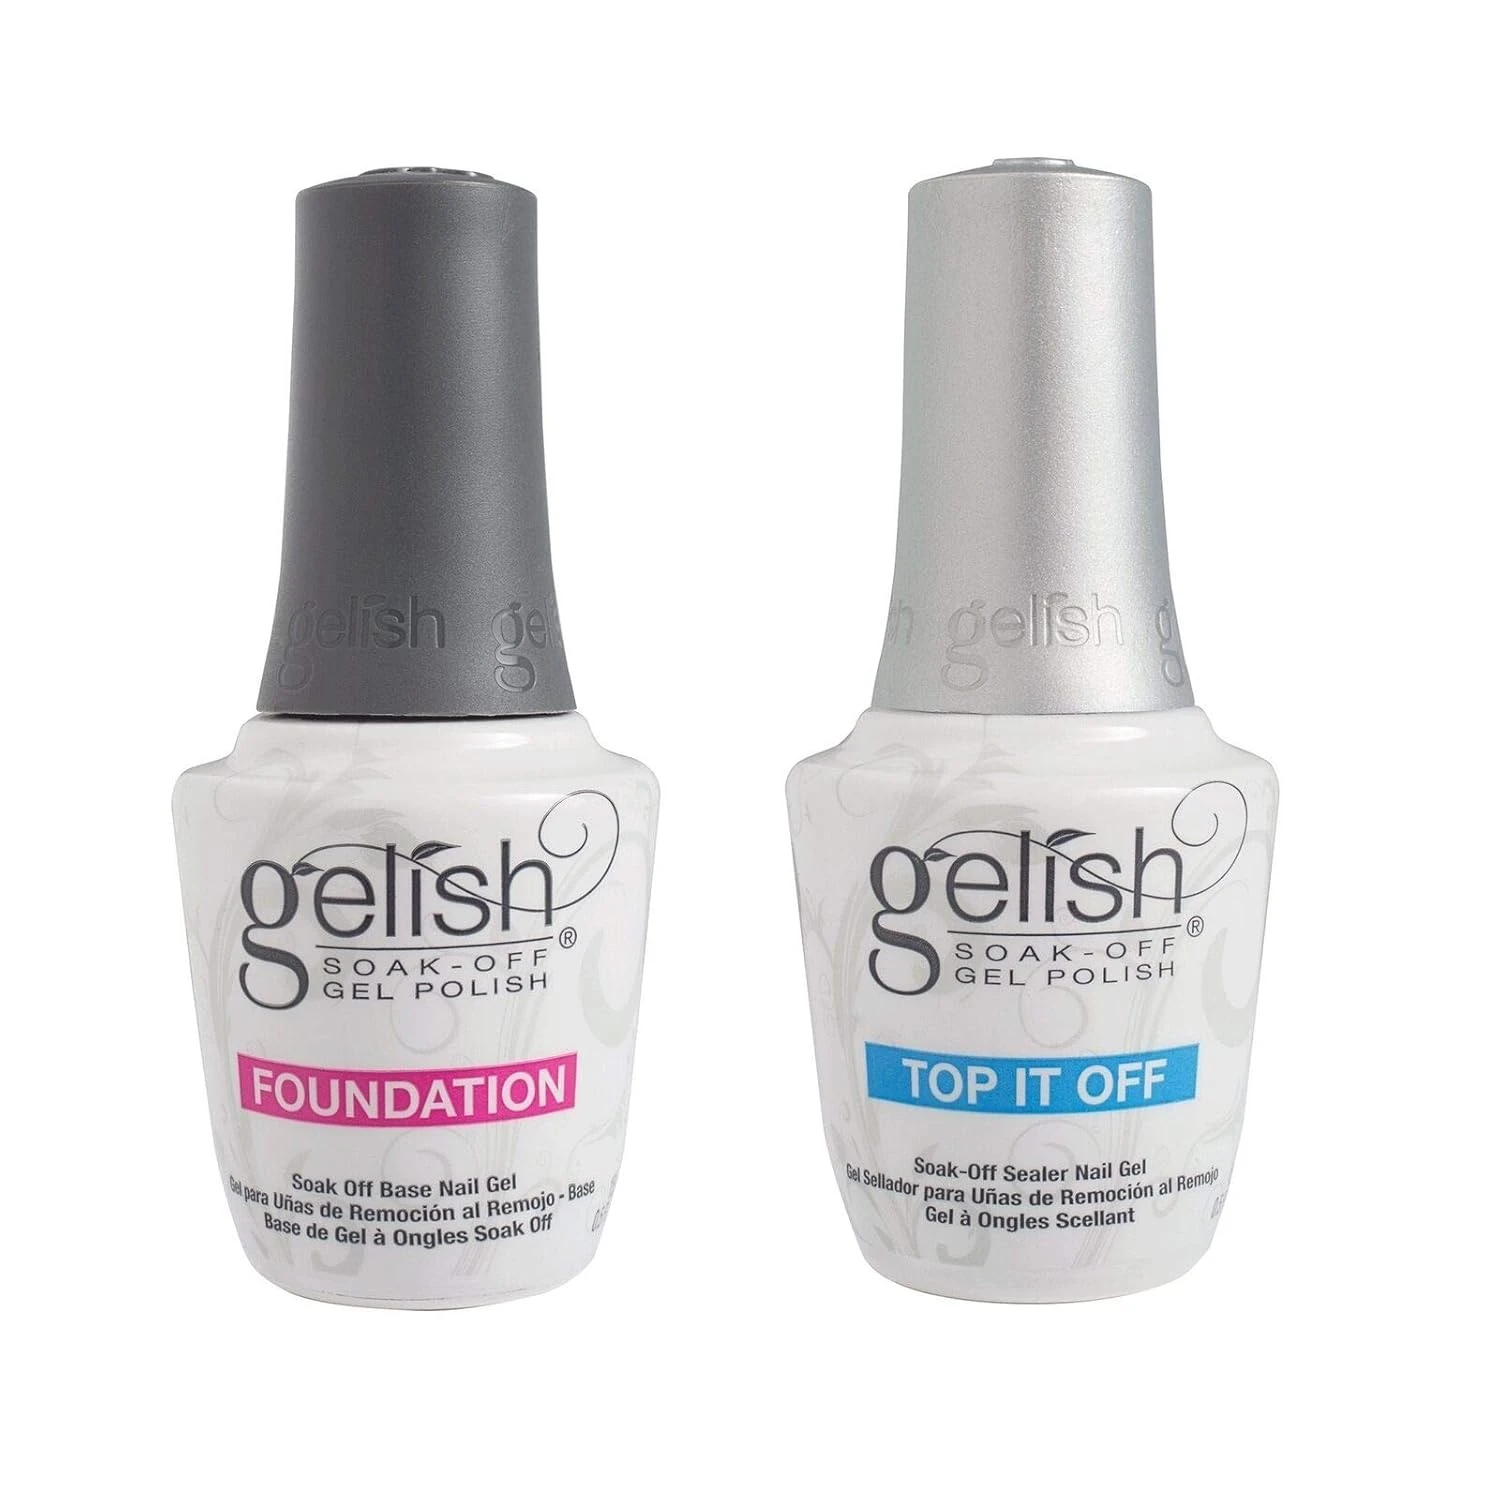
Short Nail Polish Duo
Quick Dry Top Coat
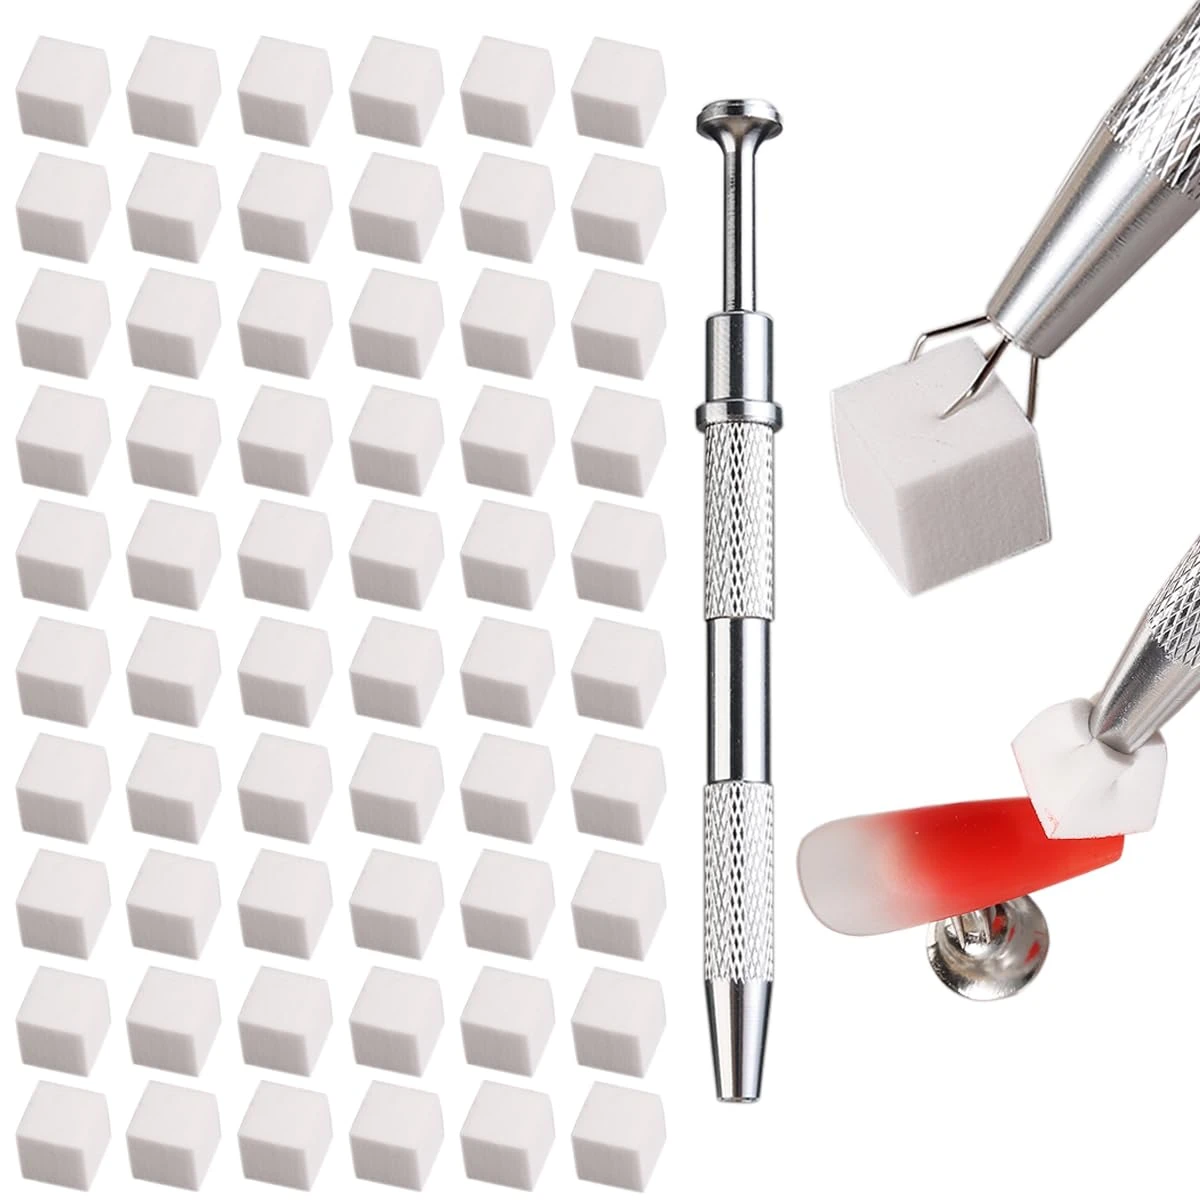
Nail Art Sponge Set
18. Brown Ombre Nails
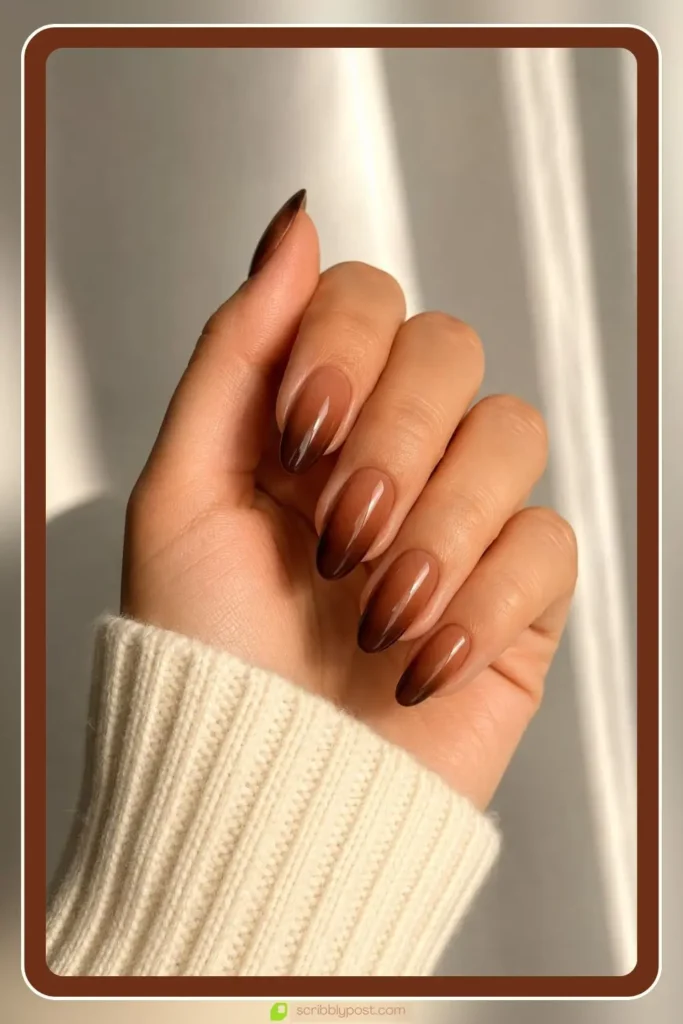
Brown ombre nails blend warm caramel into a deeper chocolate for a rich, neutral fade that suits fall and warm undertones. Brown tones in the same family fade seamlessly and read more expensive than a flat beige.
DIY note: pick a caramel and chocolate with enough contrast to show a real gradient, two browns too close together read as one flat shade.
Create the Design
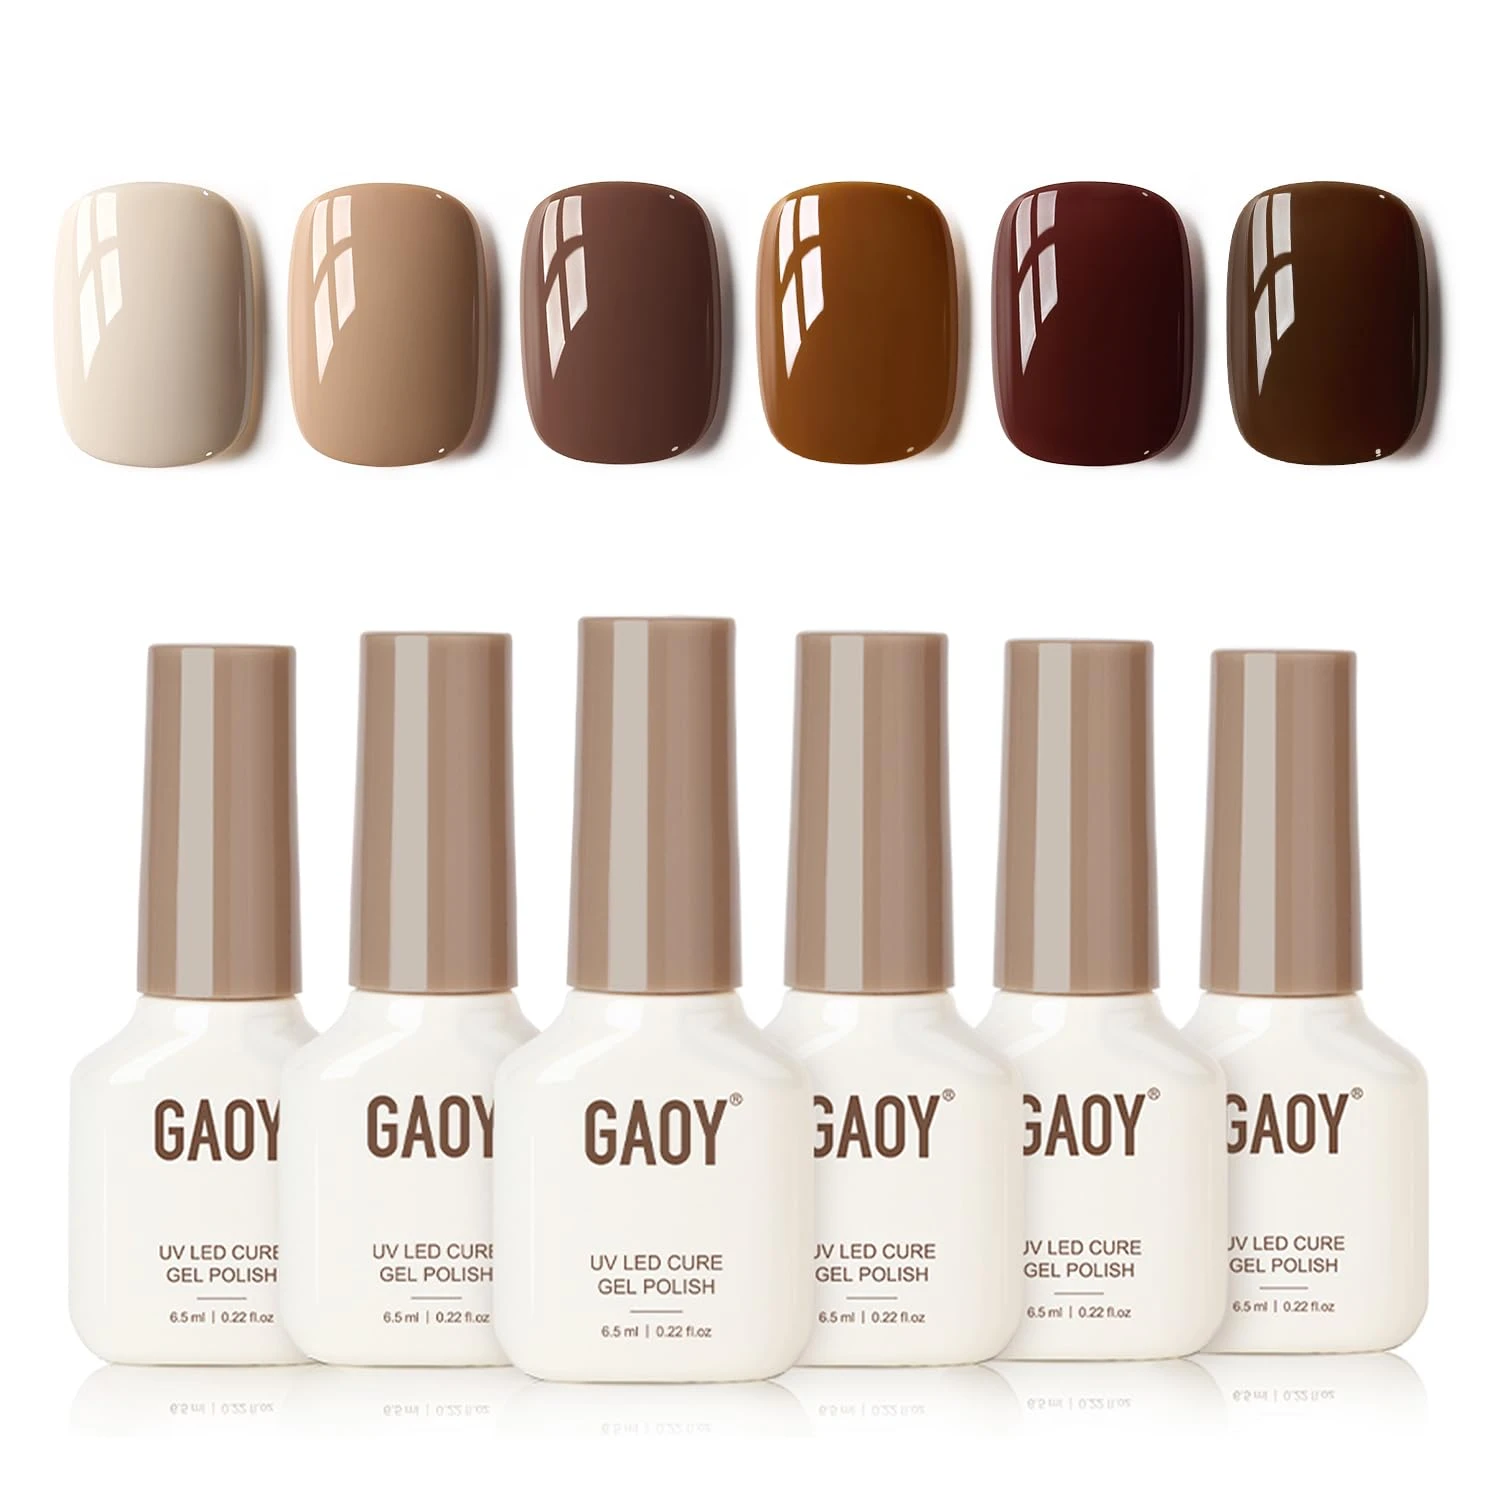
Caramel And Chocolate Polish Set
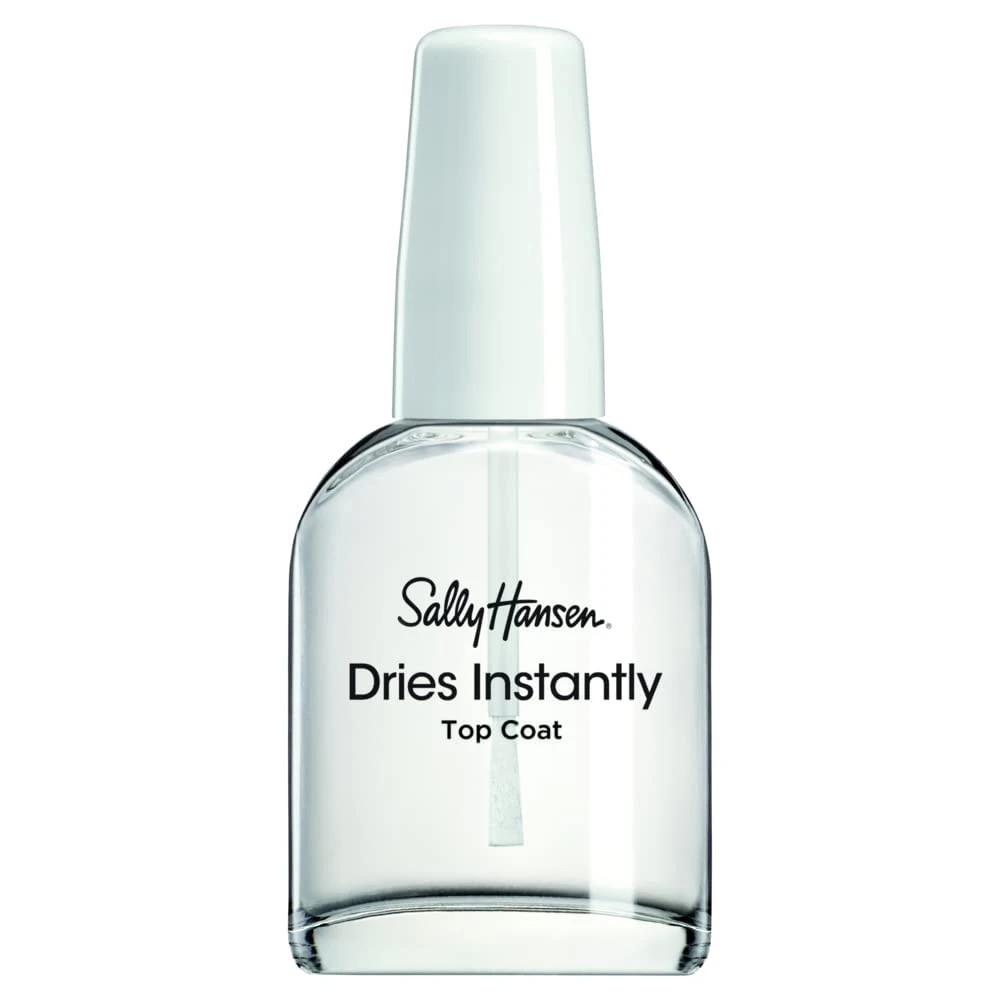
Quick Dry Top Coat
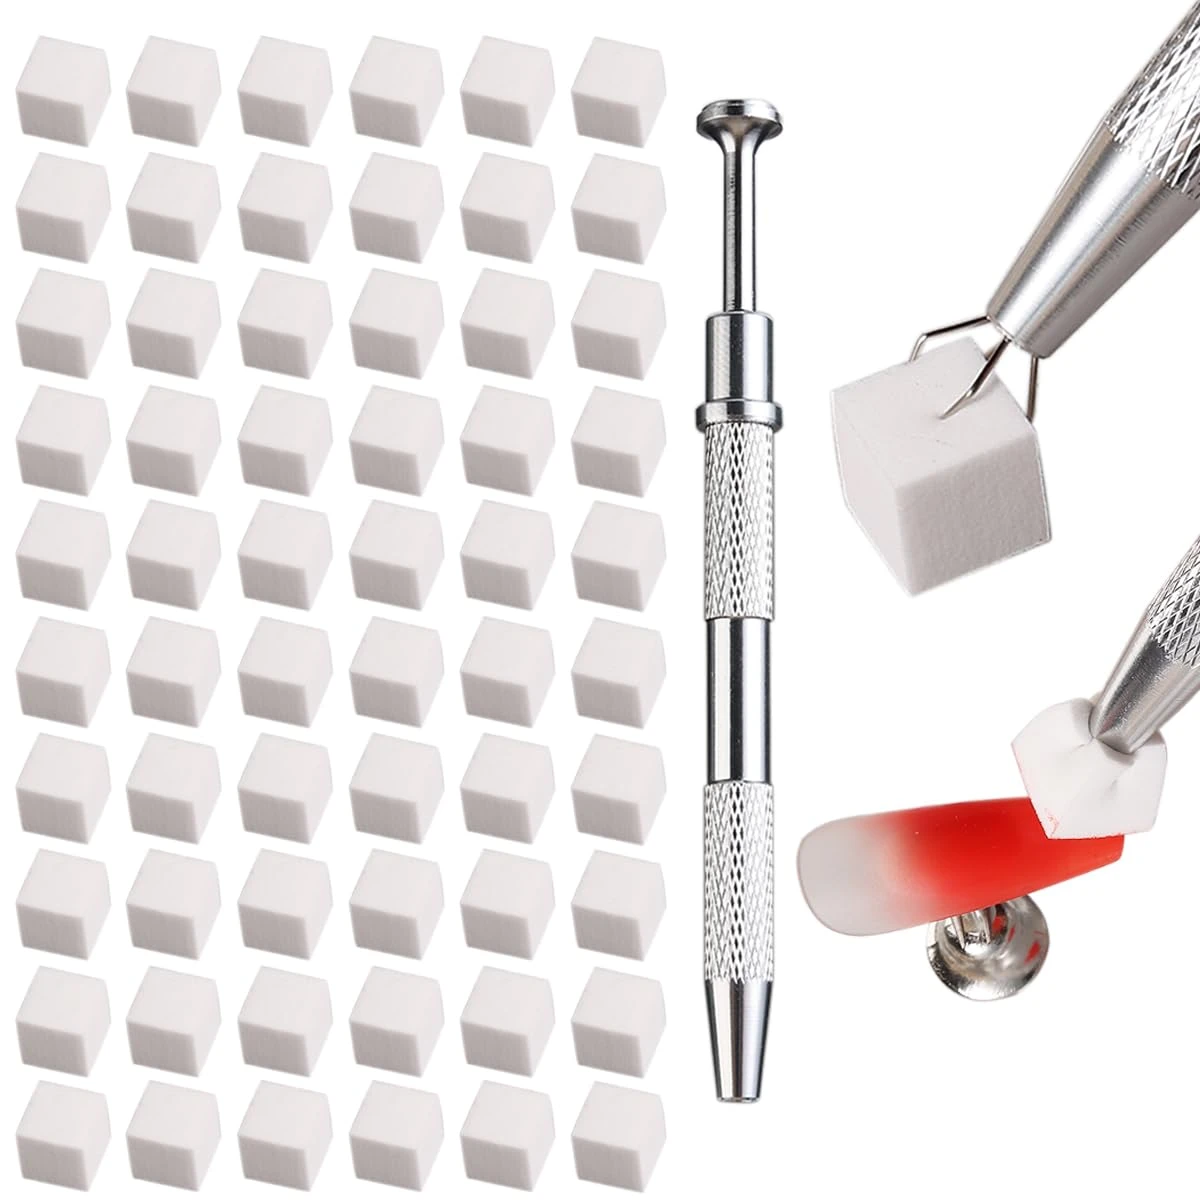
Nail Art Sponge Set
19. Ombre Almond Nails
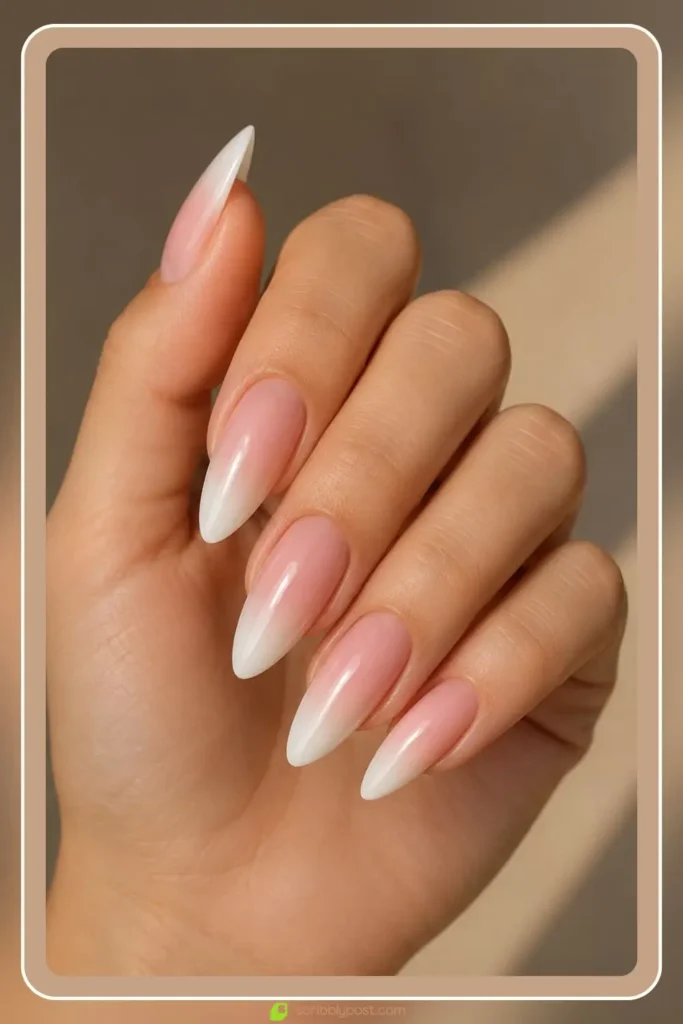
Ombre almond nails stretch the gradient along the tapered almond shape for an elongating effect. The taper pulls the fade into a long line, which makes fingers look slimmer.
DIY note: follow the taper of the nail with your sponge dabs rather than blending straight across, fighting the shape flattens the elongating effect.
Create the Design
Almond Nail Polish Set
High Shine Top Coat
Gradient Makeup Sponge
20. Peach Ombre Nails
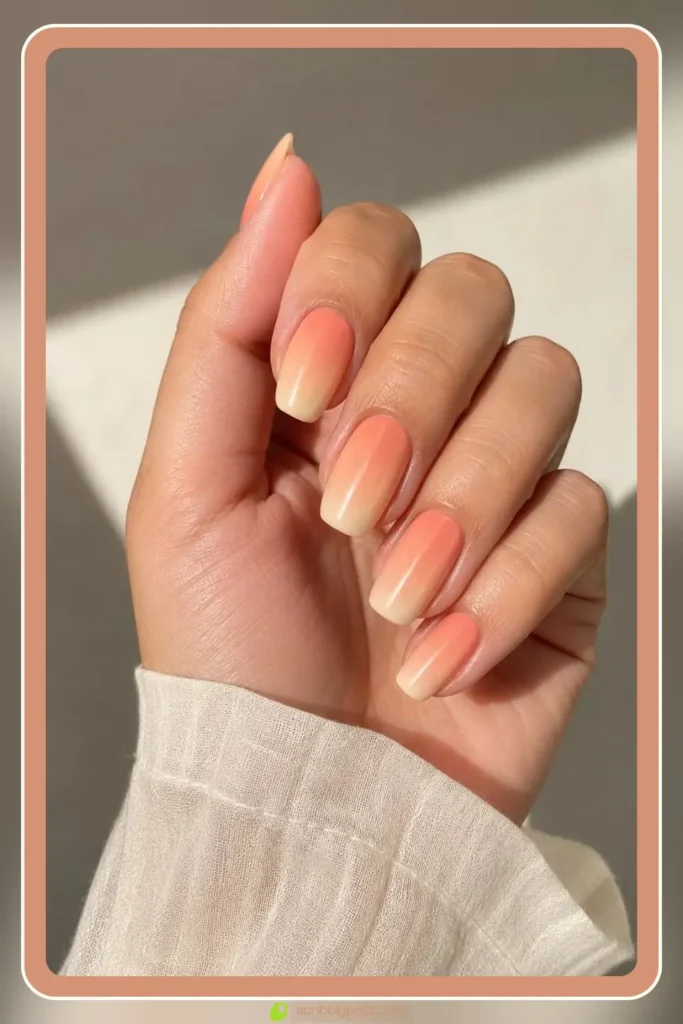
A soft peach blending into a pale cream creates a warm, sunny finish that flatters warm and neutral skin tones. The peach-to-cream blend stays in the warm family, so the fade looks smooth and natural. For more peach shades to try on their own, our peach nail ideas guide covers the full range.
DIY note: keep both shades in the same warm family, a cool-toned cream against a warm peach creates a visible split instead of a blend.
Create the Design
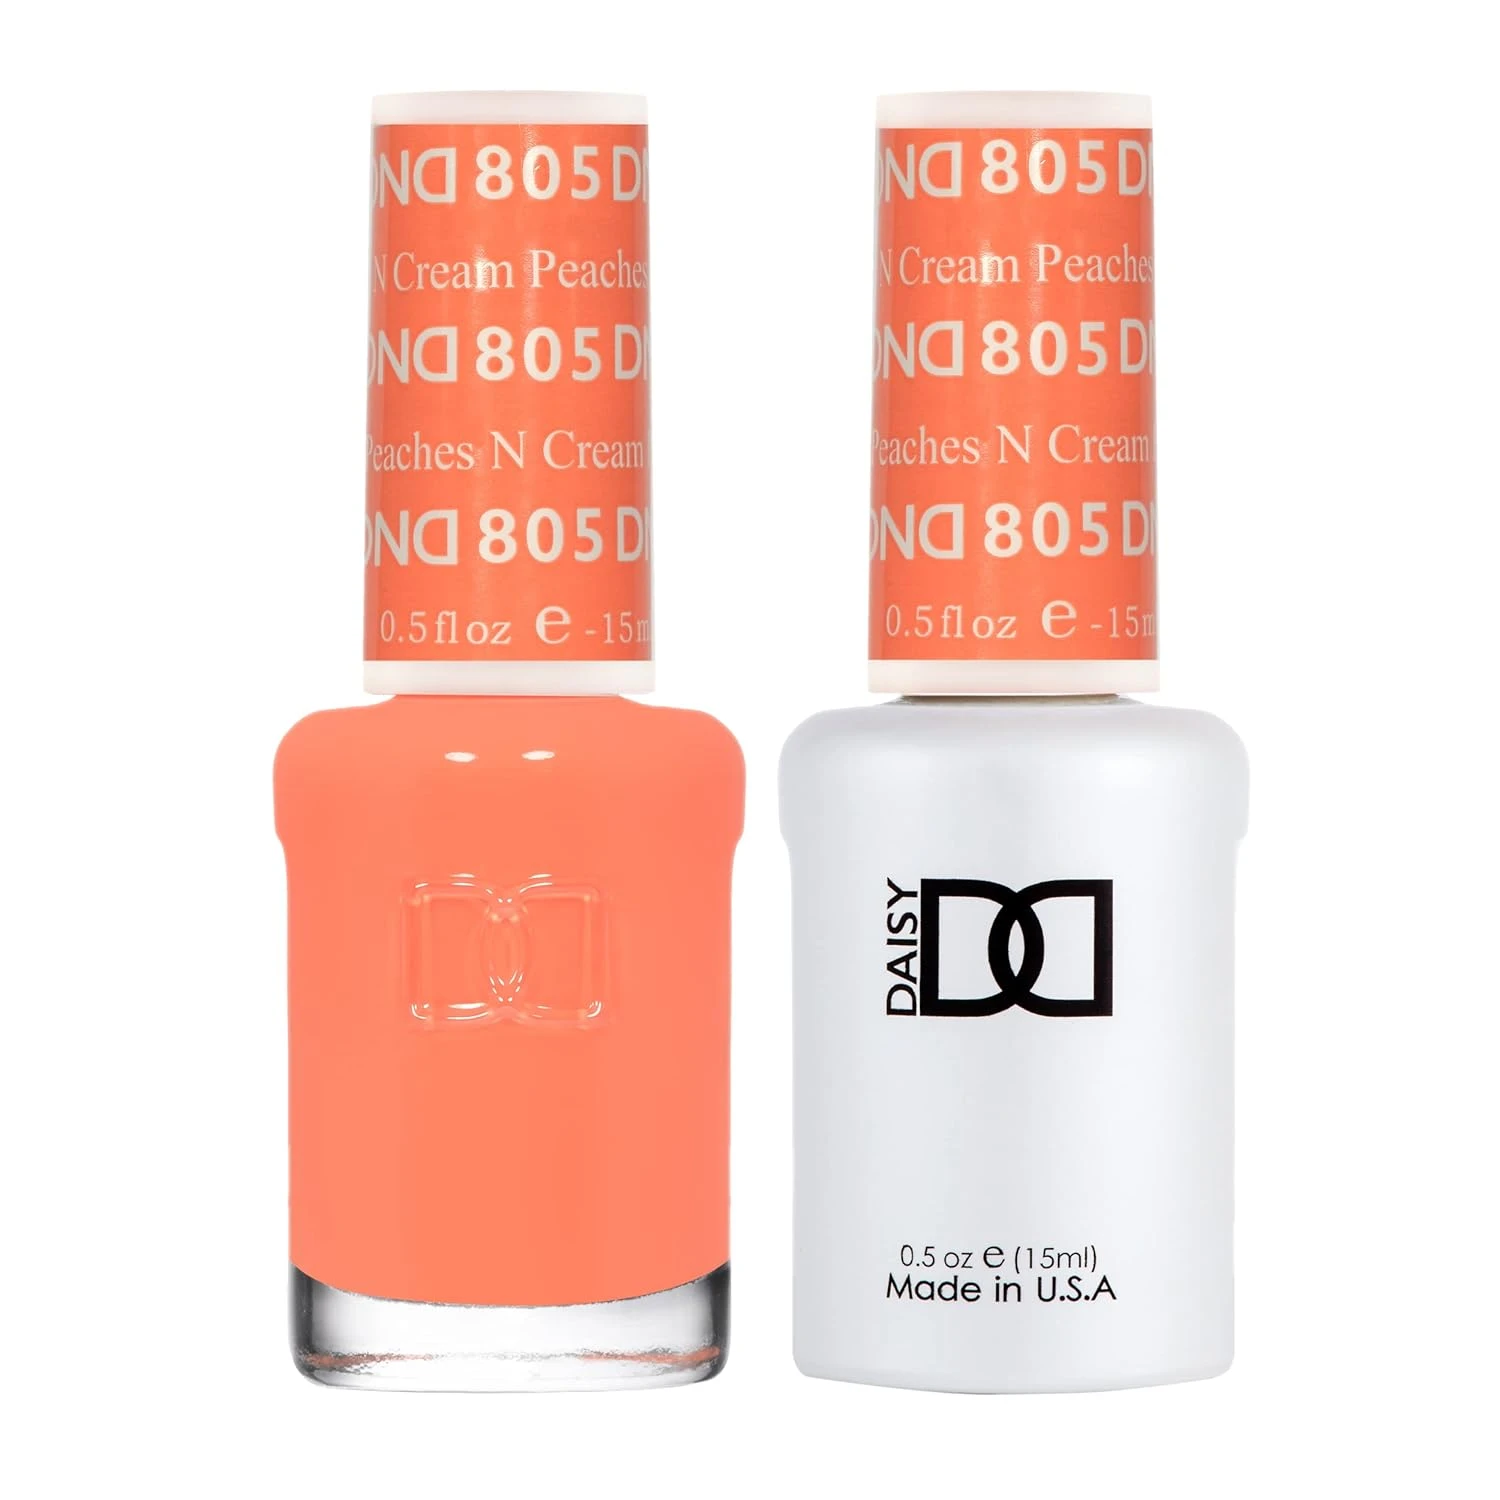
Peach And Cream Polish Set
Glossy Top Coat
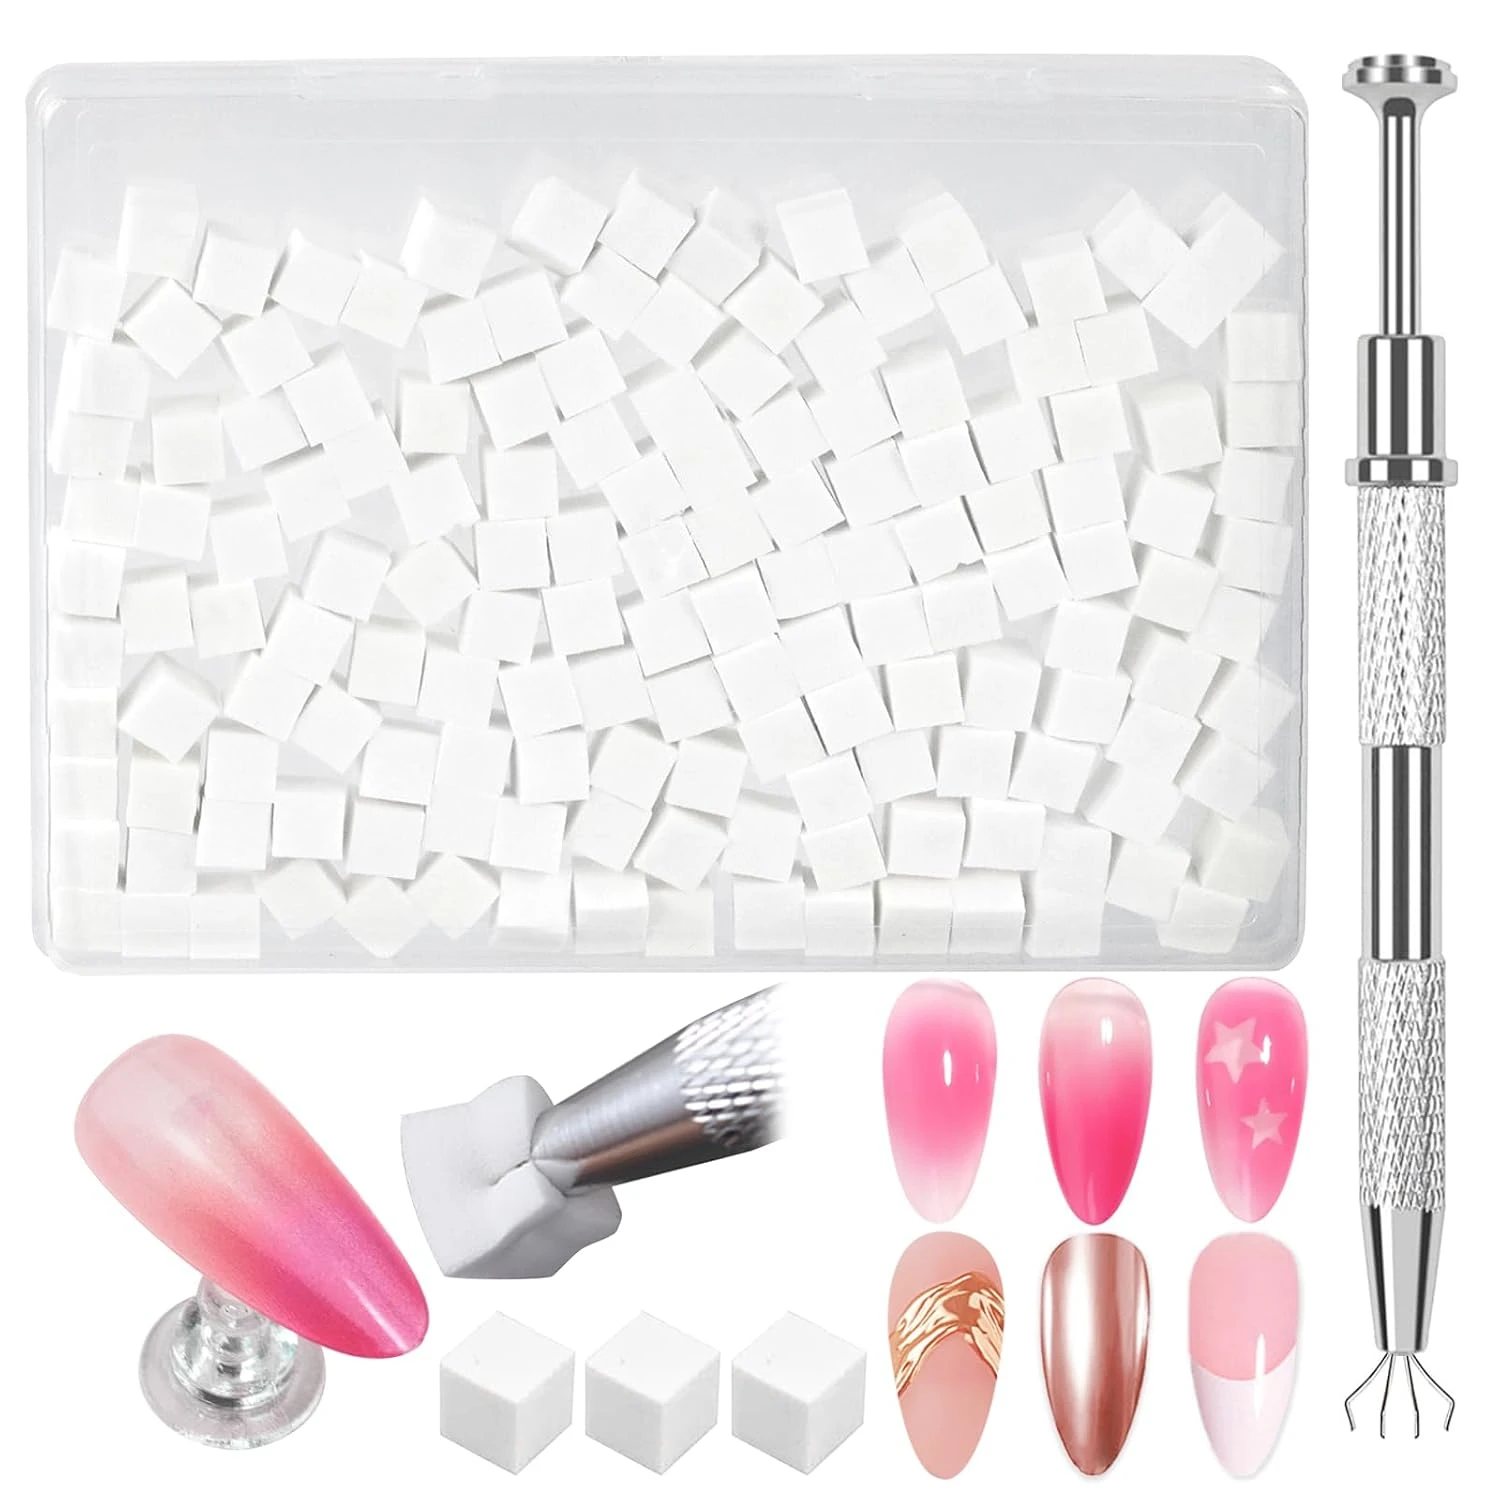
Ombre Nail Sponge
The Ombre Fades I Would Try by Skill Level
Ombre difficulty comes down to how forgiving the color pairing and length are, so these three picks cover a beginner, intermediate, and advanced attempt at the technique.
Beginner: Short Ombre Nails. A shorter fade zone leaves less room for streaks, which makes this the most forgiving first attempt at blending two shades.
Effort 2/5, holds 1 to 2 weeks in polish, the safest starting point for a first fade.
Intermediate: Pink Ombre Nails. A same-family two-tone blend on a full-length nail teaches the core dabbing technique without the added risk of a bold color contrast.
Effort 3/5, holds 2 to 3 weeks in gel, a solid next step once the shorter fade feels easy.
Advanced: Ombre Cat Eye Nails. Pulling a magnet through a gradient in one continuous motion is the hardest single technique on this list, since a hesitation partway through breaks the light streak.
Effort 4/5, holds 2 to 3 weeks in gel, worth attempting once the basic fade is reliable.
Ombre Fade Fixes
Even a well-planned fade goes wrong in a few predictable ways. Use this chart to diagnose and fix the most common problems.
| Problem | Why it happens | Fix |
|---|---|---|
| Muddy middle | Blending opposite colors or over-dabbing | Use shades from one family, fewer dabs |
| Harsh visible line | Colors set too far apart on the sponge | Place colors closer with more overlap |
| Streaky fade | Sponge too dry or polish too thick | Add fresh polish each dab, use thin layers |
| Patchy color | Too few passes | Build two to three light layers |
| Glitter not fading | Glitter applied evenly | Cluster glitter at the tip, fade upward |
Conclusion
Ombre works on any nail because the fade adds dimension that a single shade misses. Keep your two colors in the same family for the smoothest blend, then follow the step-by-step method above and use the fix chart the first few times a fade goes muddy. Short nails are the most forgiving to blend, while almond and coffin shapes show off bold two-color fades.
Also Read
Best Mauve Nail Ideas
Best Butter Yellow Nail Ideas
Best Old Money Nails
Best Nail Designs
FAQs
What colors blend best for ombre nails?
Shades from the same color family blend smoothest, the same logic behind Pink Ombre Nails and Blue Ombre Nails, both of which stay within one hue instead of crossing to an opposite color. Purple Ombre Nails works for the same reason, since lavender and plum sit close enough on the wheel to blend without turning muddy.
How do you do ombre nails at home?
Paint your two colors in stripes on a damp makeup sponge, then dab it onto the nail in thin layers until the fade builds, the exact method behind every entry in this list. The Ombre Fades I Would Try by Skill Level section above walks through this on a real example if you want to see it applied to one specific design first.
How long do ombre nails last?
Gel ombre lasts two to three weeks, which is why Ombre Dip Nails and Ombre Cat Eye Nails, both built on gel or dip powder, hold their fade longest. Regular polish versions, including French Ombre Nails, last closer to five to seven days.
Do ombre nails work on short nails?
Yes. Short Ombre Nails scale a single-shade fade down specifically for shorter length, and French Ombre Nails works just as well short since the tip only needs a small area to fade into.
What is the difference between ombre and French ombre?
Standard ombre fades any two shades across the nail, the approach behind entries like Blue Ombre Nails or Brown Ombre Nails, while French Ombre Nails specifically fades a sheer pink base into a white tip.

